Previous Steps
Last time we took a slight break from the environment art in the Amarantos Ritual series of blogs.
Instead of looking at props, set dressings and decision making into the scene itself, we took some time to go over a step-by-step guide for the creation of a VFX basin. It now sits right under the crystal in the middle of the room.
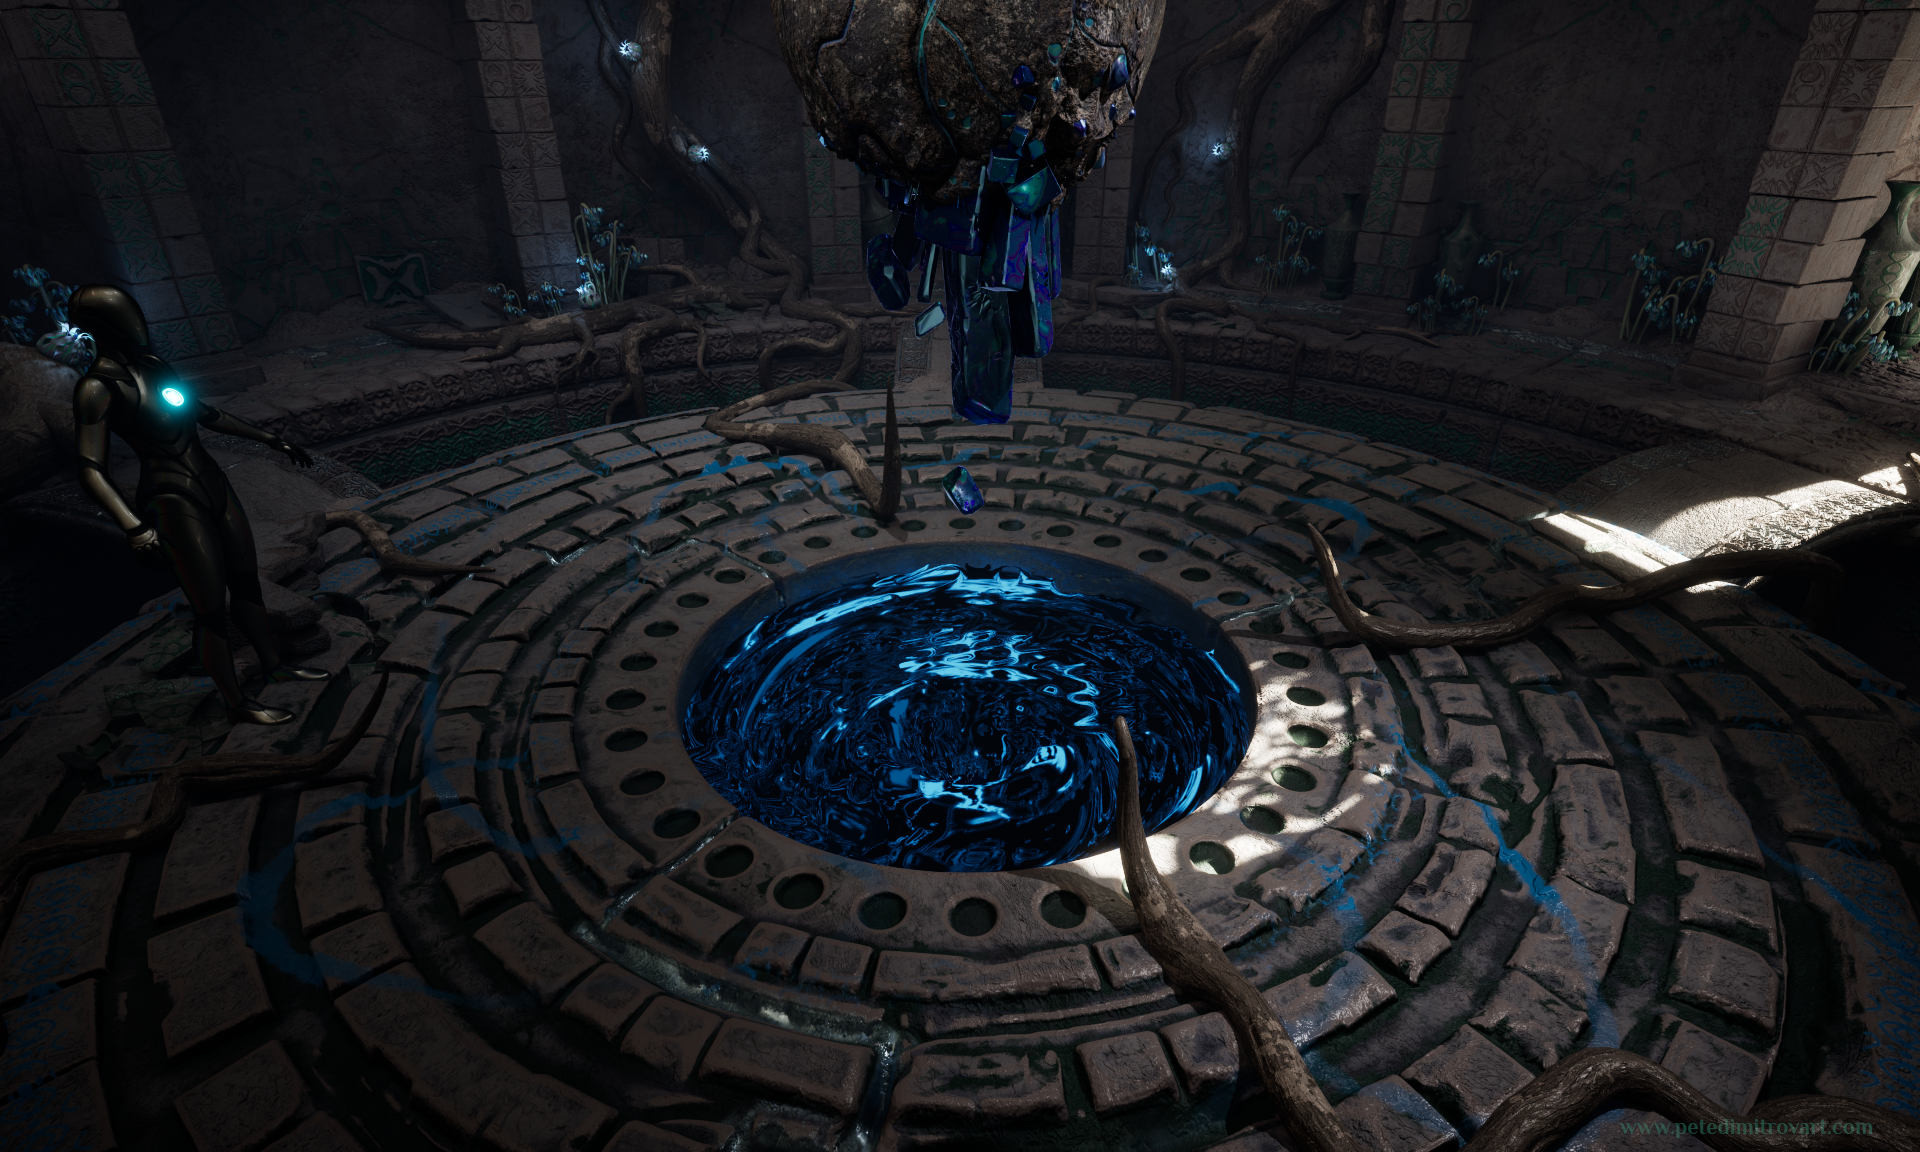
If you missed reading about how that VFX was created then you can follow and take a glance over here at this page. The tools used include Unreal, Substance Designer and Blender. The main driving force of the VFX is a polar coordinates distortion of UVs that is seen and widely used in games like Diablo IV, Baldur’s Gate and more. That is something that I showcase with examples from exactly those titles over at The Amarantos Ritual - 07 - Vortex VFX Tutorial - Part Three. Take a look if you haven’t.
Last Time
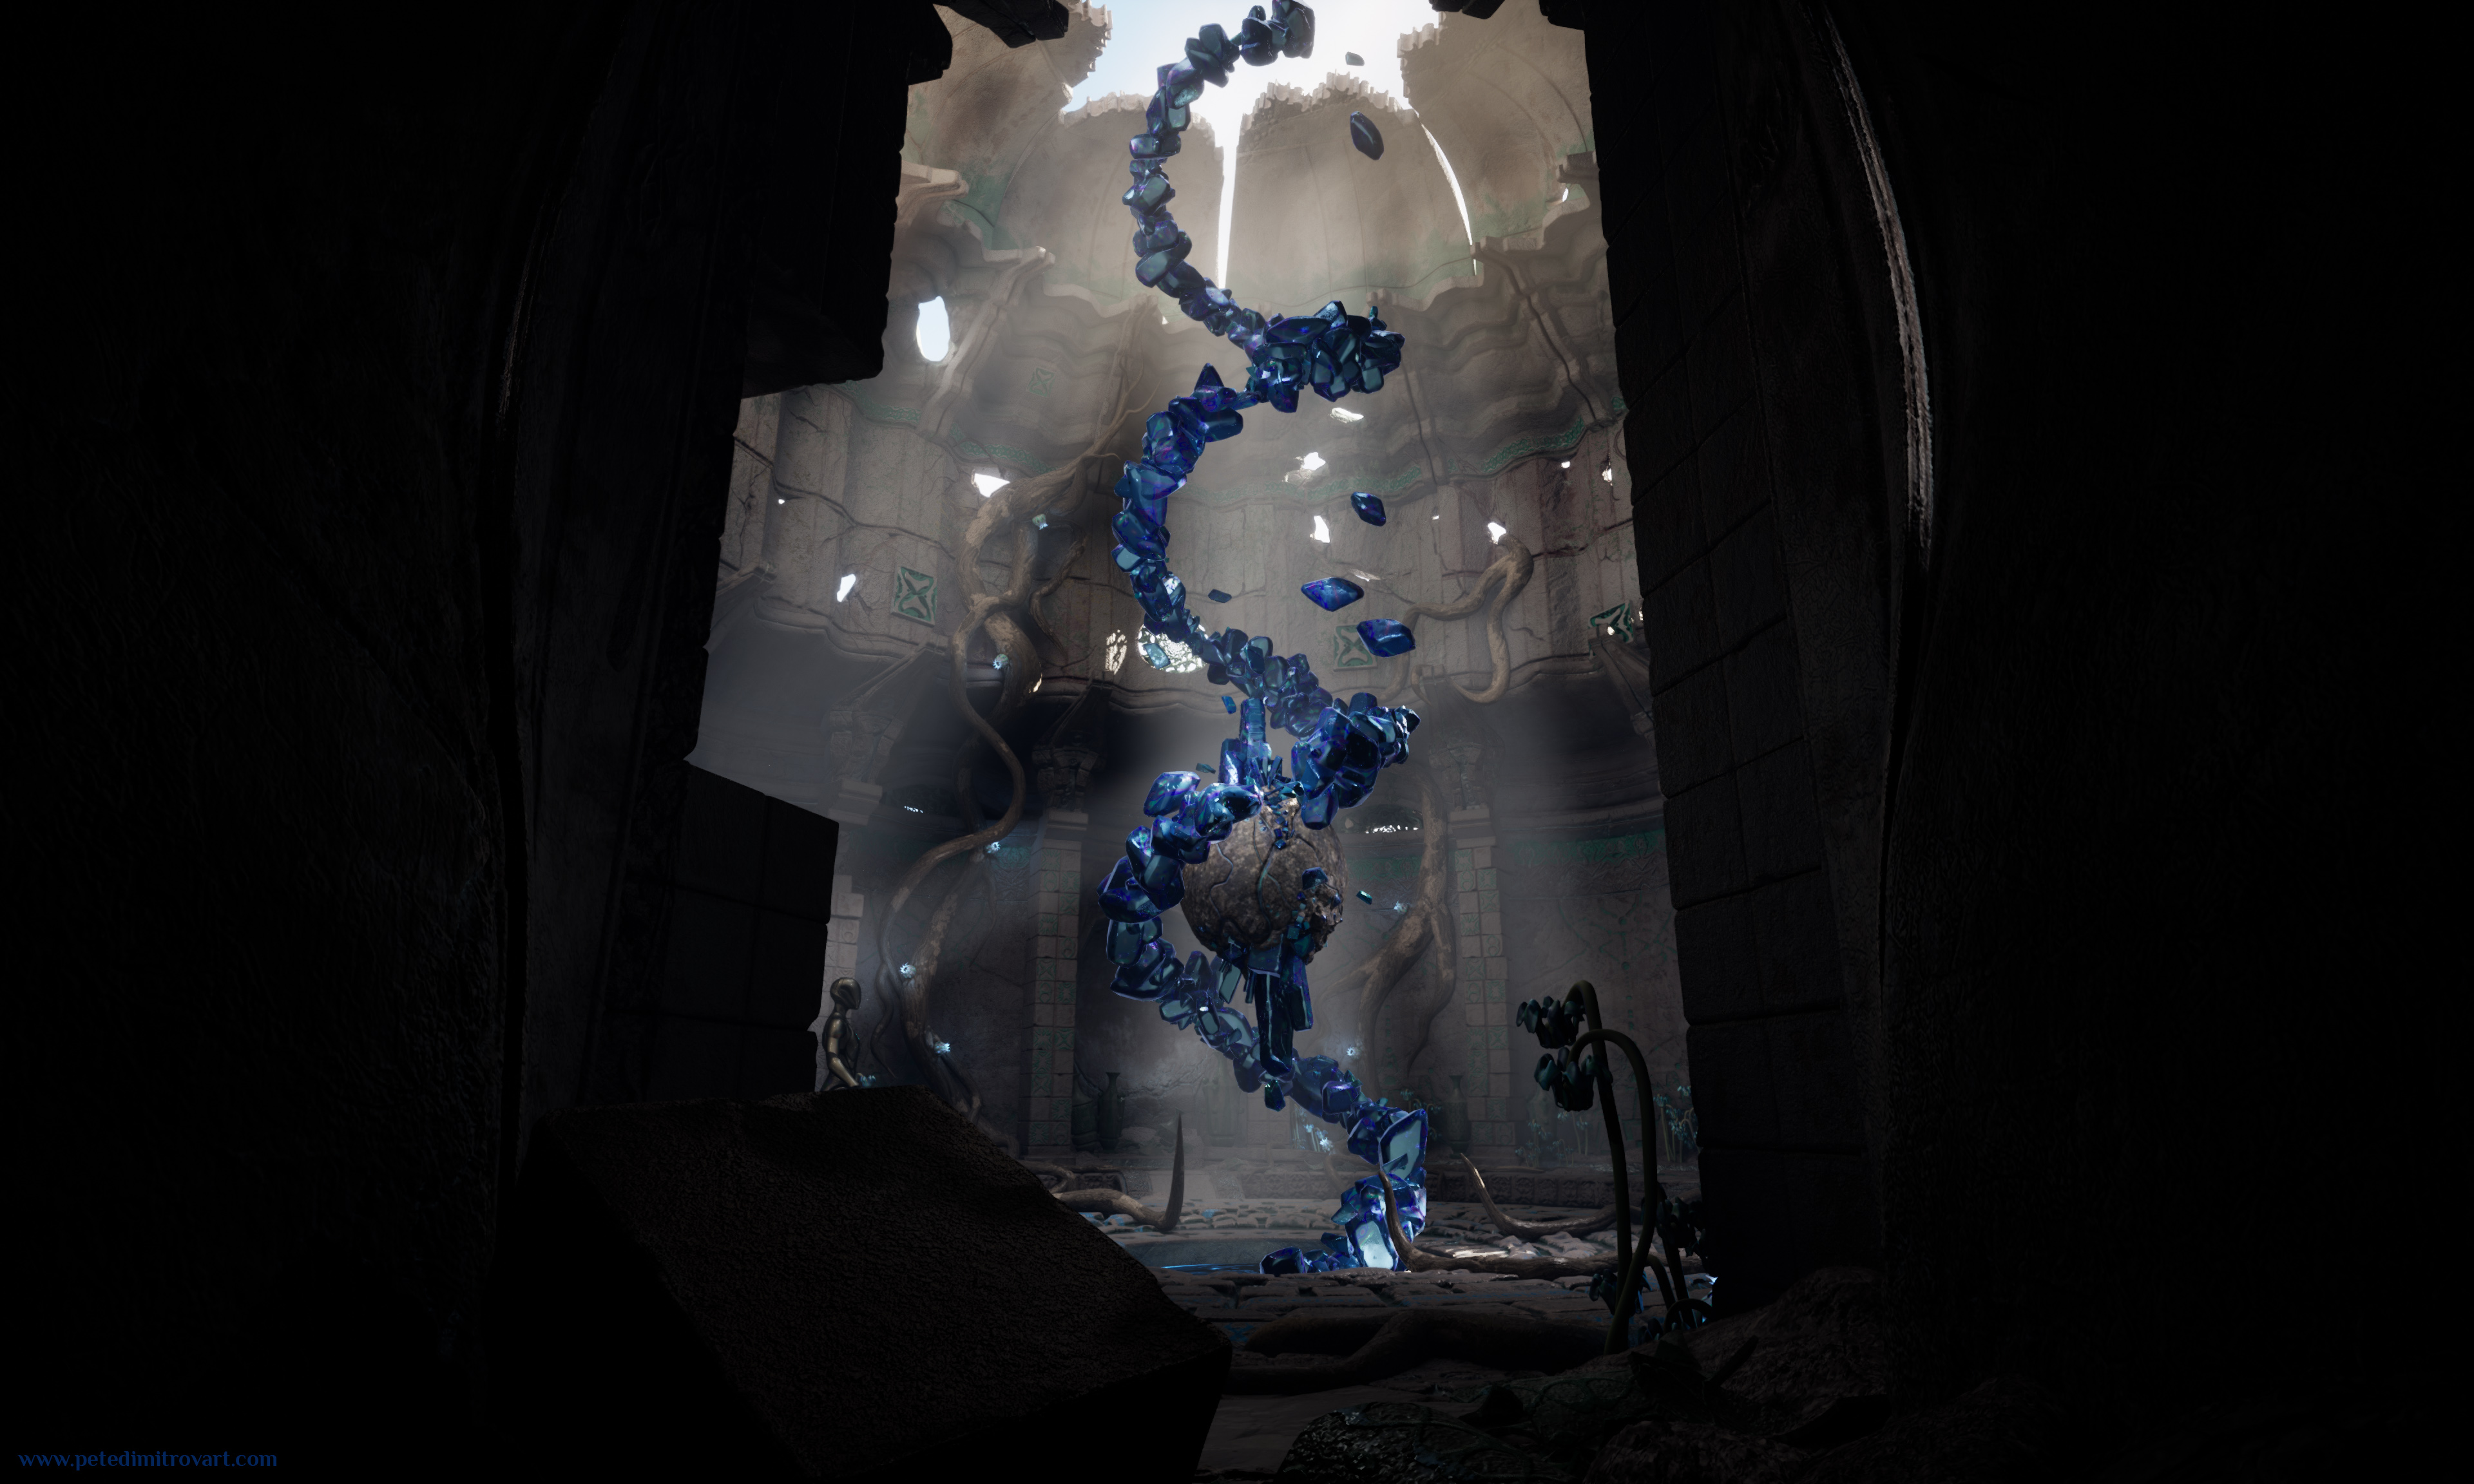
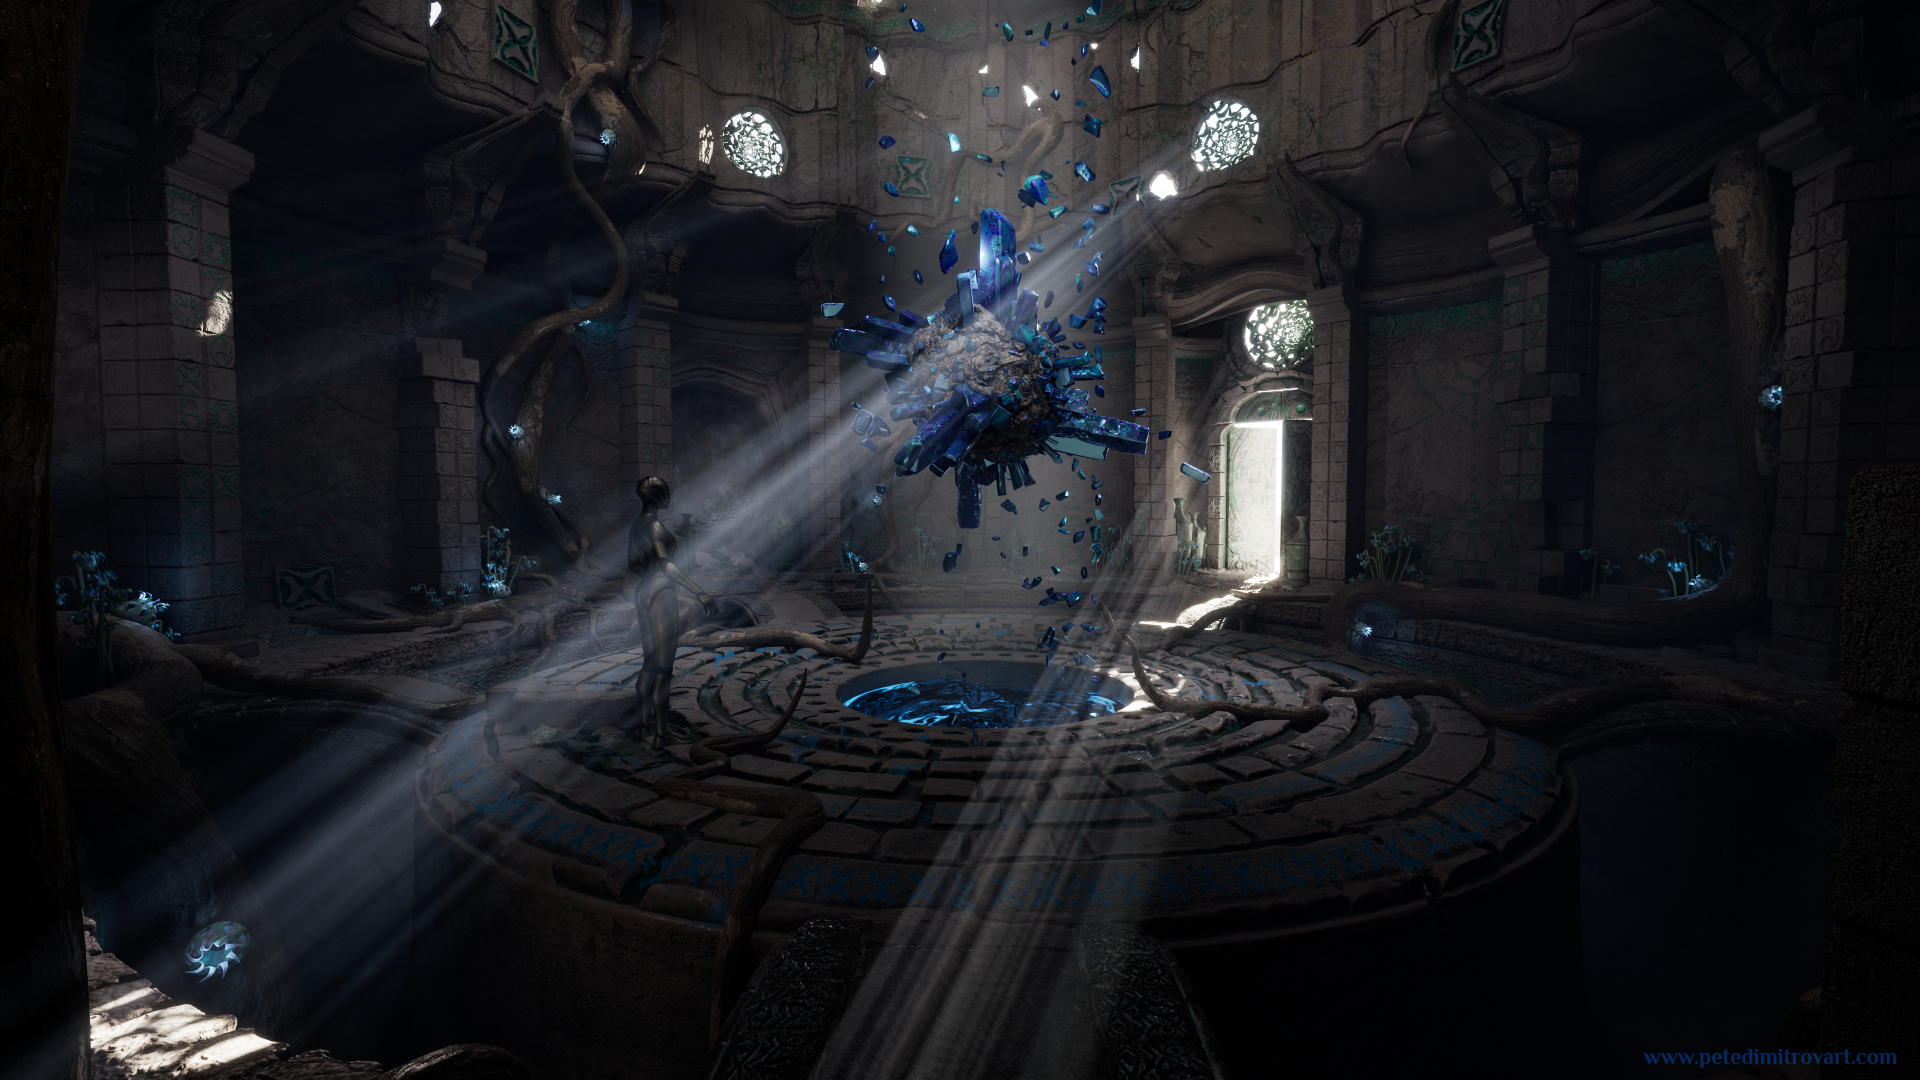
If we look away from that VFX and check how the scene looked last time, we can find it in this state:
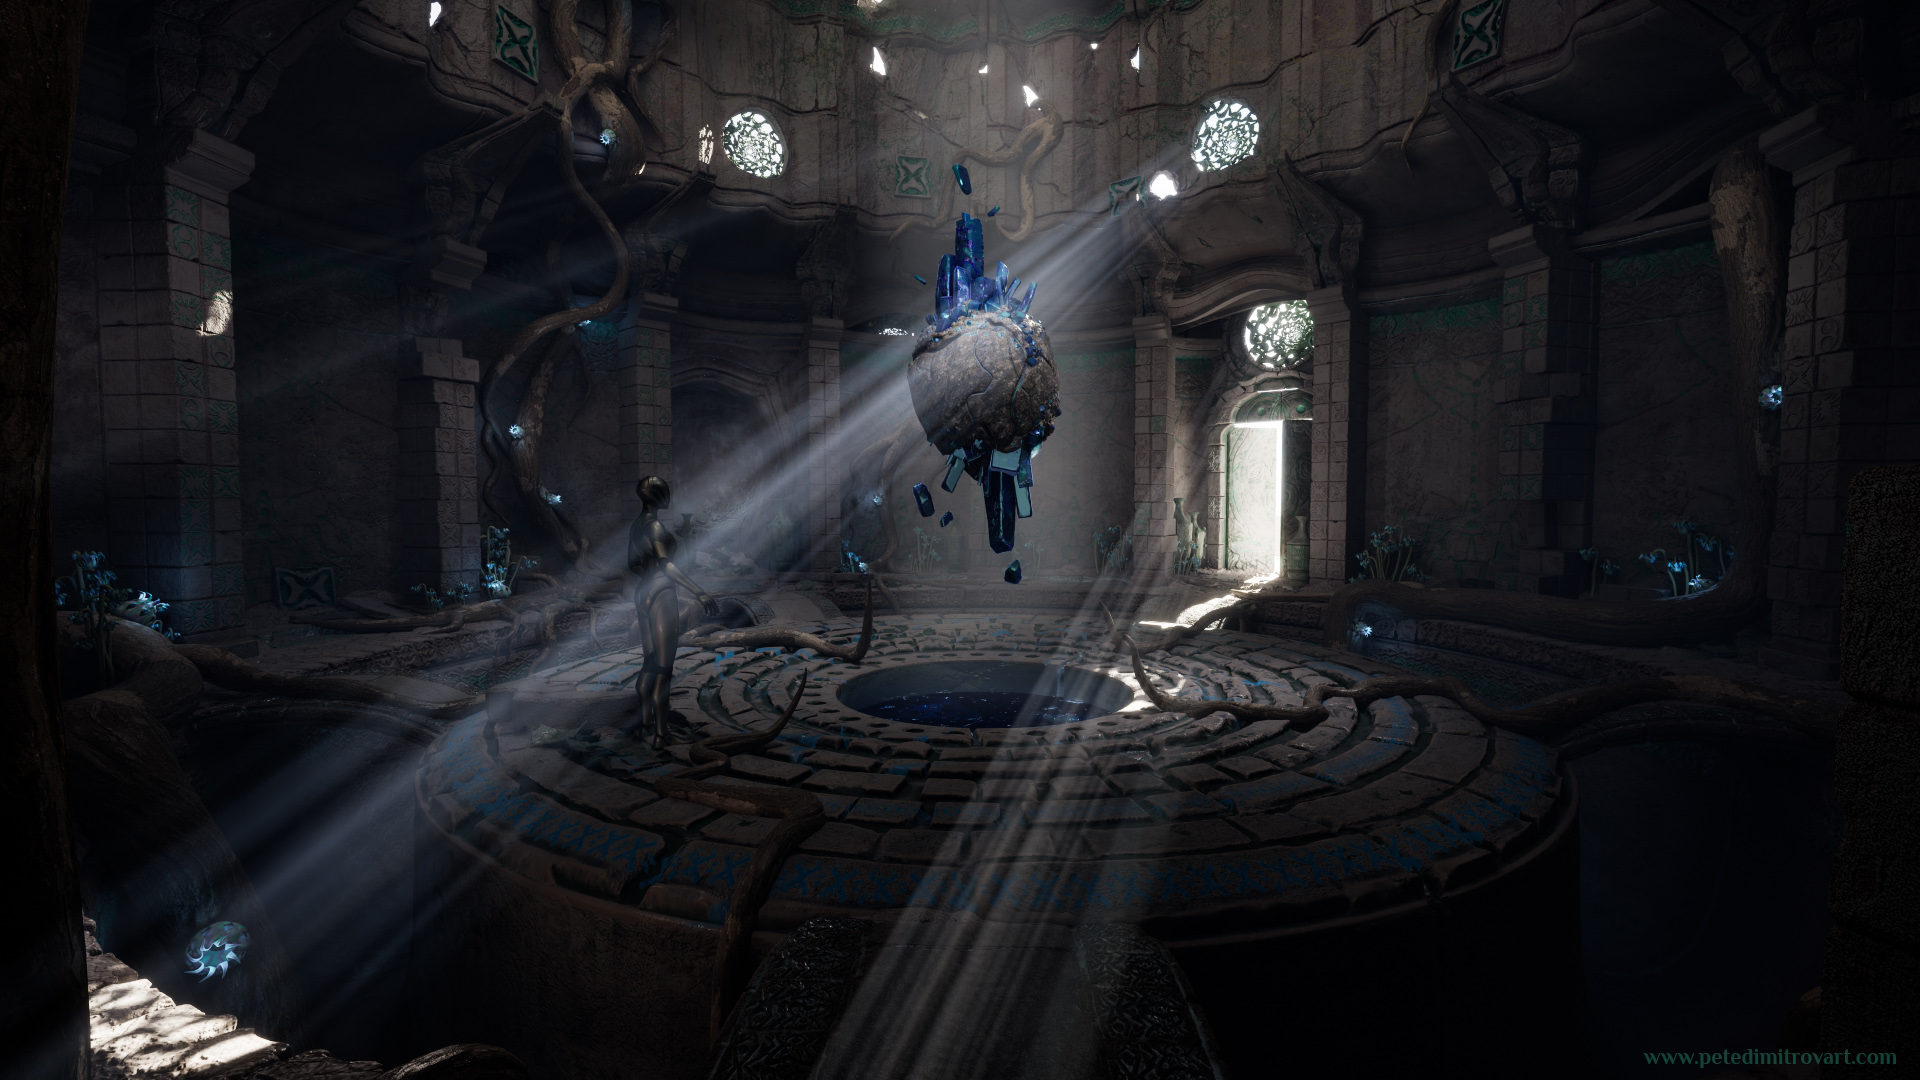
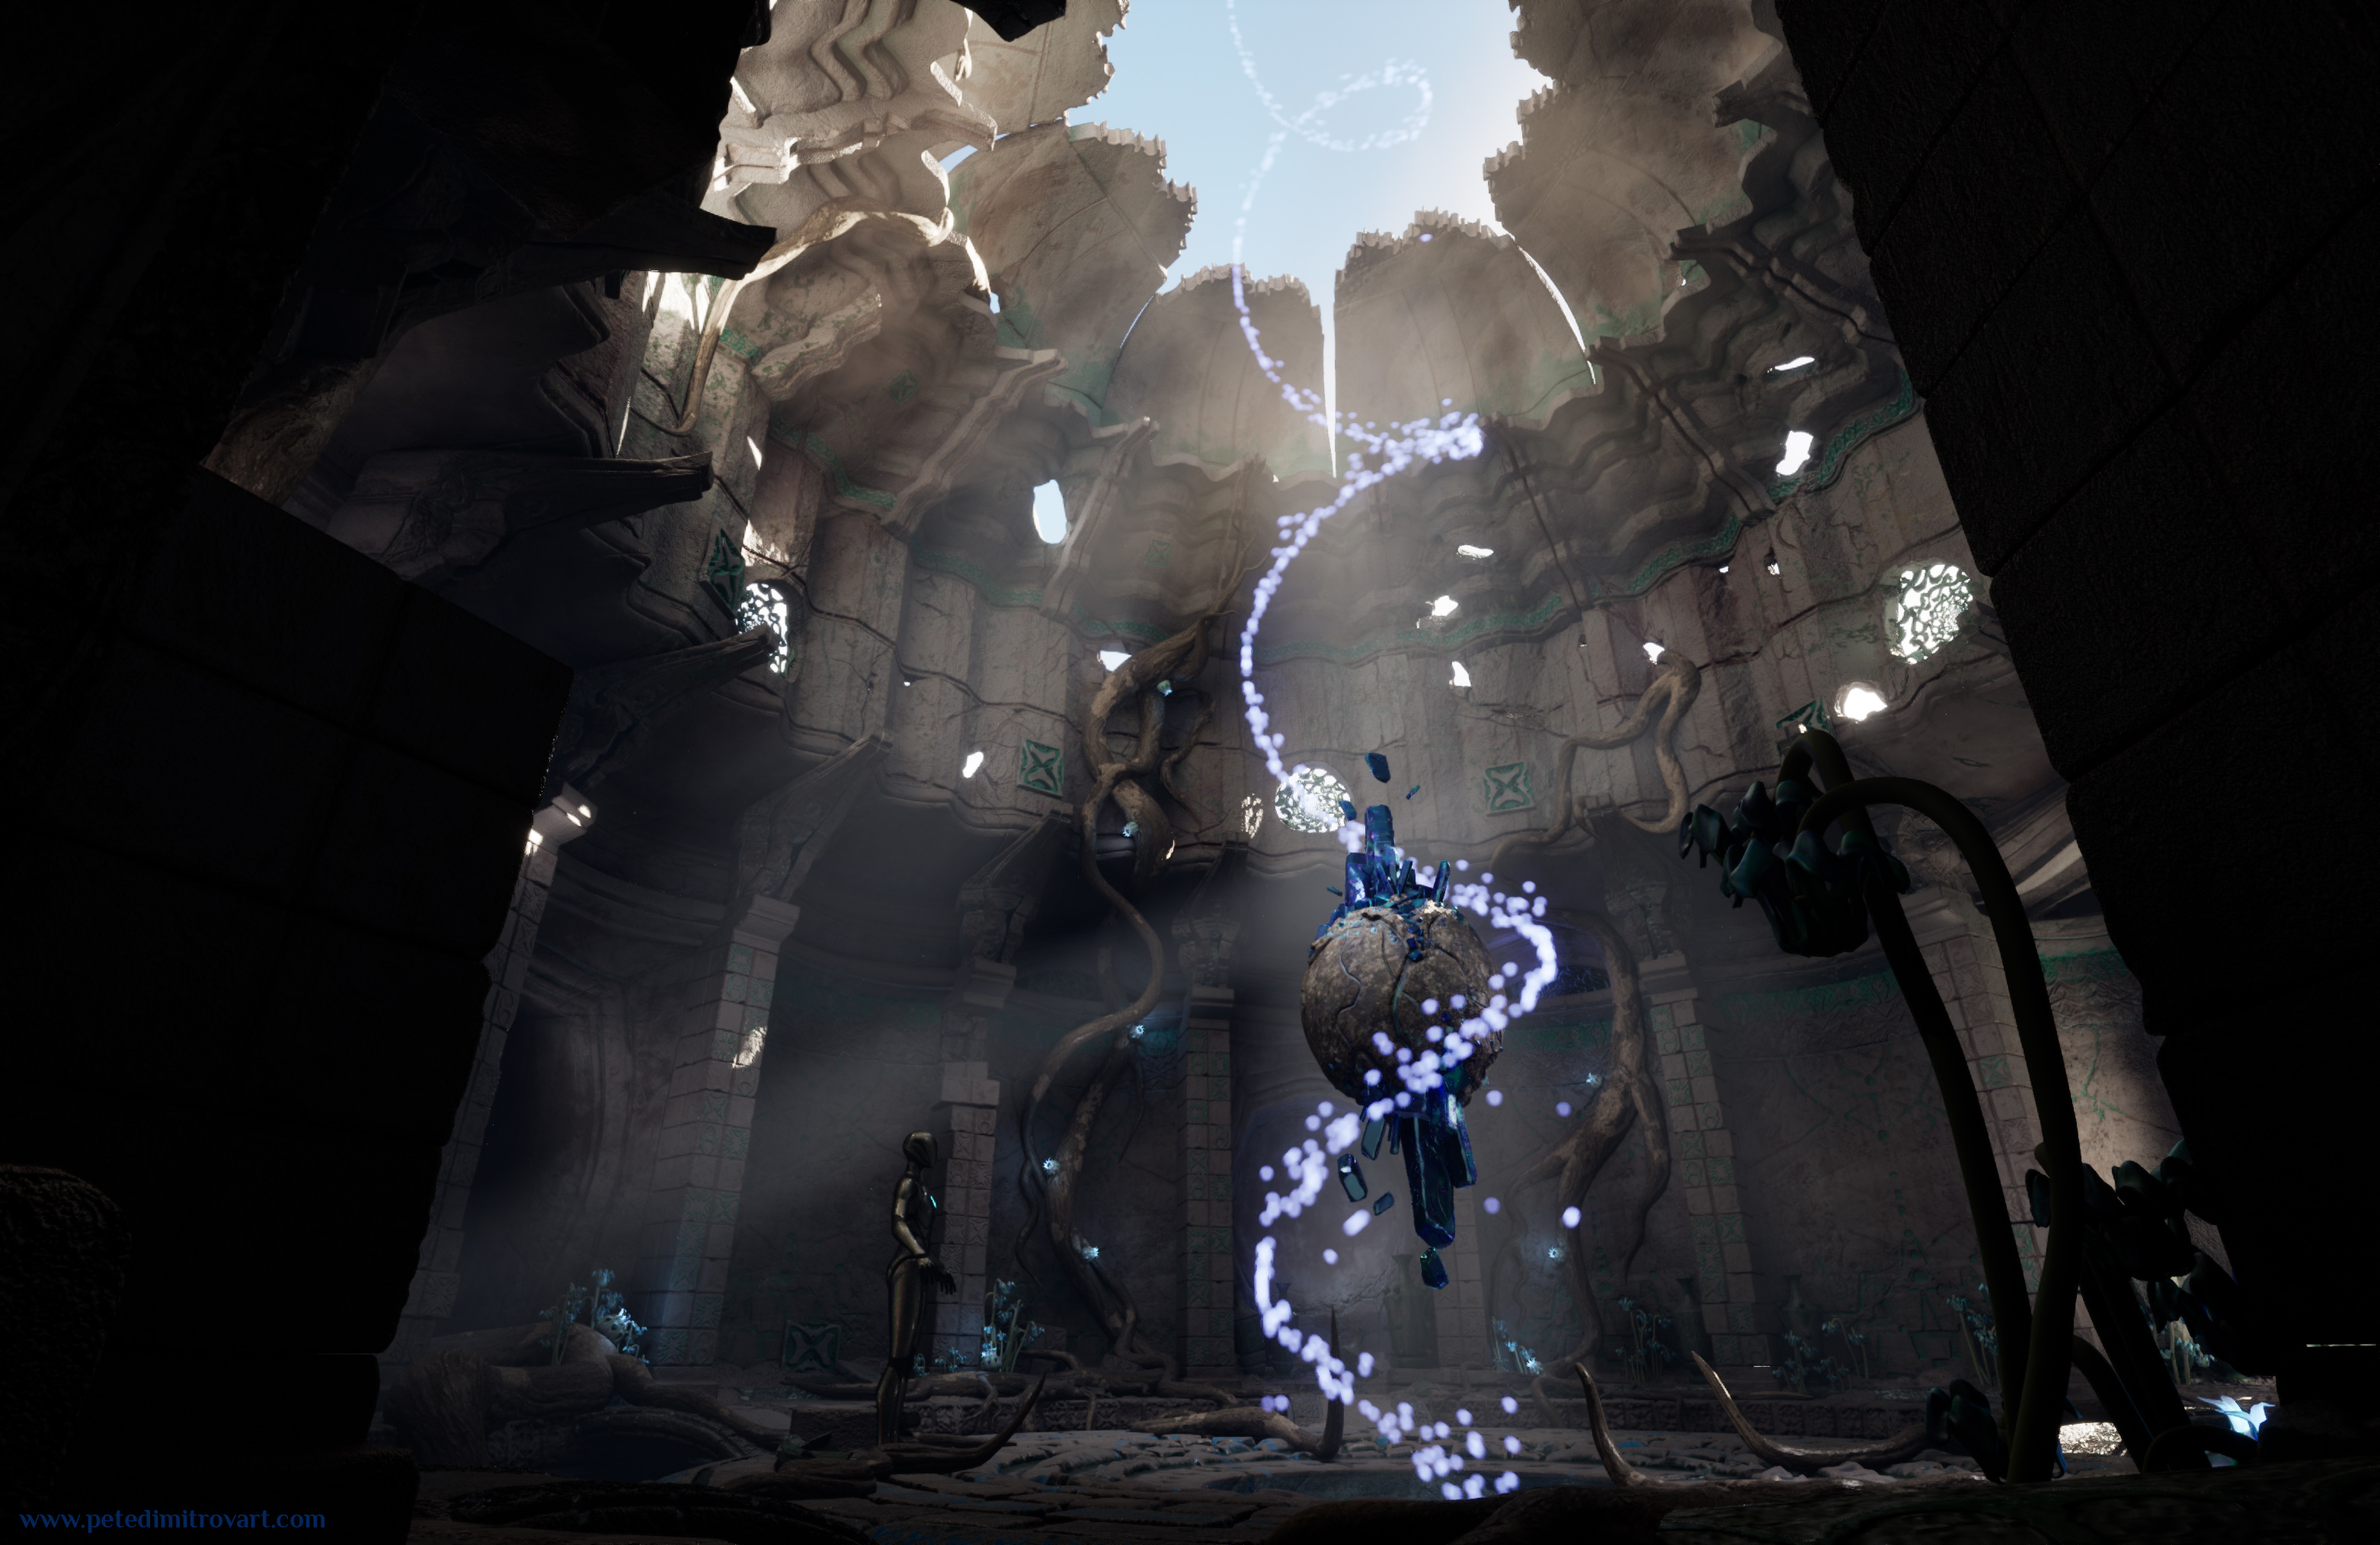
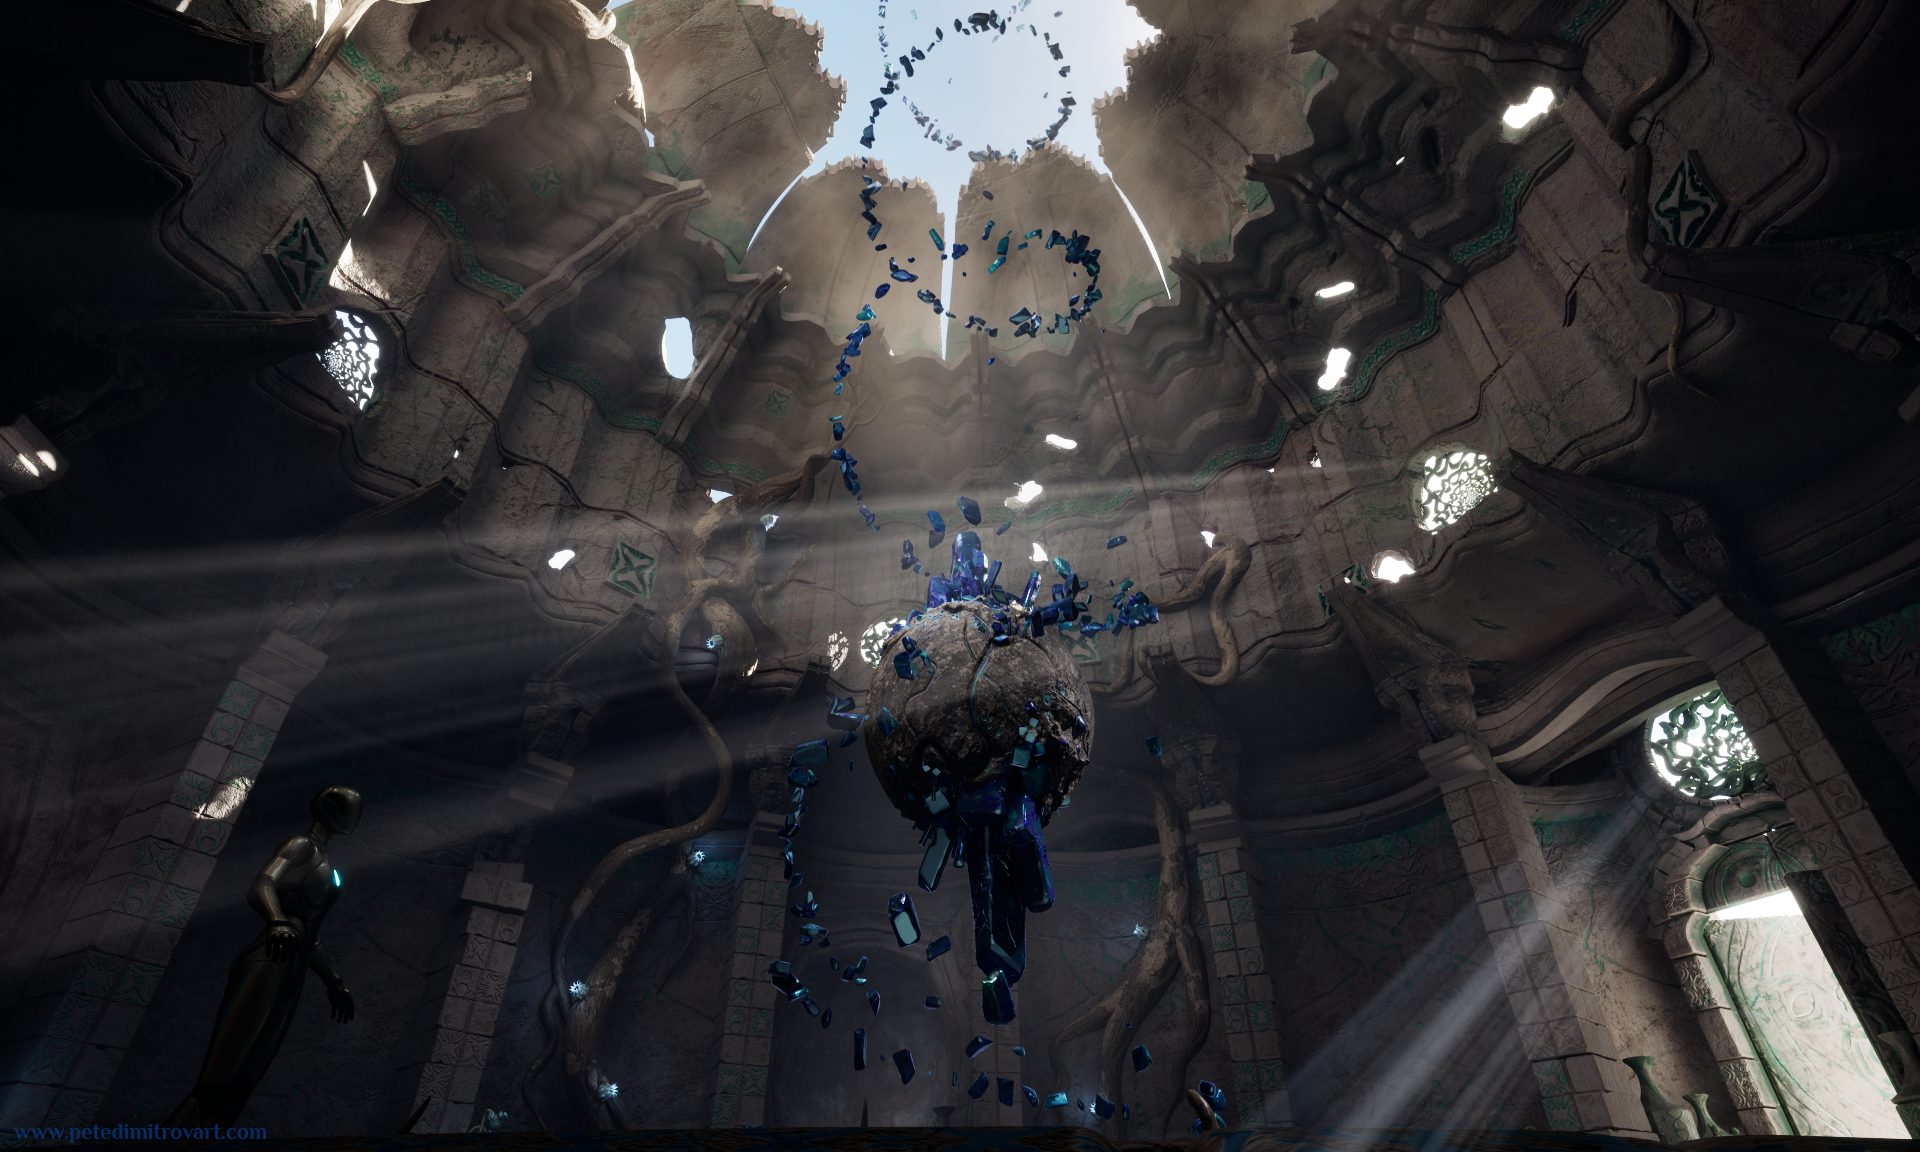
Here it is now, with some additions I will go over and describe in this blog entry:
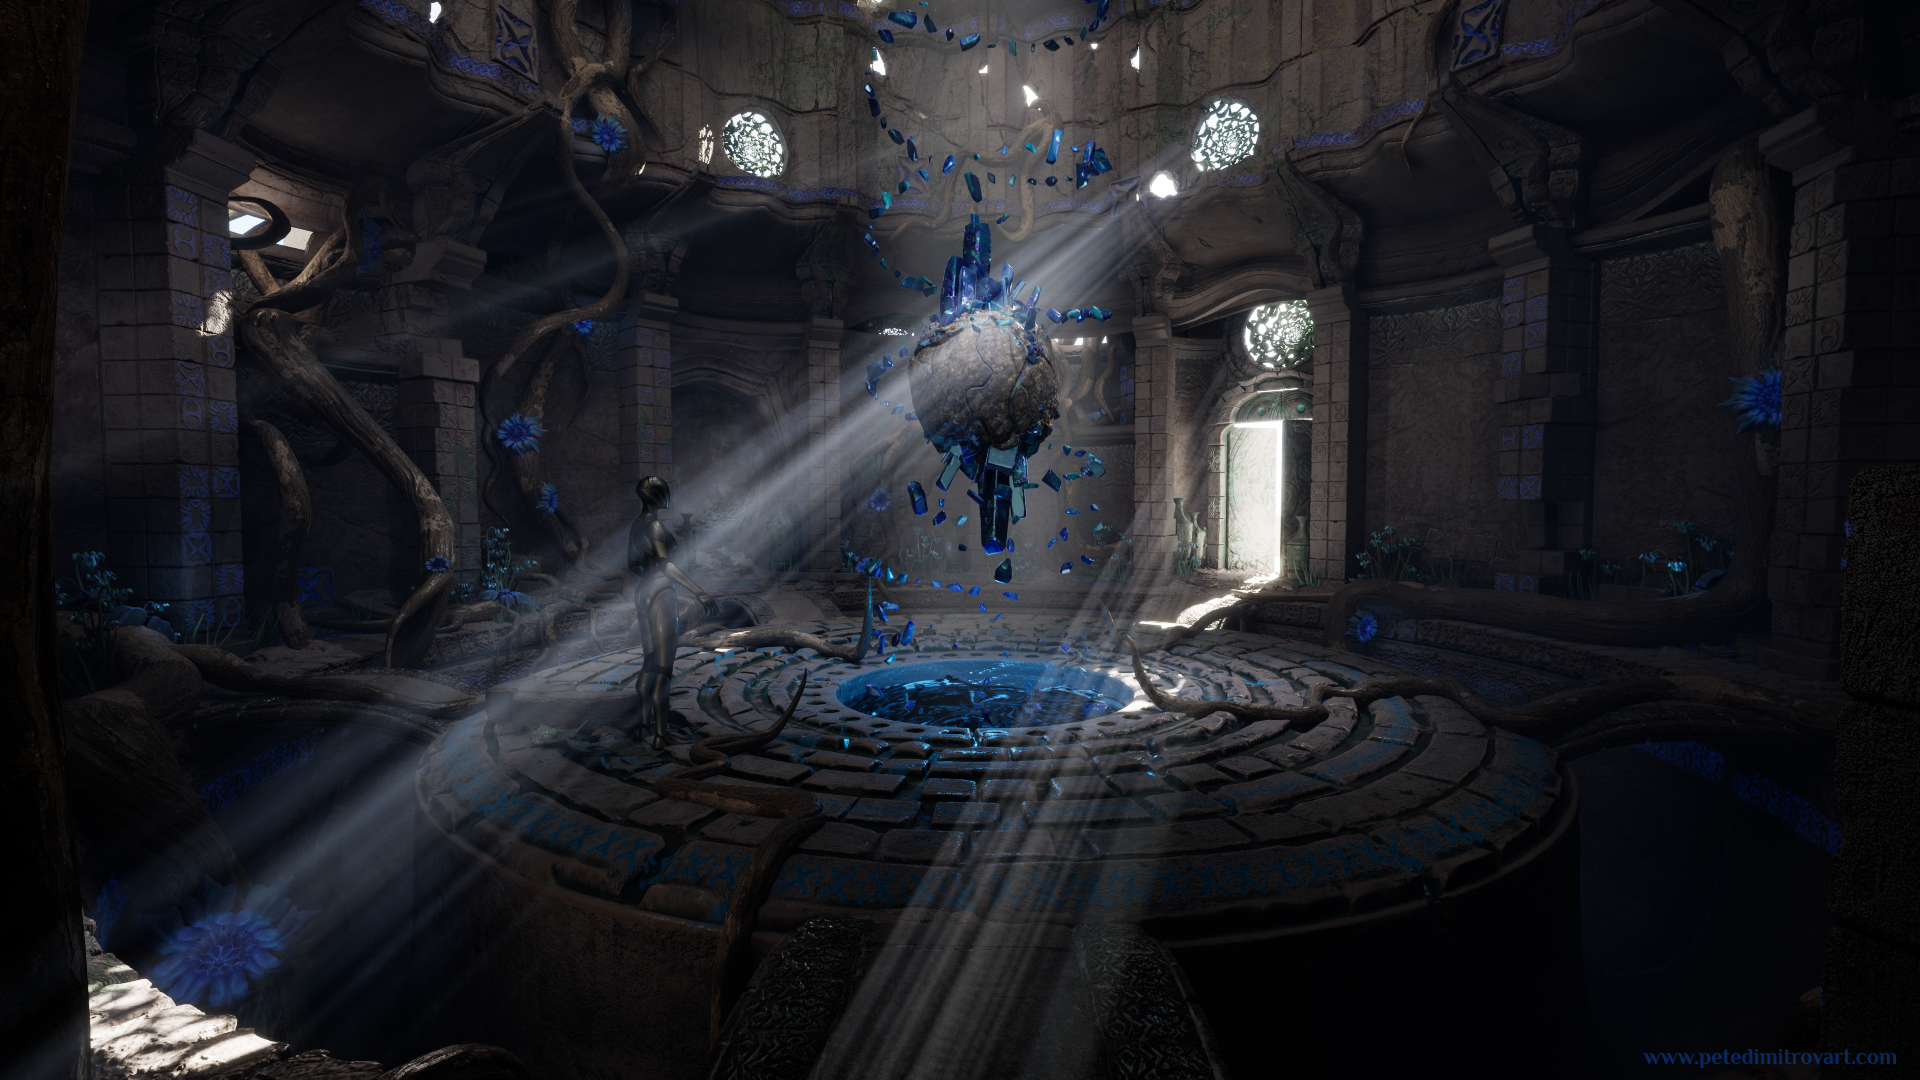
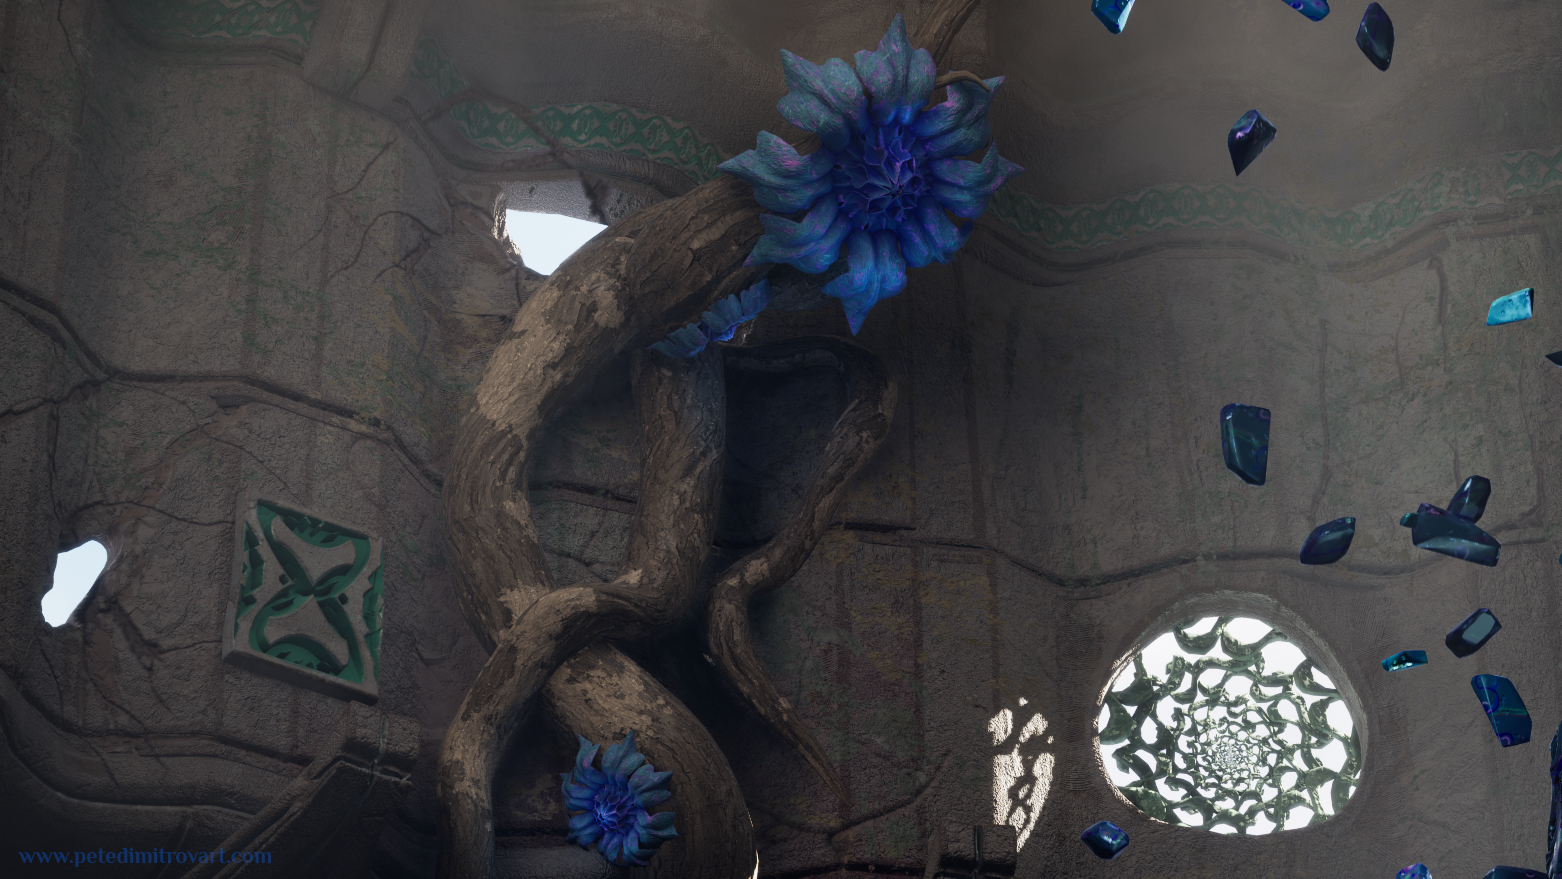
Comparing the two images above, you can see that I’ve build up further, more powerful blue color permeating through the scene. I did that through some light and through some new props and set dressings. Those include wider petal flowers on the vines and roots that crawl the walls. There are also new runes on the top parts of the inner walls and stronger blue symbols in the middle, square, broken pillars.
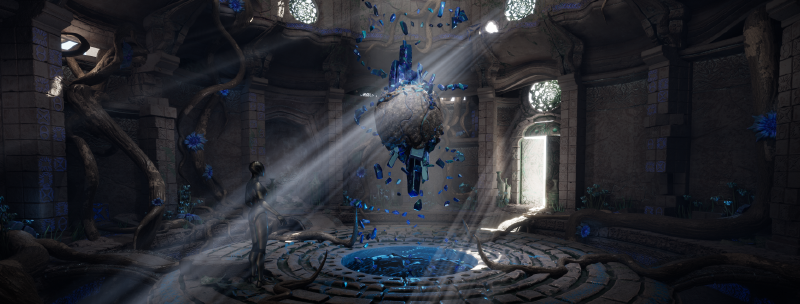
I also made an animated Niagara VFX for shattered shards that spiral endlessly upwards in space. In some of the screenshots I show you might see those off, as I would disabled them here and there when their visual was getting into my way of working. But these were something I made with the intention of keeping at the end in order to give me more interest in the final beauty shots as well as in the cinematic we are creating with Hayley Rumbold.
Endless Spiral
Before I got into placing any shard static meshes for my spiral, I wanted to first block out its actual shape. As such in Niagara I started with the default sprite renderer. It didn’t matter if the elements spawned were 2D billboards or 3D meshes for now. My advise for approaching any VFX is always to first sketch your spawning and your movement that creates your overall shape. Don’t focus on any little details like what is spawned, colors, meshes, rotations of those, etc.
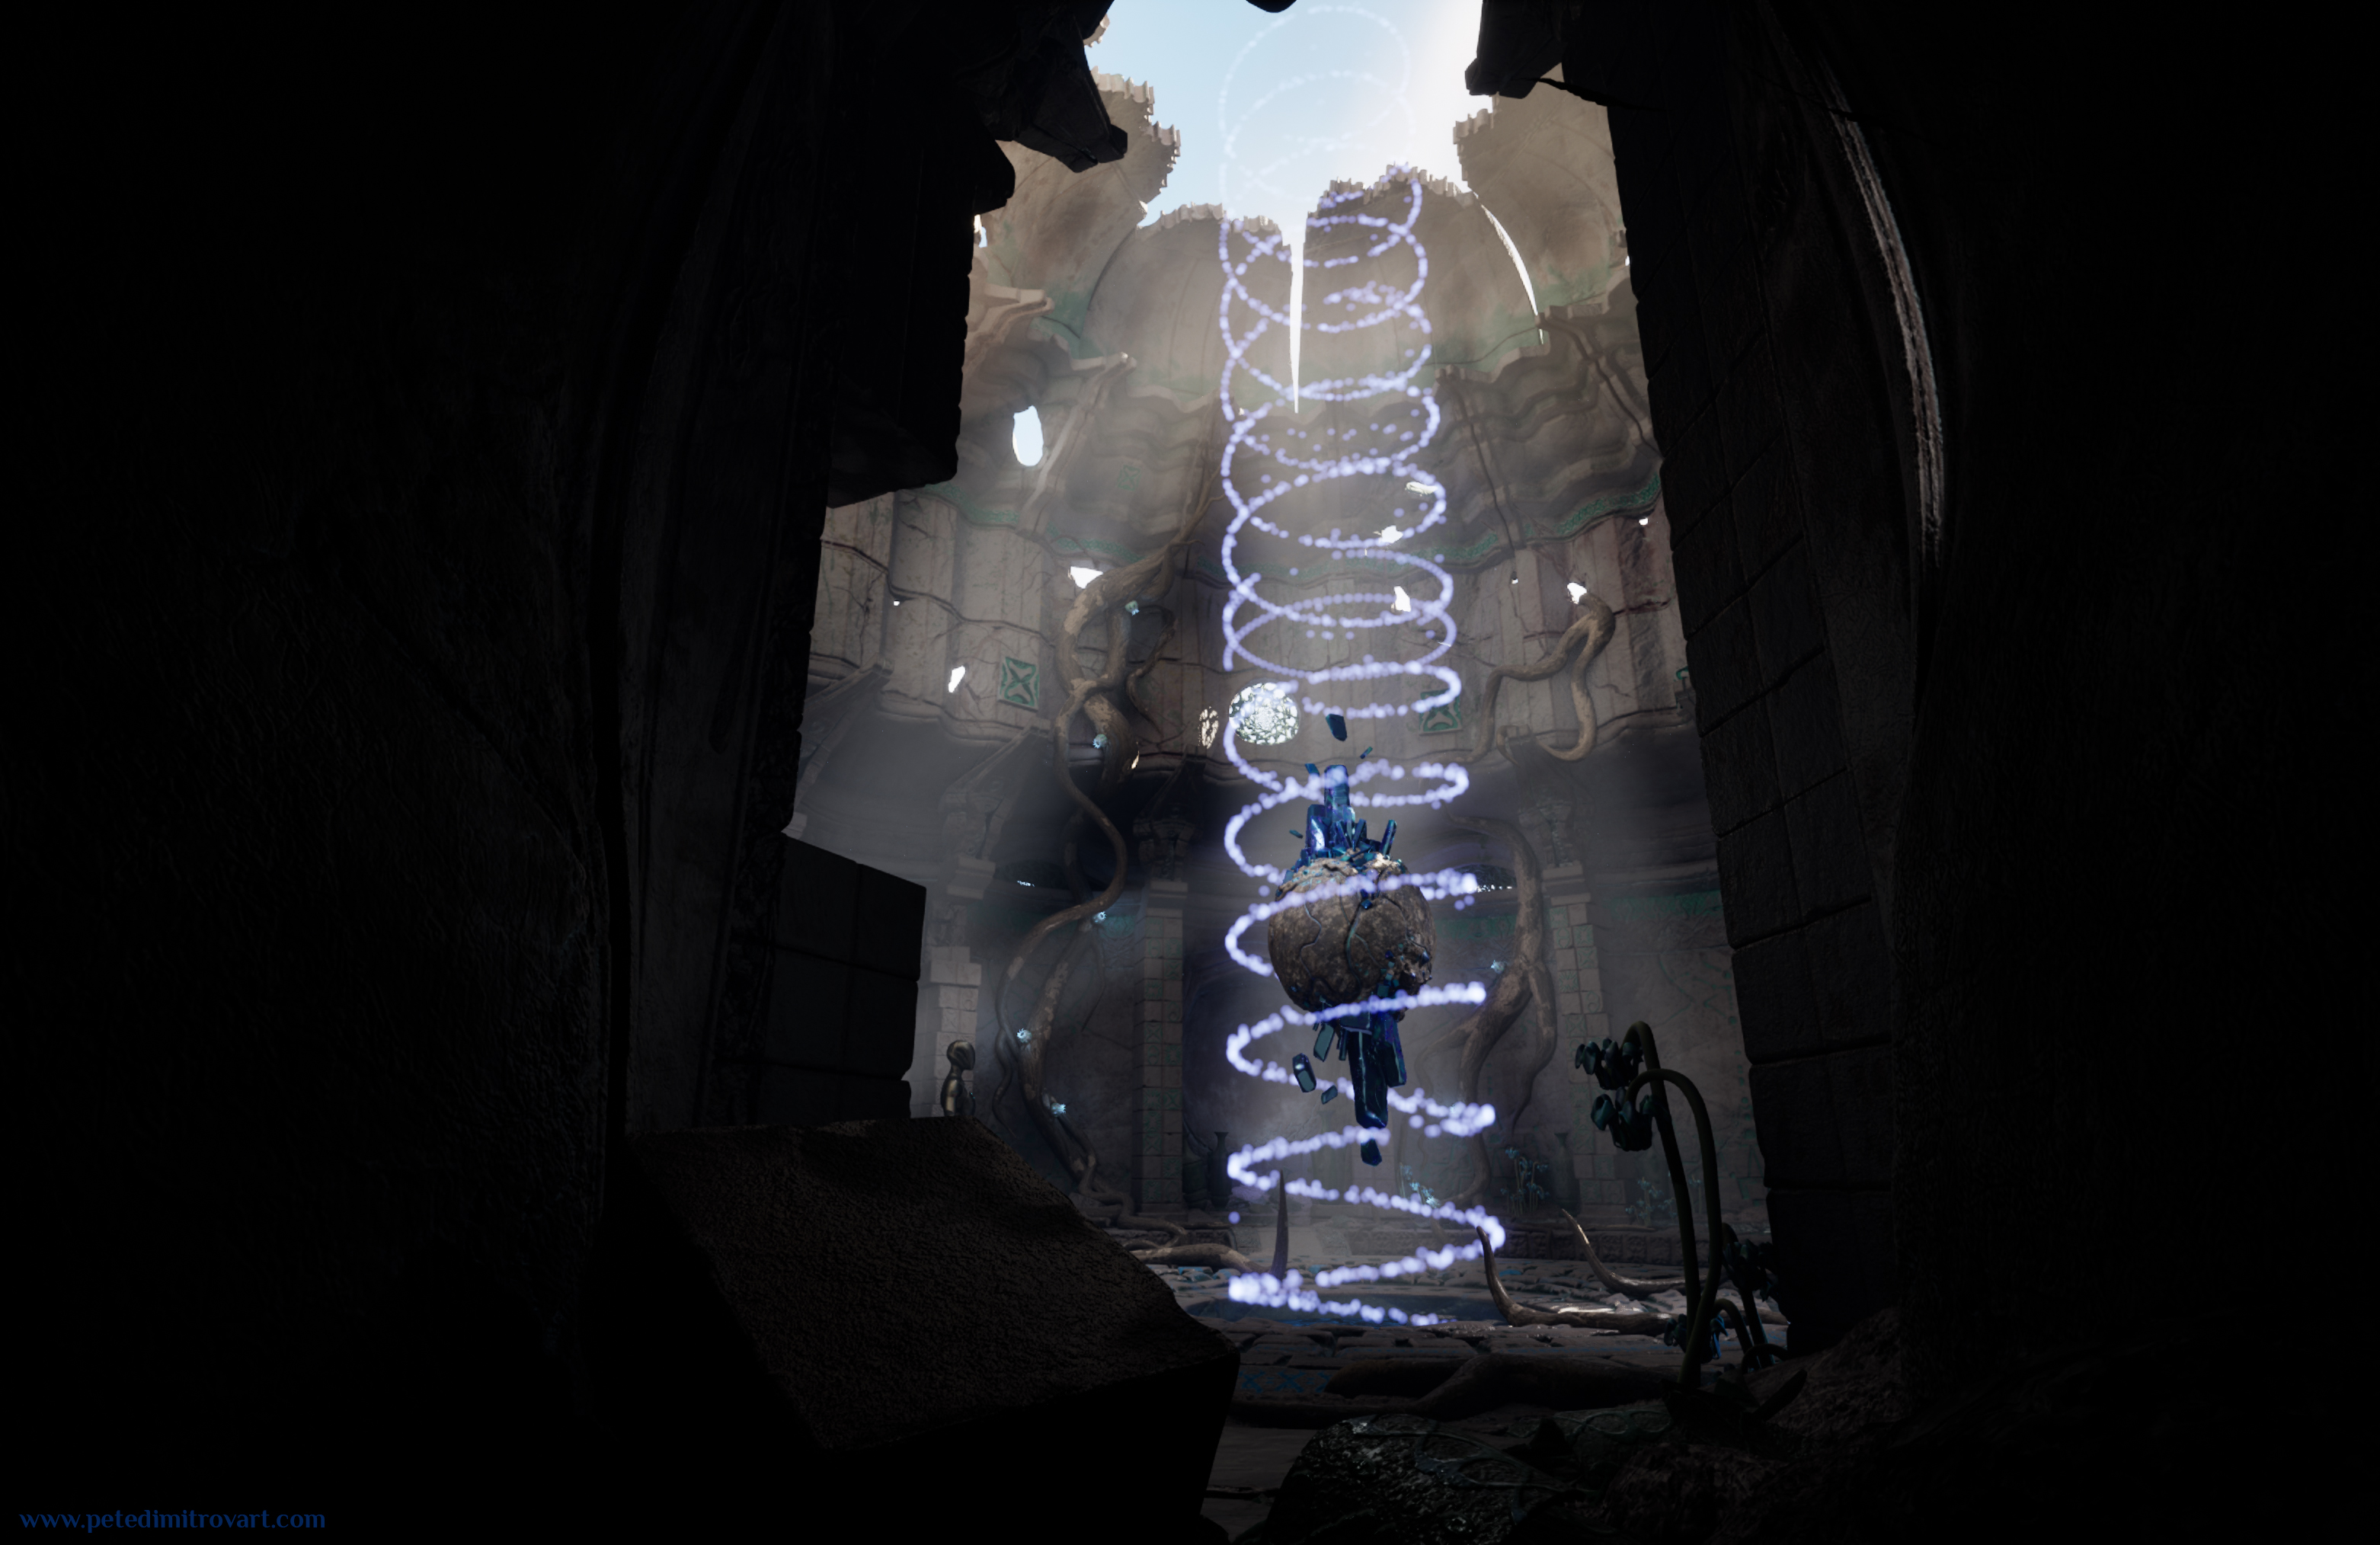
This one above, a dense spiral, quite more visually busy than the image before, is what I had right at the start. Blocking it out made me realize I want the spiral to be less dense which meant it needed to be more skewed in Z upwards space.
Glitched Look
Only after I had the main spiral shape, I started trying to put in static meshes instead of the 2D blue dots. This screenshot above showcases the very first go where I had still not randomized the shard, its scale and its rotation.
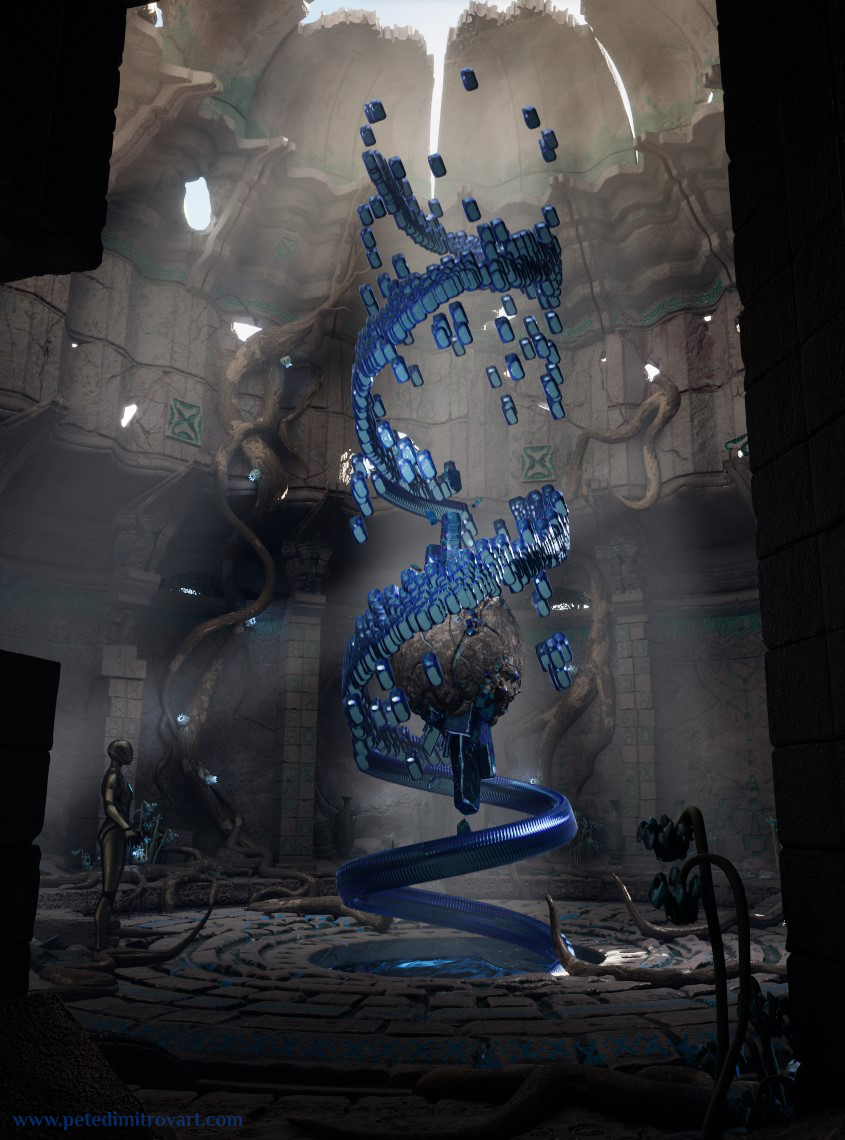
I managed to tweak the mesh spawner so it follows the spiral a bit better (seen above). Yet it was still not great and I started getting a glitched Windows XP window look.
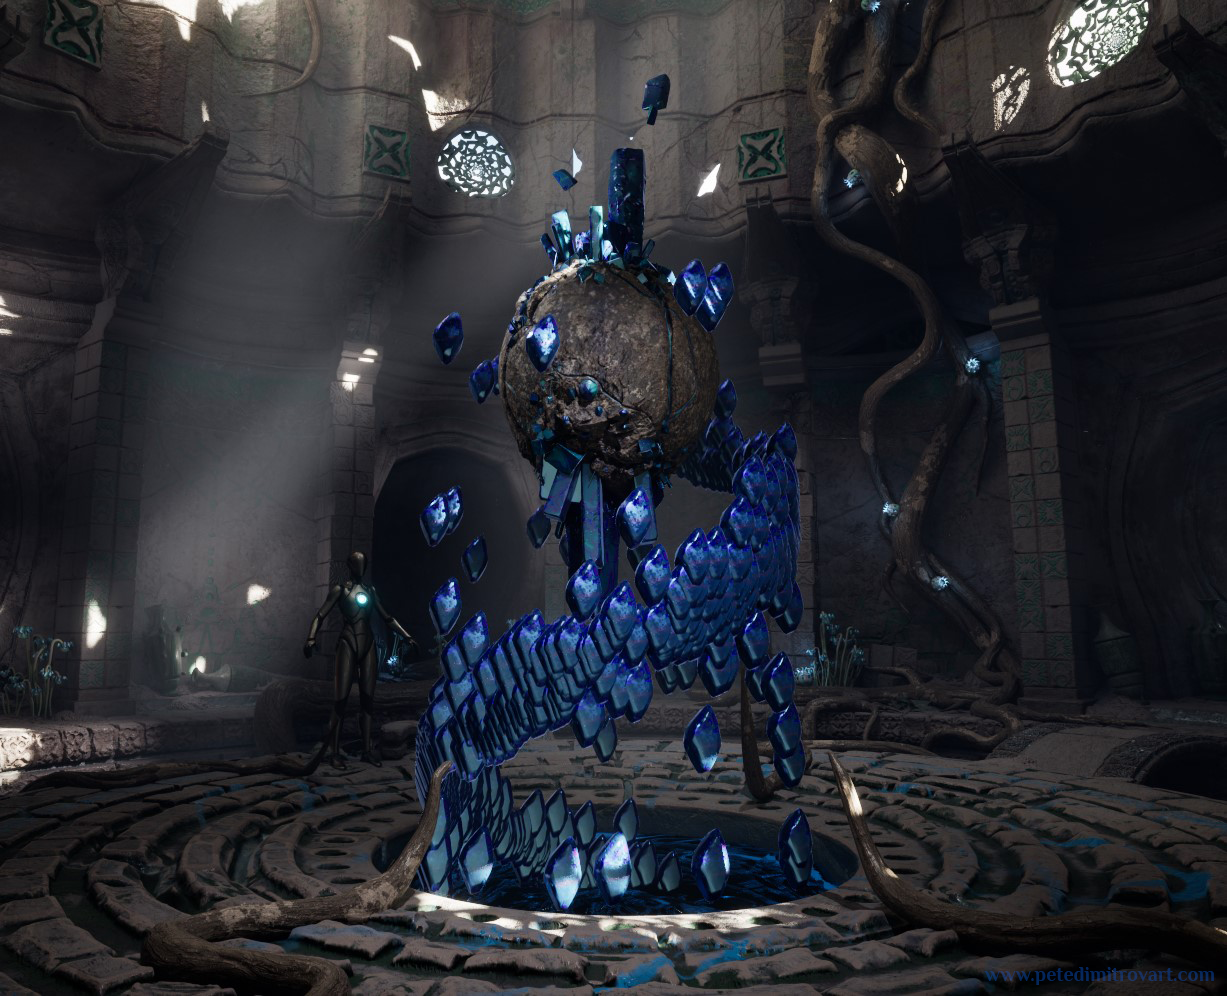
Finally, after some tweaks, I managed to make my Niagara do the following: pick and spawn 1 mesh randomly between a selection of 3. Scale it up or down randomly. Rotate it randomly. The result meant that some pieces of shards clip into others. As long as my scale was tweaked to be shards smaller than in the image seen above, there were no big clipping offenders. As in there were plenty happening, but could the viewer notice? Not really, unless they paid really, really close attention. As such I decided that its not worth it to spend my time into any clever solutions that would prevent from meshes to spawn clipped into one another.
The above was pretty much what I settled after the first tweaks. Later on, once Hayley started setting up her cinematic work cameras, I did further fixes here and there on the spawning, scale, etc. I did that so it fits better what she had needs of for the cinematic.
Flowers
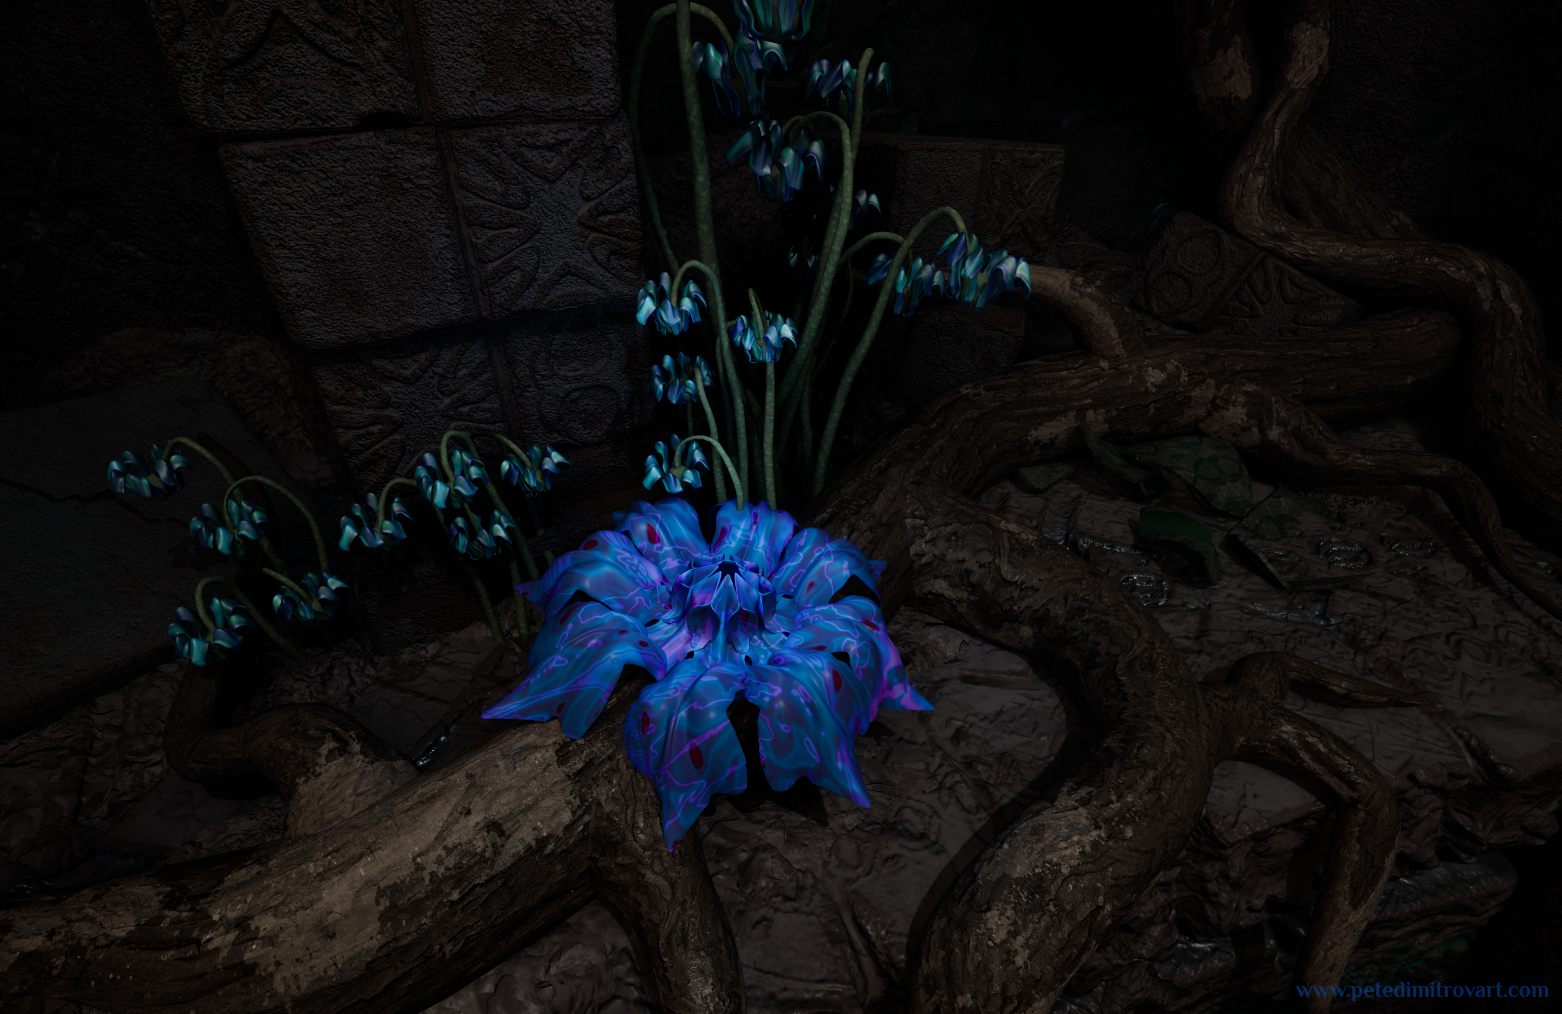
The other important piece that I created, which came right after the making of the spiral, was the flower I mentioned at the start.
Given that my project was an experimentation and learning in UE5 and respectively Nanite and Lumen, it meant I could afford to create the flower entirely using geometry. I didn’t have to spend time sculpting a flat petal in Zbrush and then baking it into an atlas to go onto foliage cards. Instead I just modelled my flower and its petals as thick, 3D pieces, straight inside Blender using a subdivision modifier workflow.
I didn’t leave my Catmull-Clark subdivision modifier to be needlessly high, I kept it relatively low, but it was still very nice to have something created so quickly and not to have to worry about polycount as you would outside of Nanite (in UE4 for example).
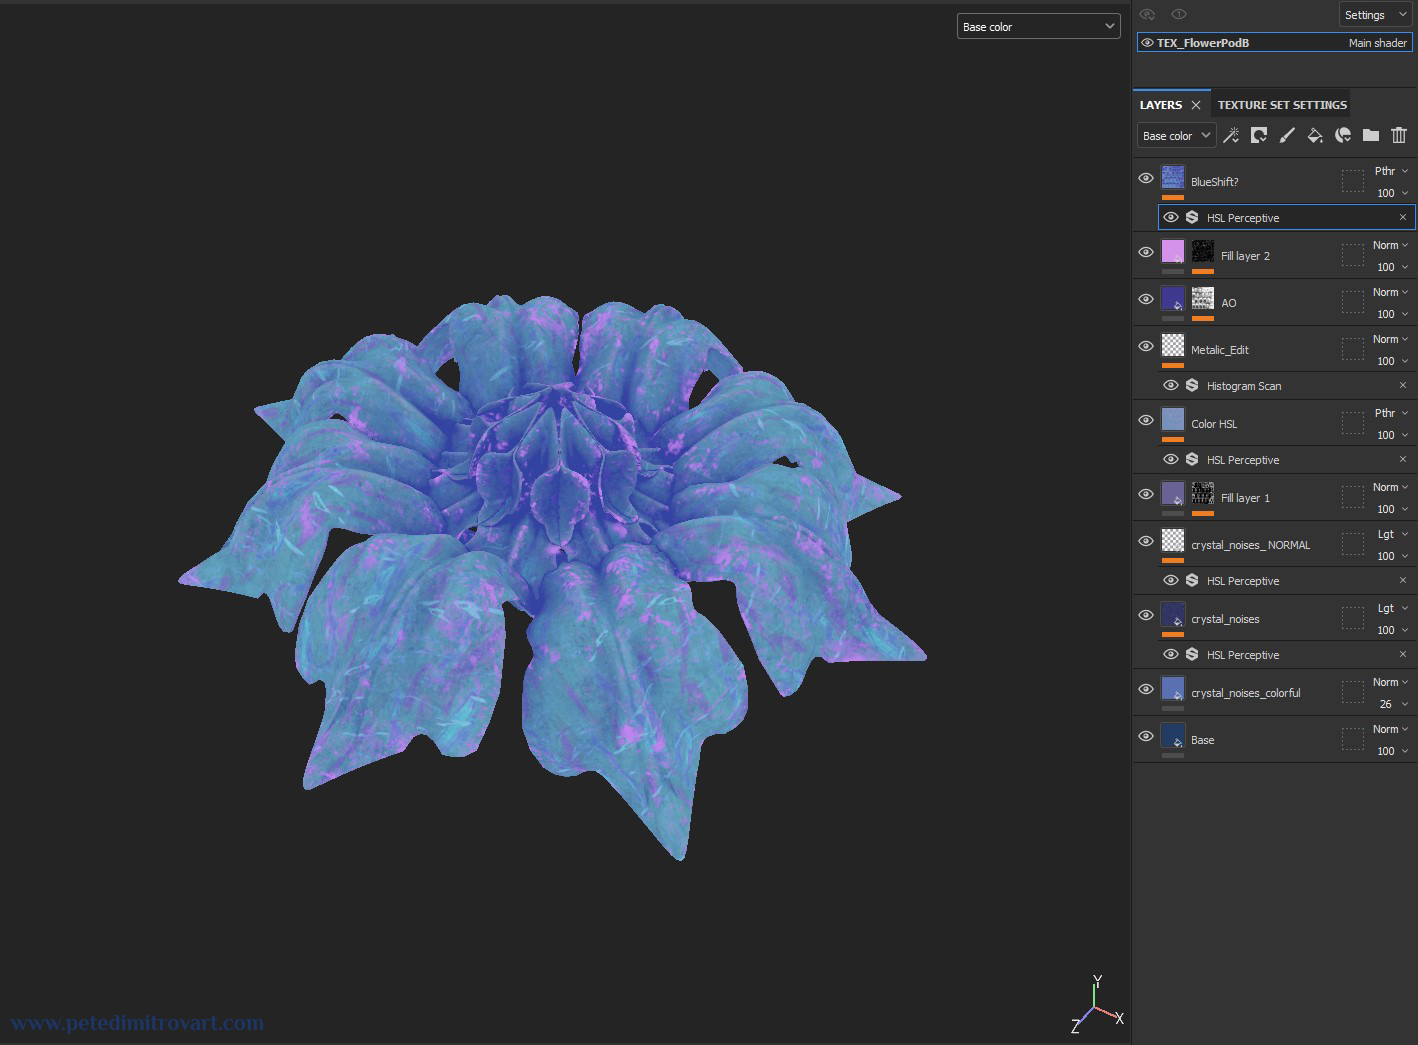
My initial texturing was a bit too bright in albedo and although it looked alien in a cool way, it was drawing too much attention. As such I tweaked it to be a bit darker like seen below.
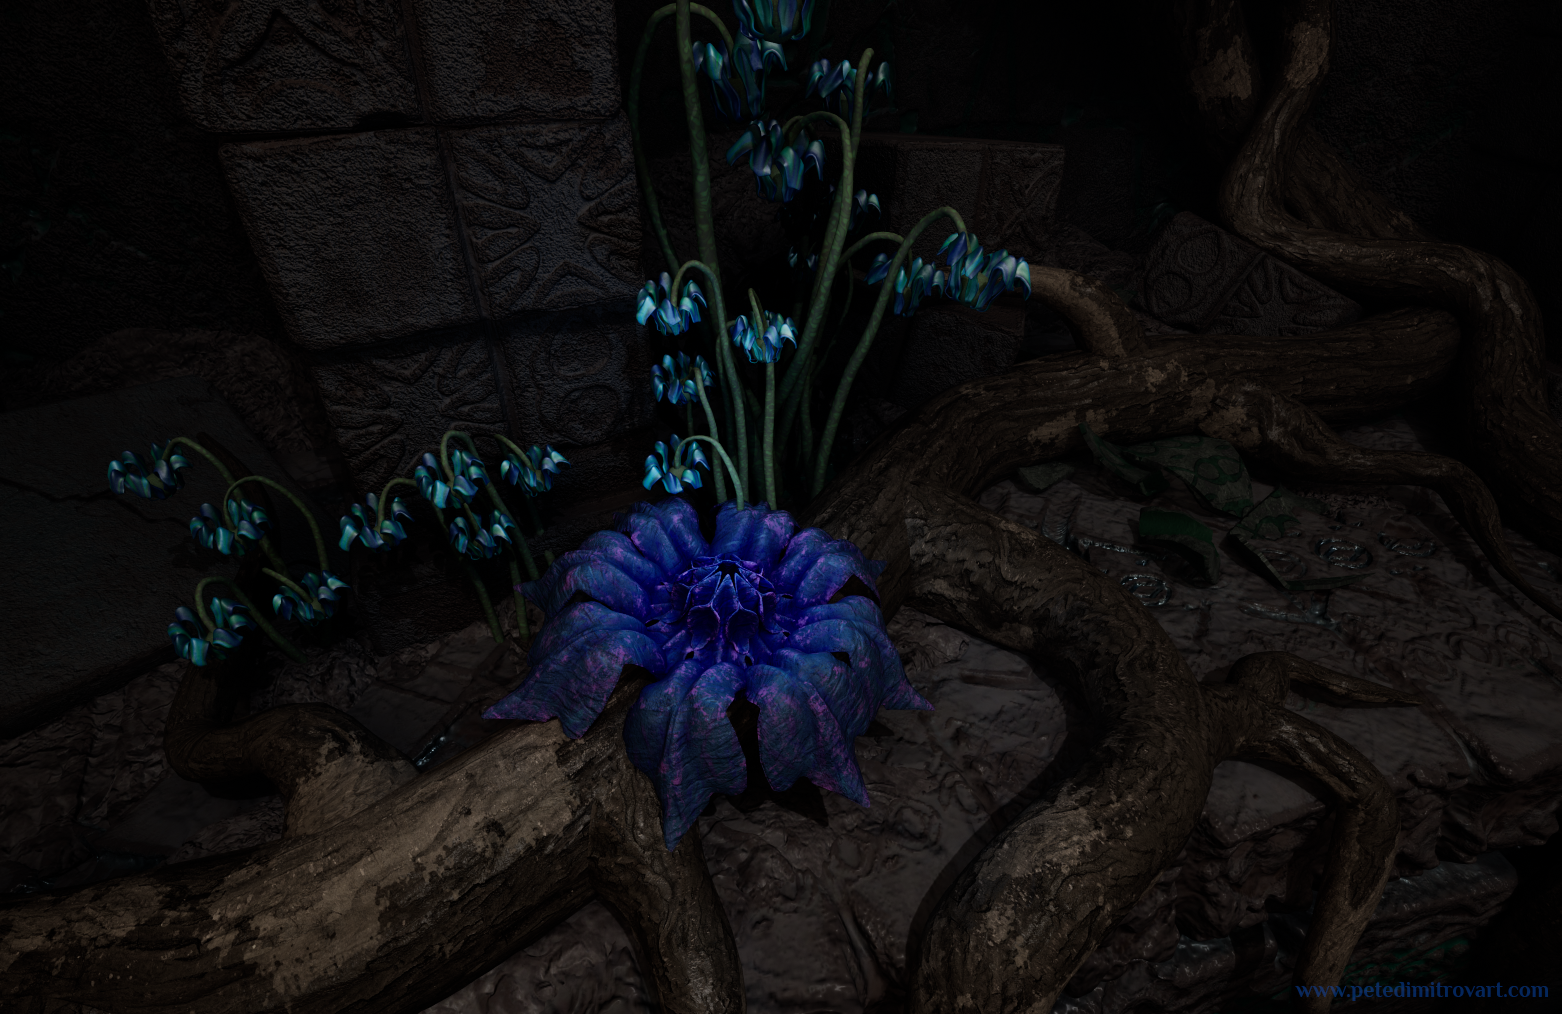
I also tried to give it a stronger normal map noise to give it leaf-like surface details. I think later in the project I also slightly tweaked the purple and pink grunge to not be as powerful.
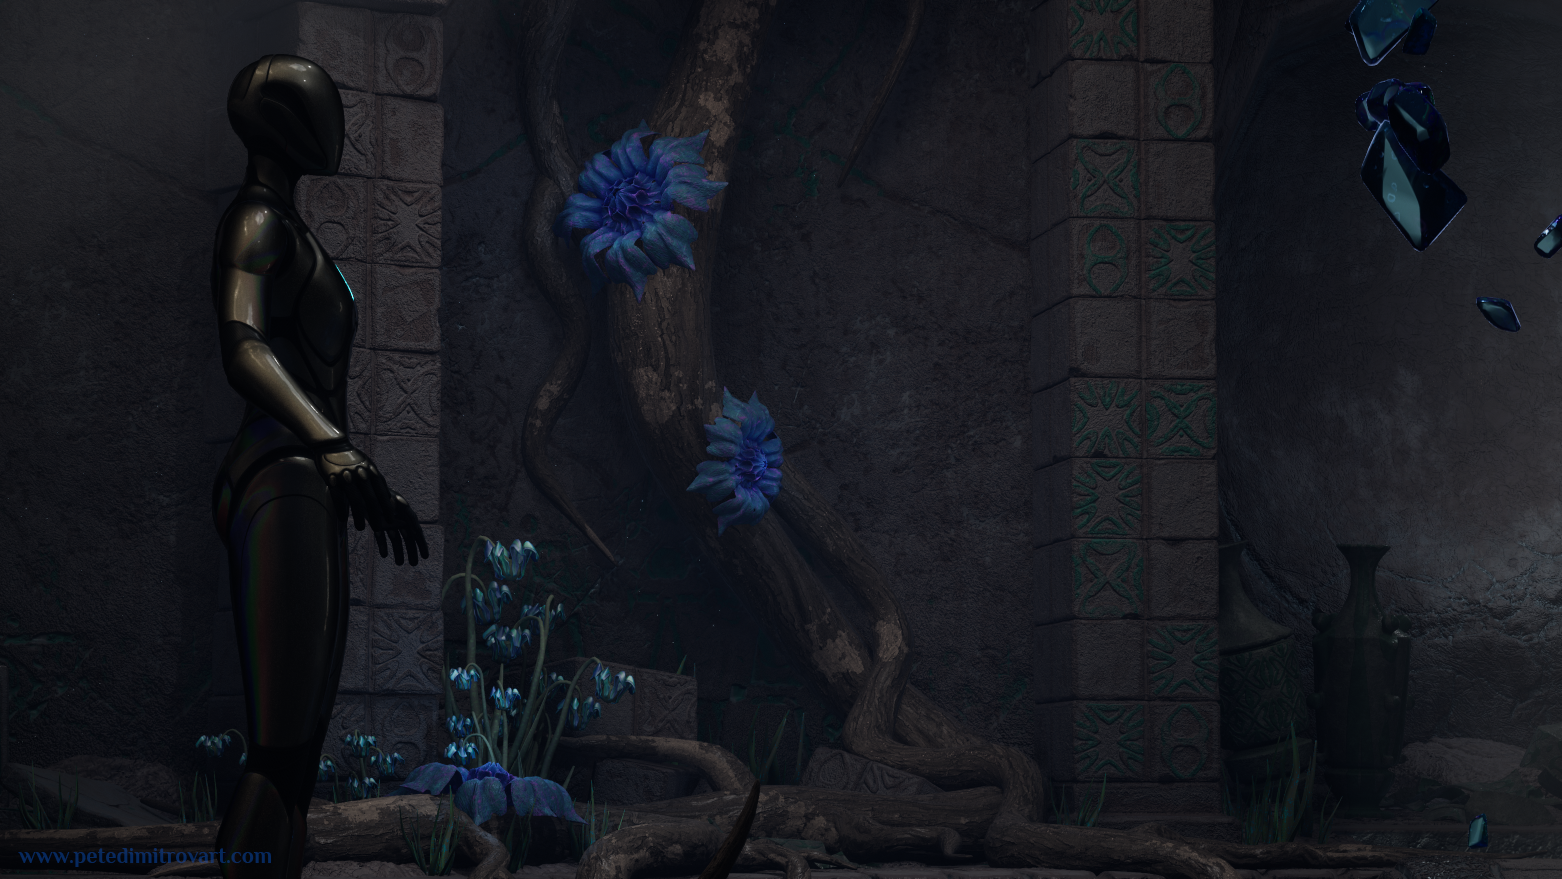
Comparison
Interactive element below. Move the white bar and arrows in the middle to see comparison between two images.If you drag the bar in the middle of the picture above, you will see the “before” and “after”. In the initial versions the flowers had a bright spotlight-esque look. That made them very much in contrast compared to the environment and I think that was breaking the scene. In the second version, without such obvious lights, the shapes work much better.
Conclusion
In this entry we saw the scene move forward thanks to some VFX and some flowers. Those introduced more blue hues that I then tied up with more blue runes and symbols on some of the pillars and walls. Overall that shifted the monotonous gray and low saturation green look away. It made the scene look a bit more alive and interesting.
Credits
Hayley Rumbold who I mentioned a few times in the post is my collaborator in the art in this project. She created the cinematic works for the short set in the environment. We will explore that in later posts.
Blooper
For the end of this post I will leave you with a “blooper” (not really, just an experiment I thought would be fun to try). It’s something I thought might be interesting but at the end abandoned as an idea as it was just way too busy and was overpowering the rest of my scene.
I annotated it with:
I made a biblically accurate crystal.
If it could whisper unsettling words, what would it murmur?
Screenshot of the crystal in the video above.
All the best,
Pete.
If you enjoyed this blog post, consider subscribing in the form below. That way you will get a notification the next time I publish a new blog.