Foreword
Over the last nine months I’ve been slowly developing my latest environment scene. It’s process documented both in writing and in work-in-progress images has been scattered across my social channels. I’ve got a lot of positive comments and encouragement a long the way by some wonderful people. Some of you, dear readers, might have even seen the project and the aforementioned images already. I wanted to still pull it all together, so to speak, into one condensed place. Tie up the scattered posts and ends.
In that tie up, I hope for some of you to find inspiration. Others I hope find insight and resources towards what and how I set to accomplish the things I have in my scene.
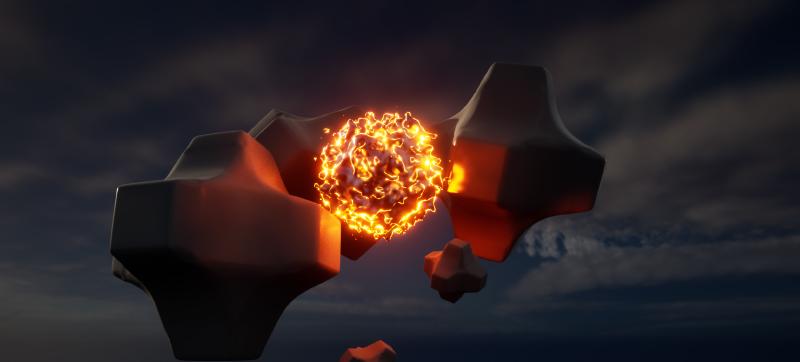
Above is the first screenshot I took inside the environment scene. An orange, abstract, floating, orb. This had been an experiment of importing an animated orb directly from Houdini.
Project Beginning
In March 2022 I was experimenting with a small game prototype I had started in Unreal Engine 4. It was a topdown camera RPG with lots of spells and action. I never got to the part of prototyping much of this “action” but I did blueprint a lot of the initial movement, camera work, and then also had started on a few spells and abilities.
I won’t exactly be going into details about the prototype itself as that would call for another long post of its own, and would branch us away from the topic of this current scene. The context important to the start of this environment is that in early July 2022, after creating the initial Blueprints foundation for a few abilities inside the game, I set off to learn and experiment with Houdini.
The thought process behind getting into Houdini was that I wanted to create some spells VFX and animations. But the idea I had in mind was for fluidity and smooth movement, one that would be accomplished through fluid simulations. Yet for obvious performance and scaling reasons I could not get into creating actual real time fluid simulations (not that I have the knowledge to do that even if there is a way to scale it performance wise [I bet there is, smart people out there certainly have accomplished it]).
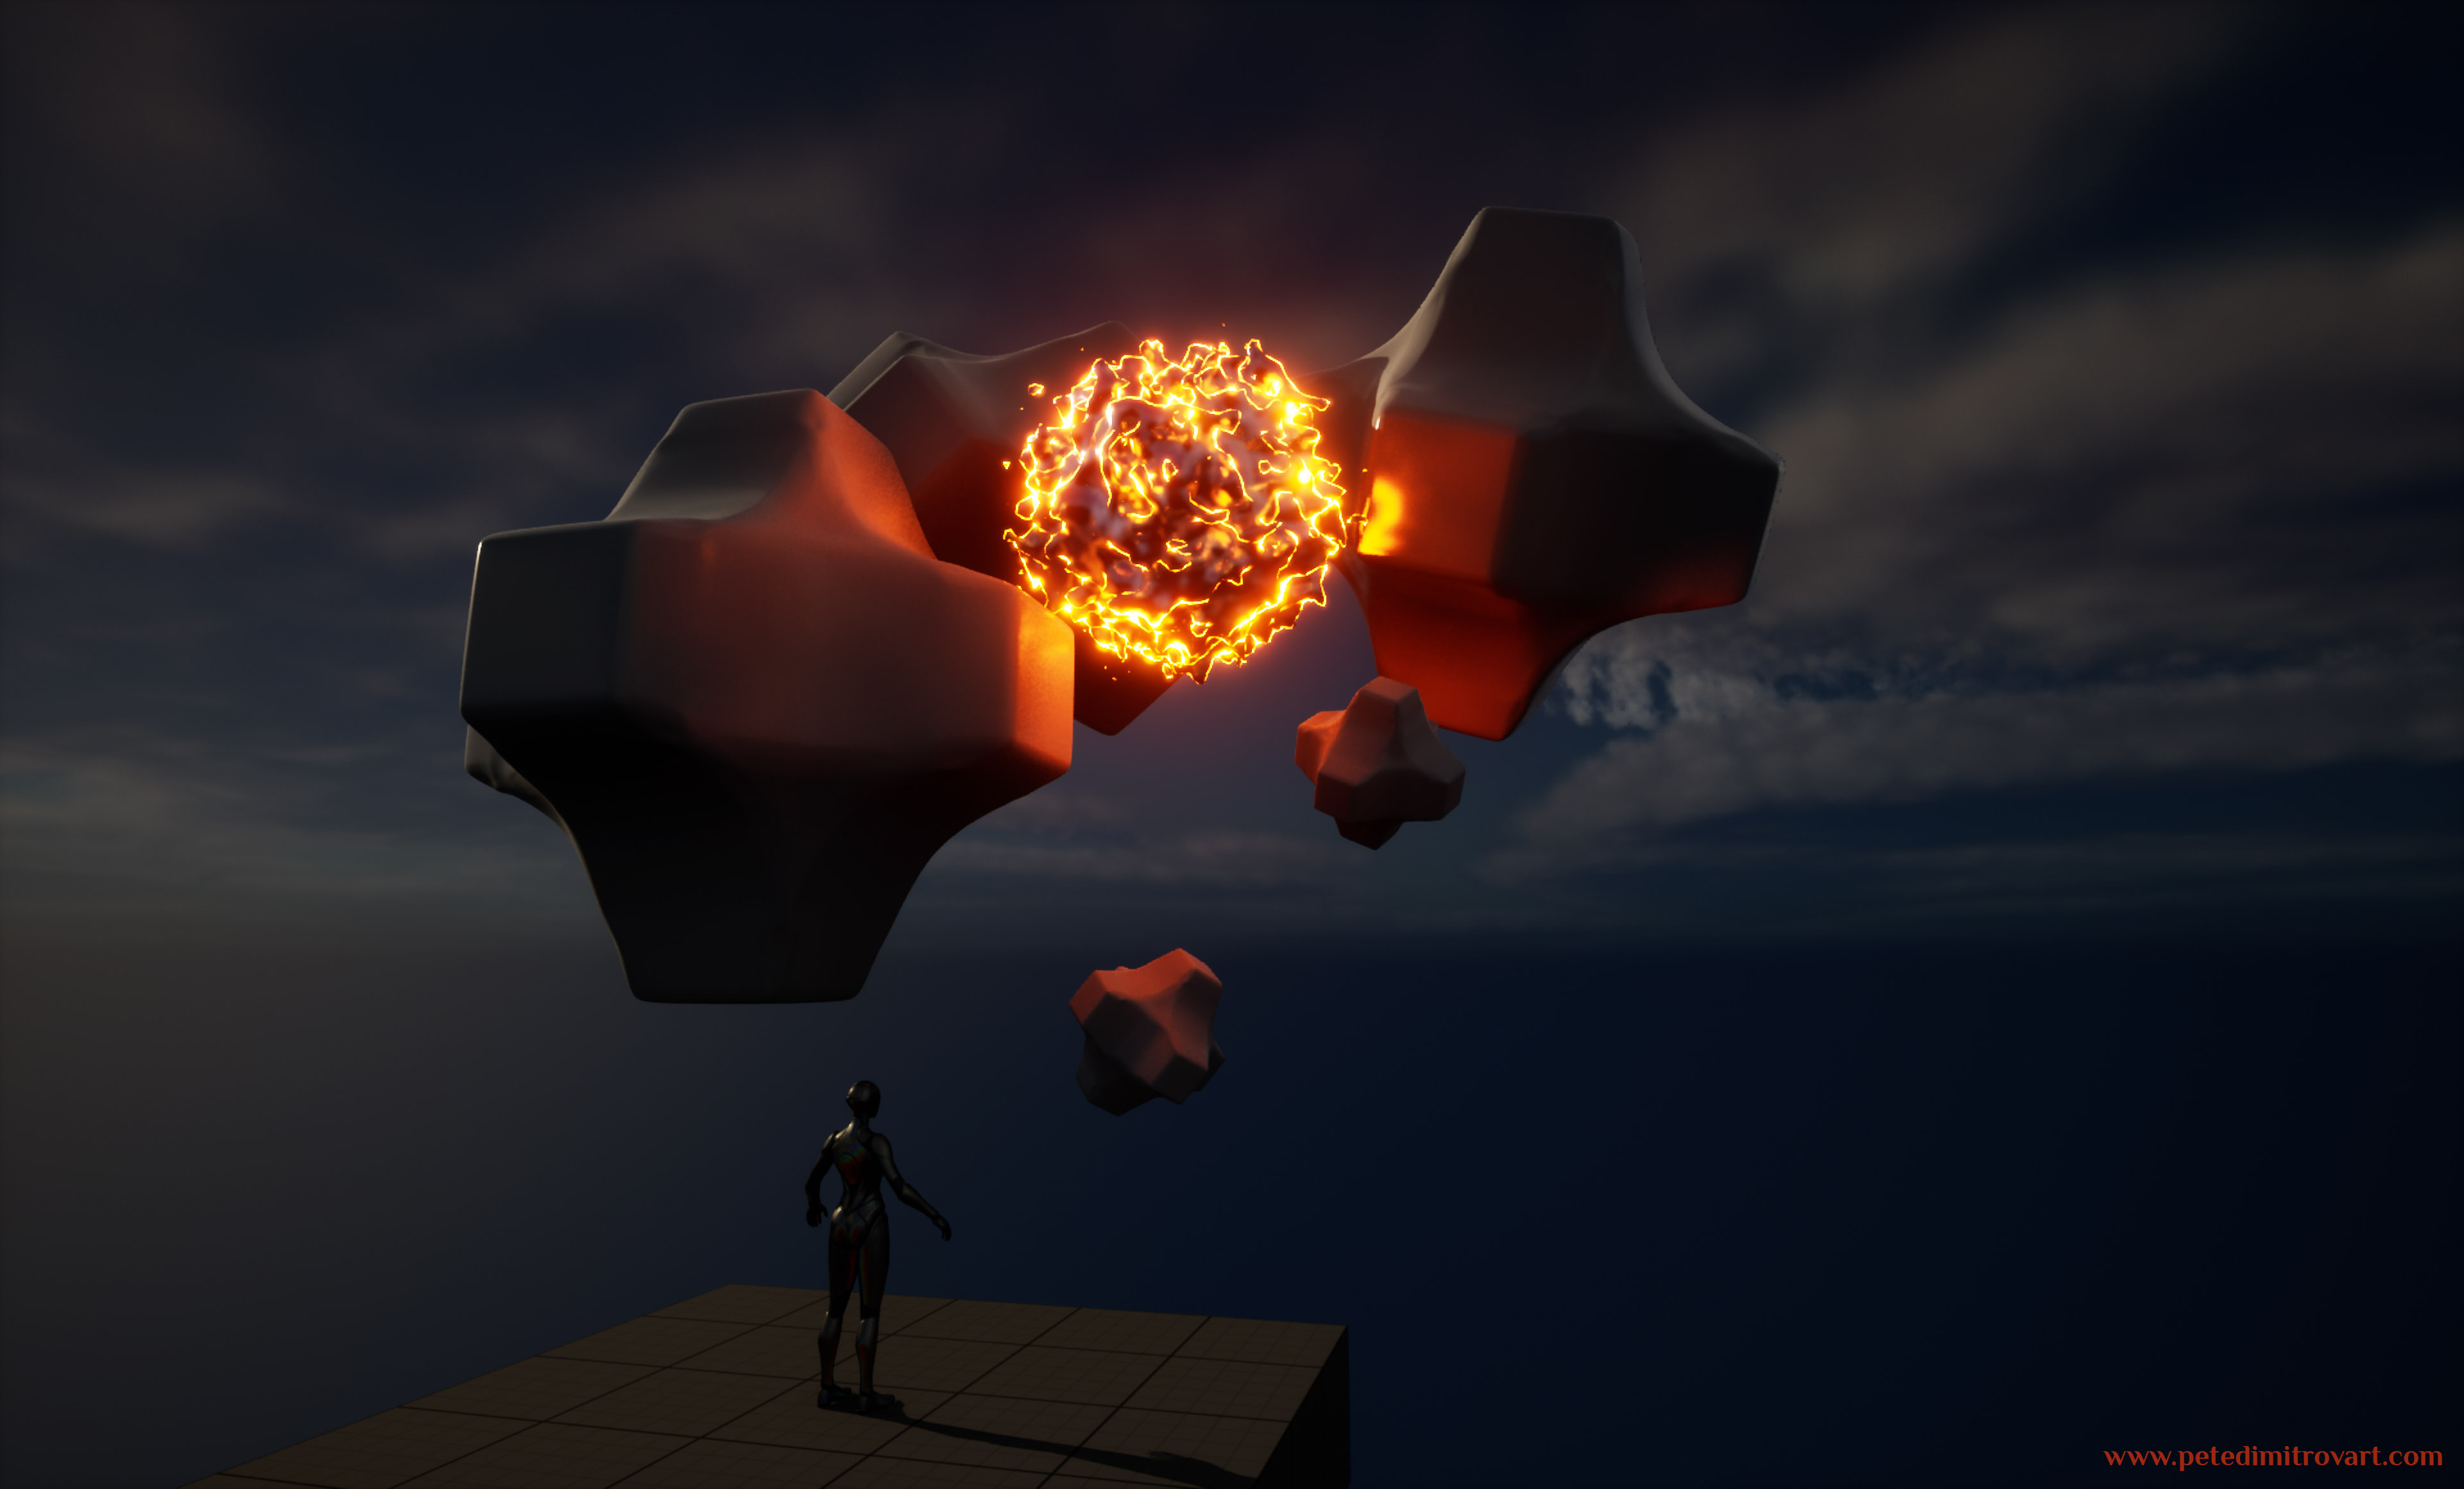
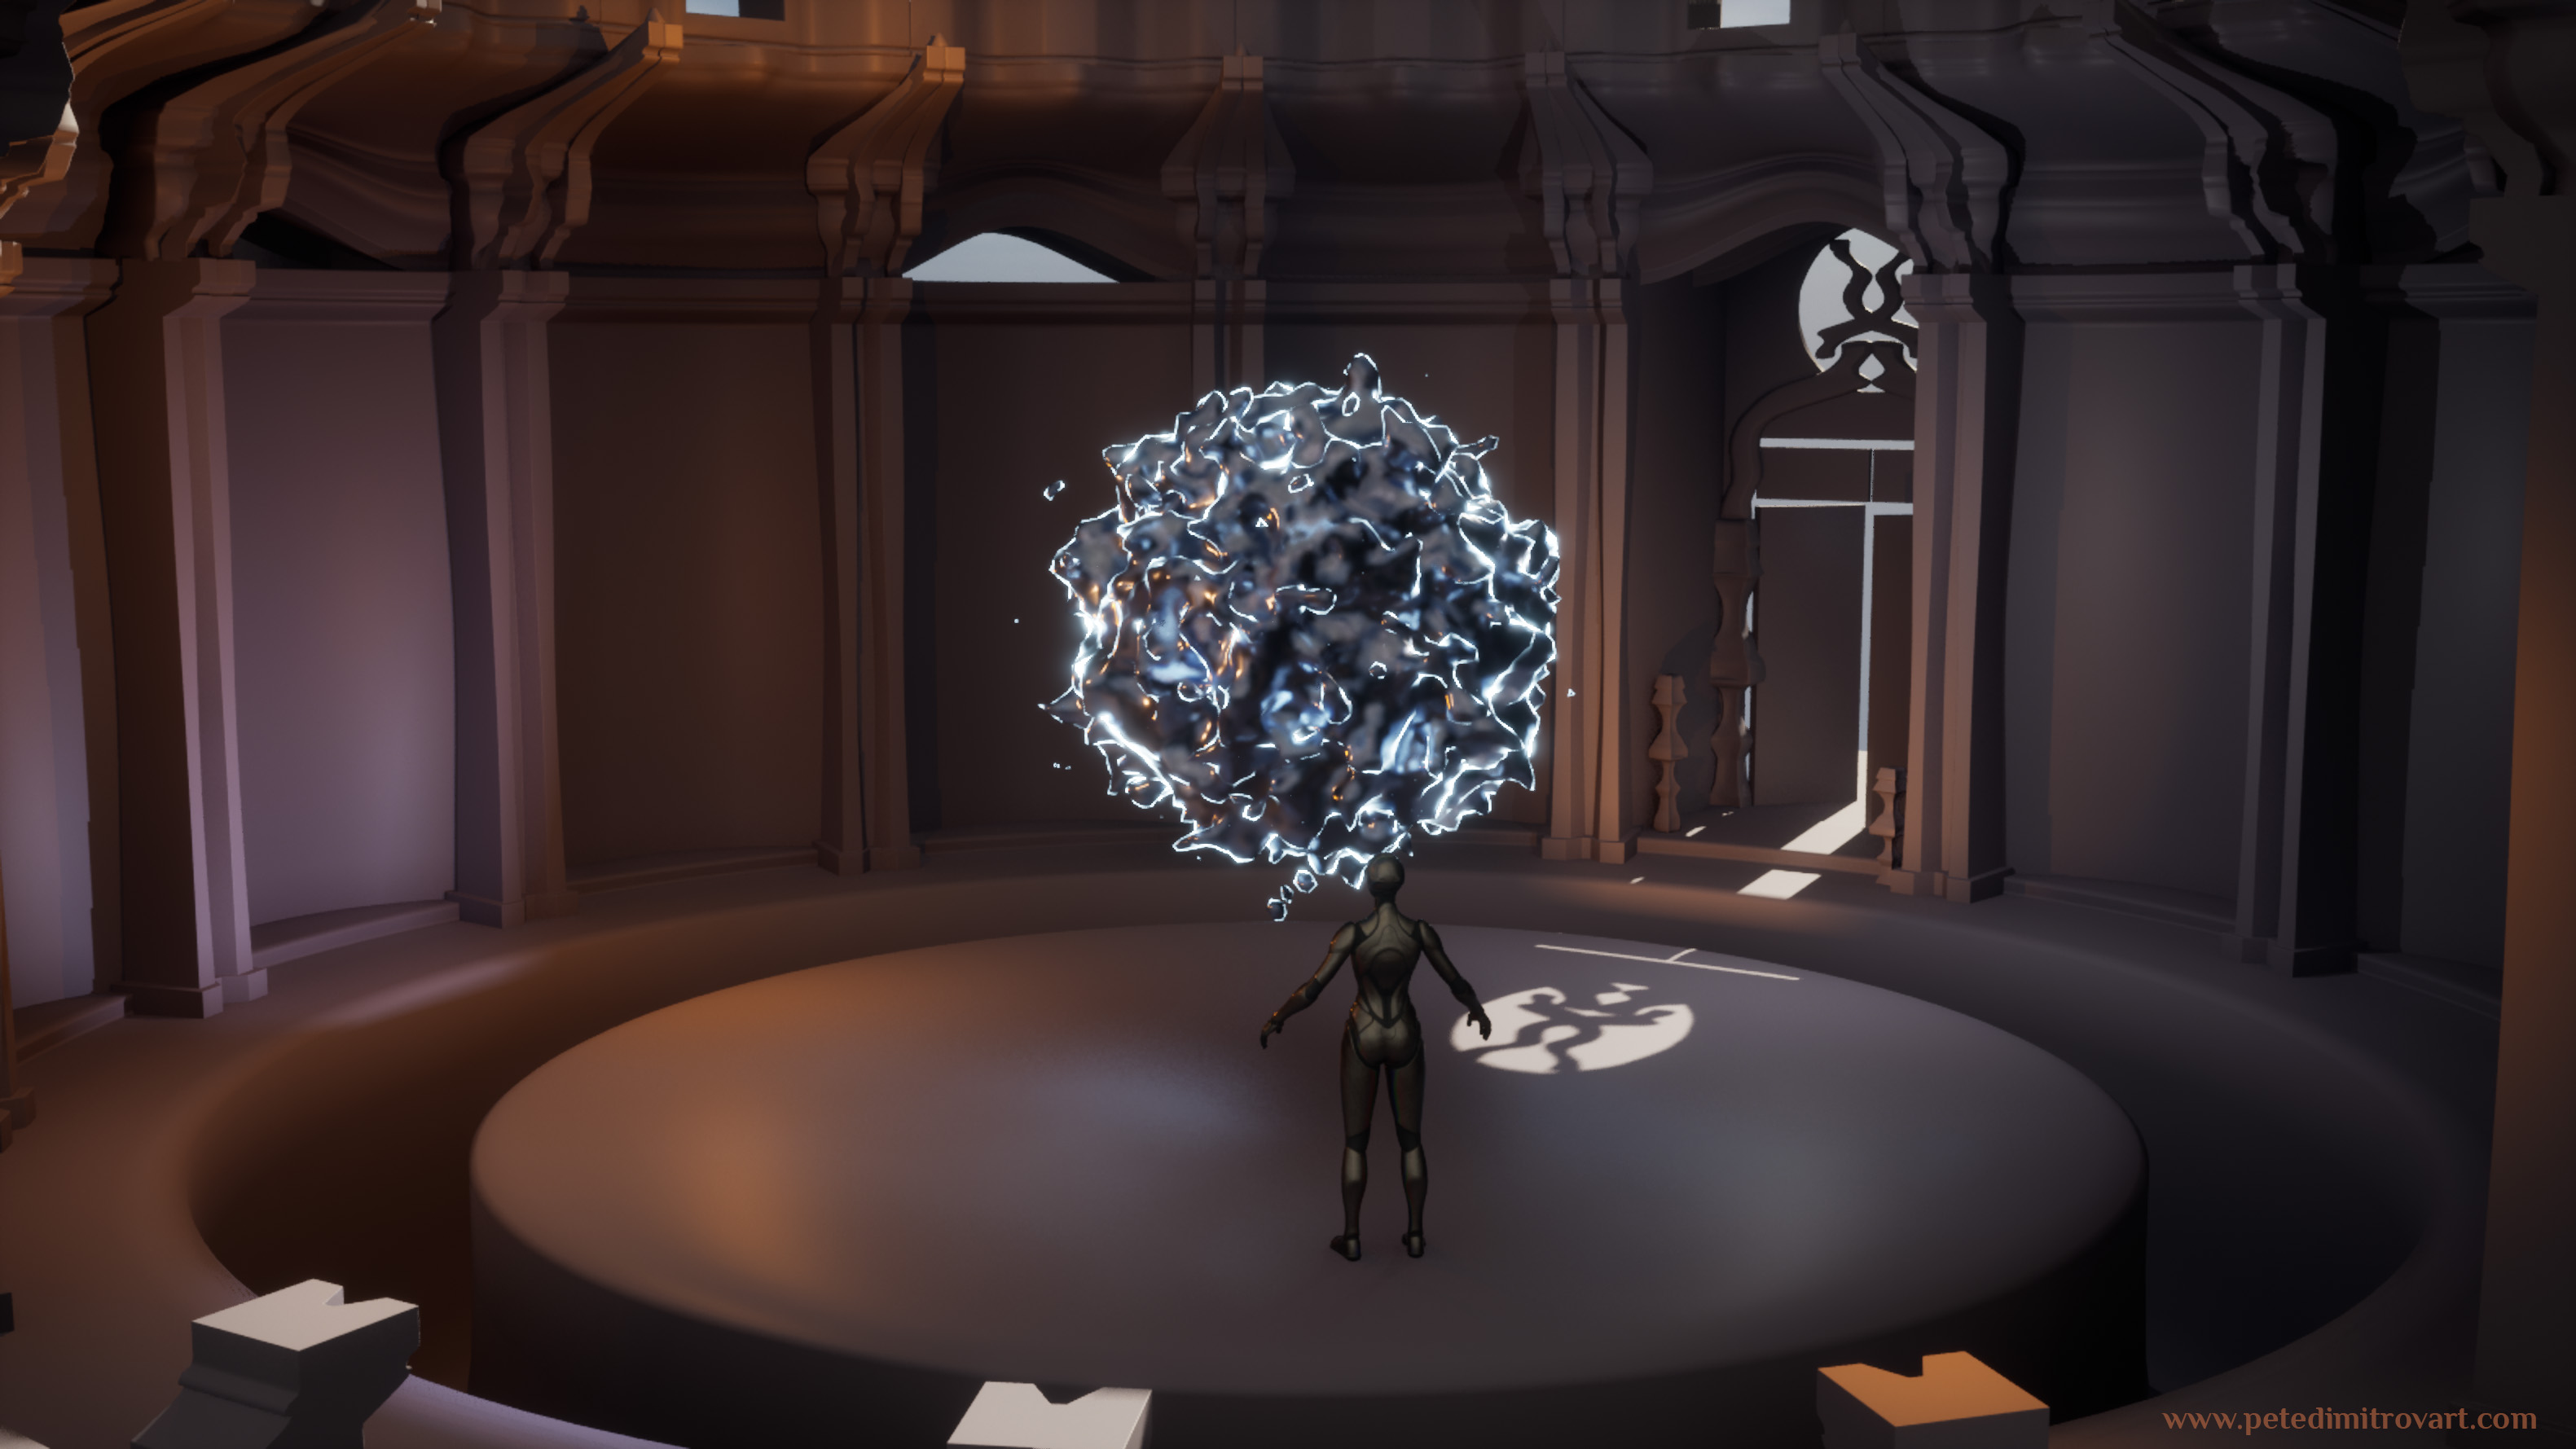
These orbs above are my initial Houdini experiments, as seen imported inside my UE4 game prototype. They have a looping animation attached to them. You can see preview of it further down in this post in some of the YouTube embeds.
Vertex Animation Textures
In the years prior I had heard a lot about the technique of baking down animations in vertex look-up tables. Those end up in the form of a bitmap that then is read from a shader in order to tell each triangle of the mesh how and where to move to. Interpolate between those different key “positions” on the texture and you get an animation (this is an incredibly oversimplified explanation, apologies to anyone that might be reading it and happen to be the type of Tech Artist to implement these amazing things from the absolute scratch!).
This type of technique is called Vertex Animation Textures (VAT).
Animations in the form of VAT have one incredible advantage over other type of game animations: it’s entirely driven in a shader. Onto the GPU. We don’t use or deploy any types of bones or skeletons and as such any object you animate in this way can end up as a Static Mesh. The animation, as I mentioned, then happens on the GPU through the reading of the vertex look-up table texture.
There is memory footprint, of course. It comes in the form of the quite oversized in width and height look-up textures (which makes them have large file sizes). Also for a smooth and interesting “fluid” like animation, your Static Mesh might end up being quite rich on polycount too.
VAT Demonstration
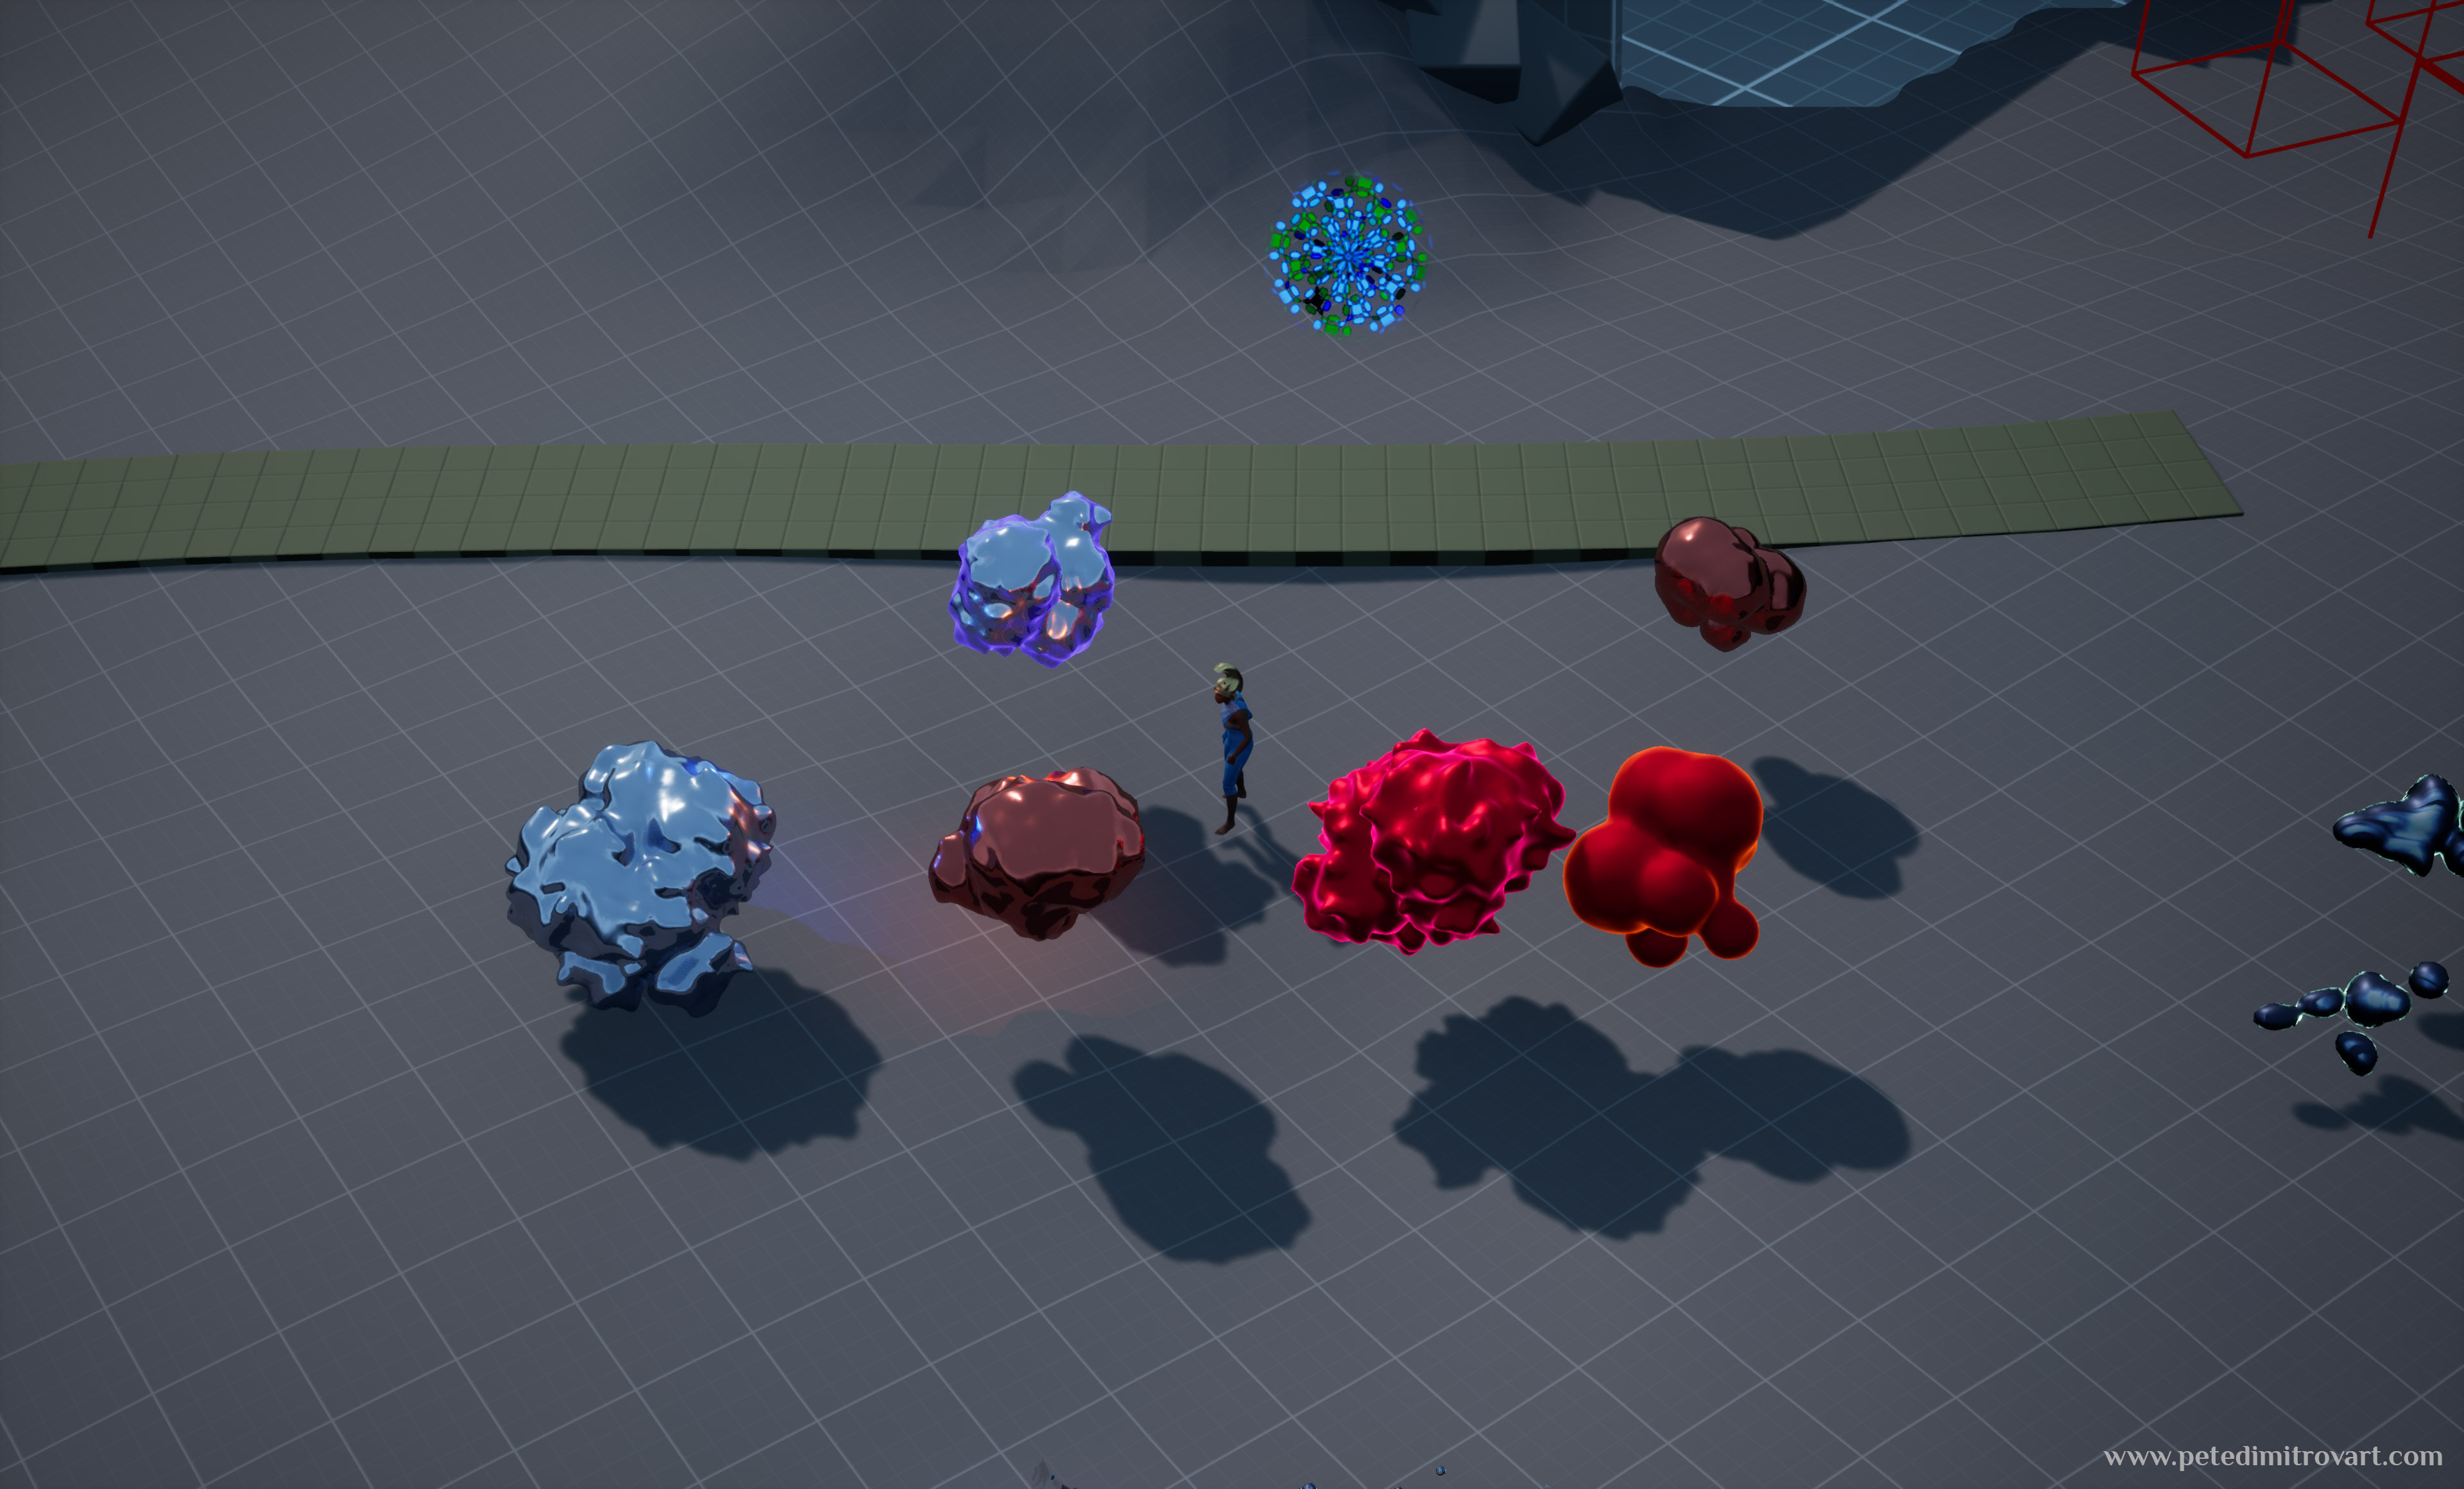
In this first picture you can see a fuzzy ball mesh I created parametrically in Houdini.
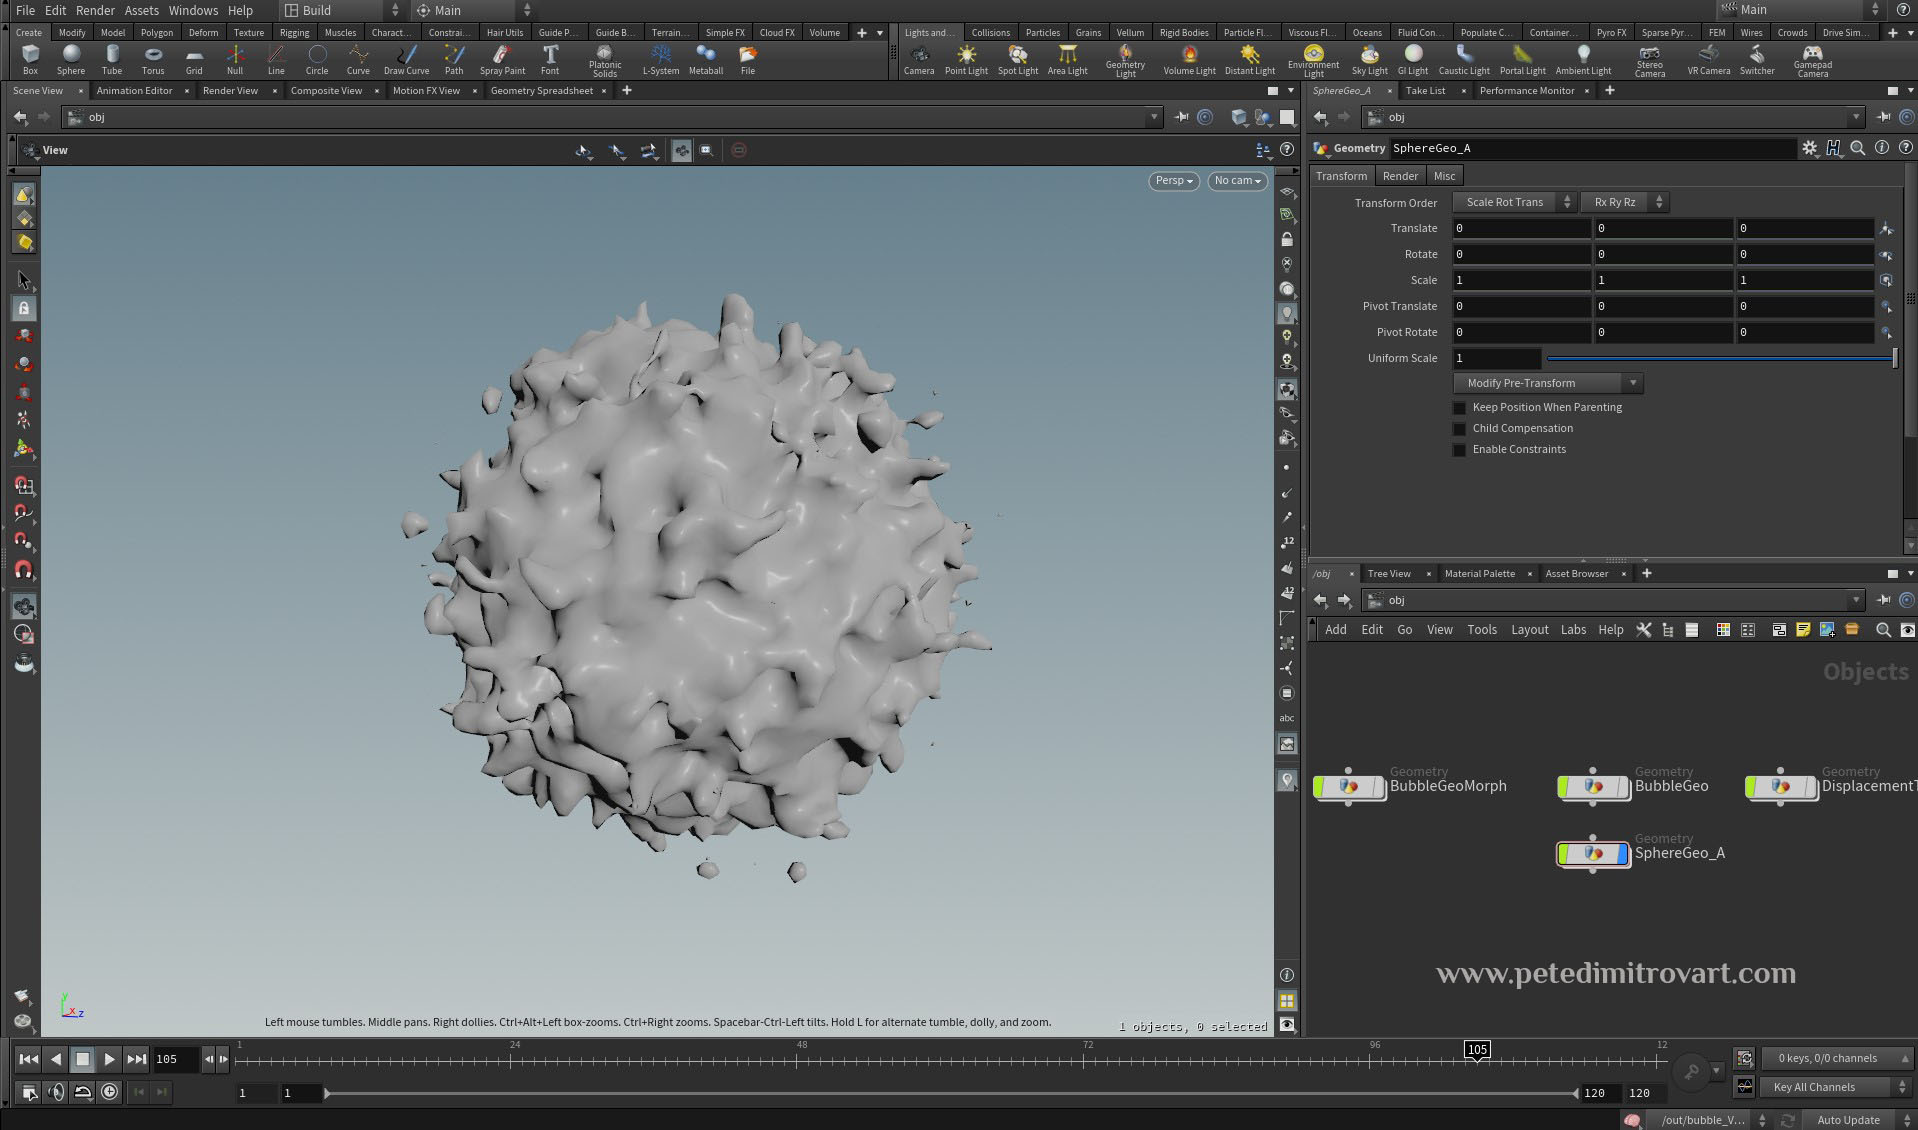
I then imported that mesh inside Unreal 4. I didn’t export it from Houdini as an ordinary static geometry. Instead I exported it as a VAT and in Unreal used a SideFX plugin and shader.
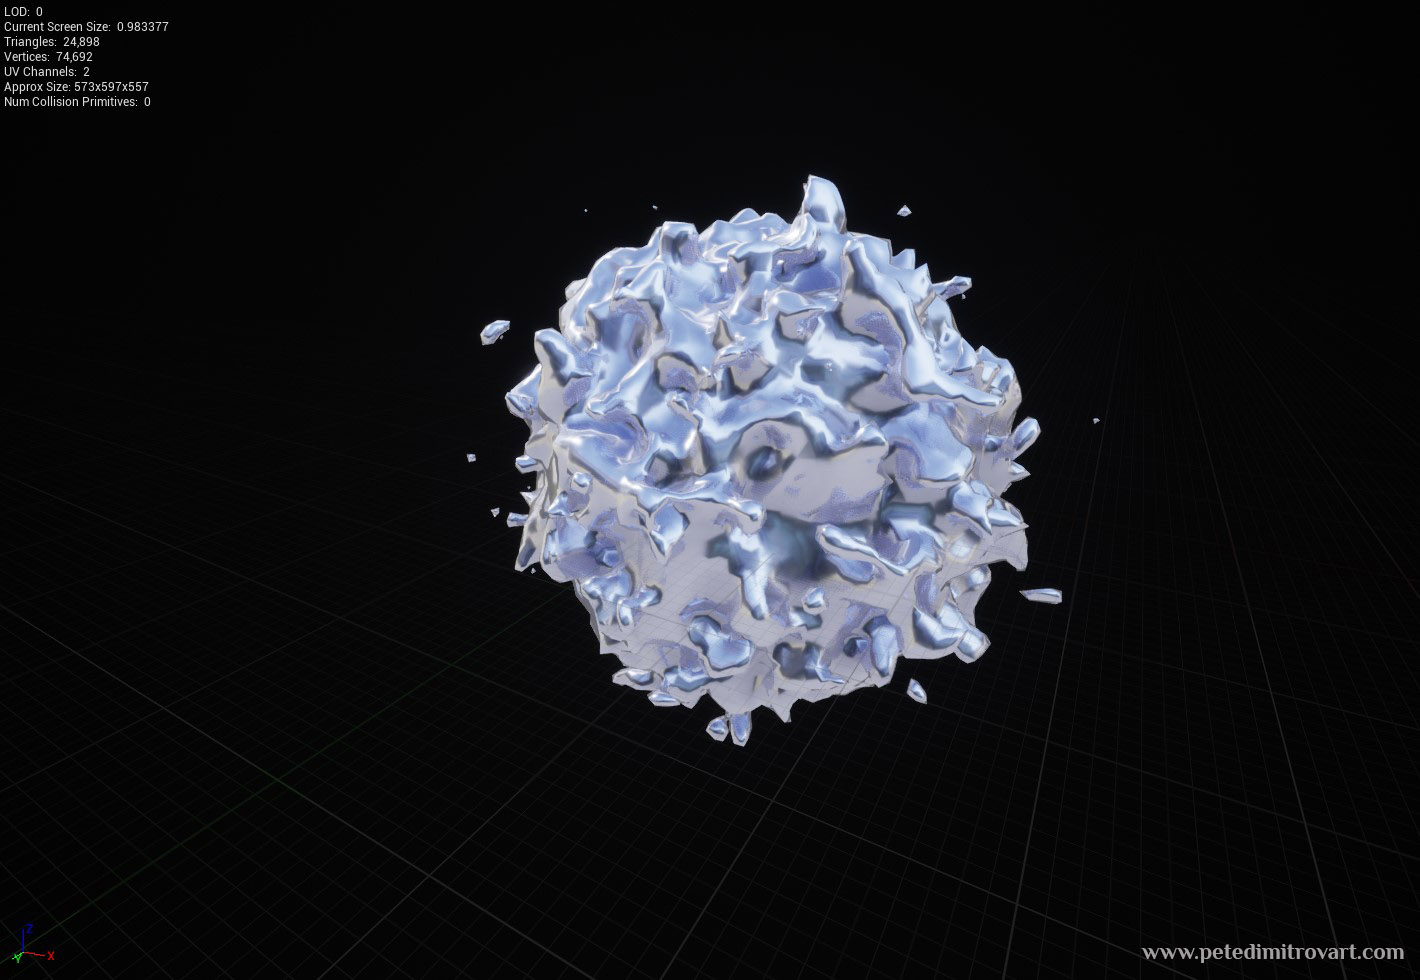
But that orb, seen appearing like a proper mesh, is after the SideFX shader for reading VATs has been applied. If we ignore that shader and take a look at the geometry that the VAT exports, without material graph or the vertex look-up table textures that are generated, this is how it looks:
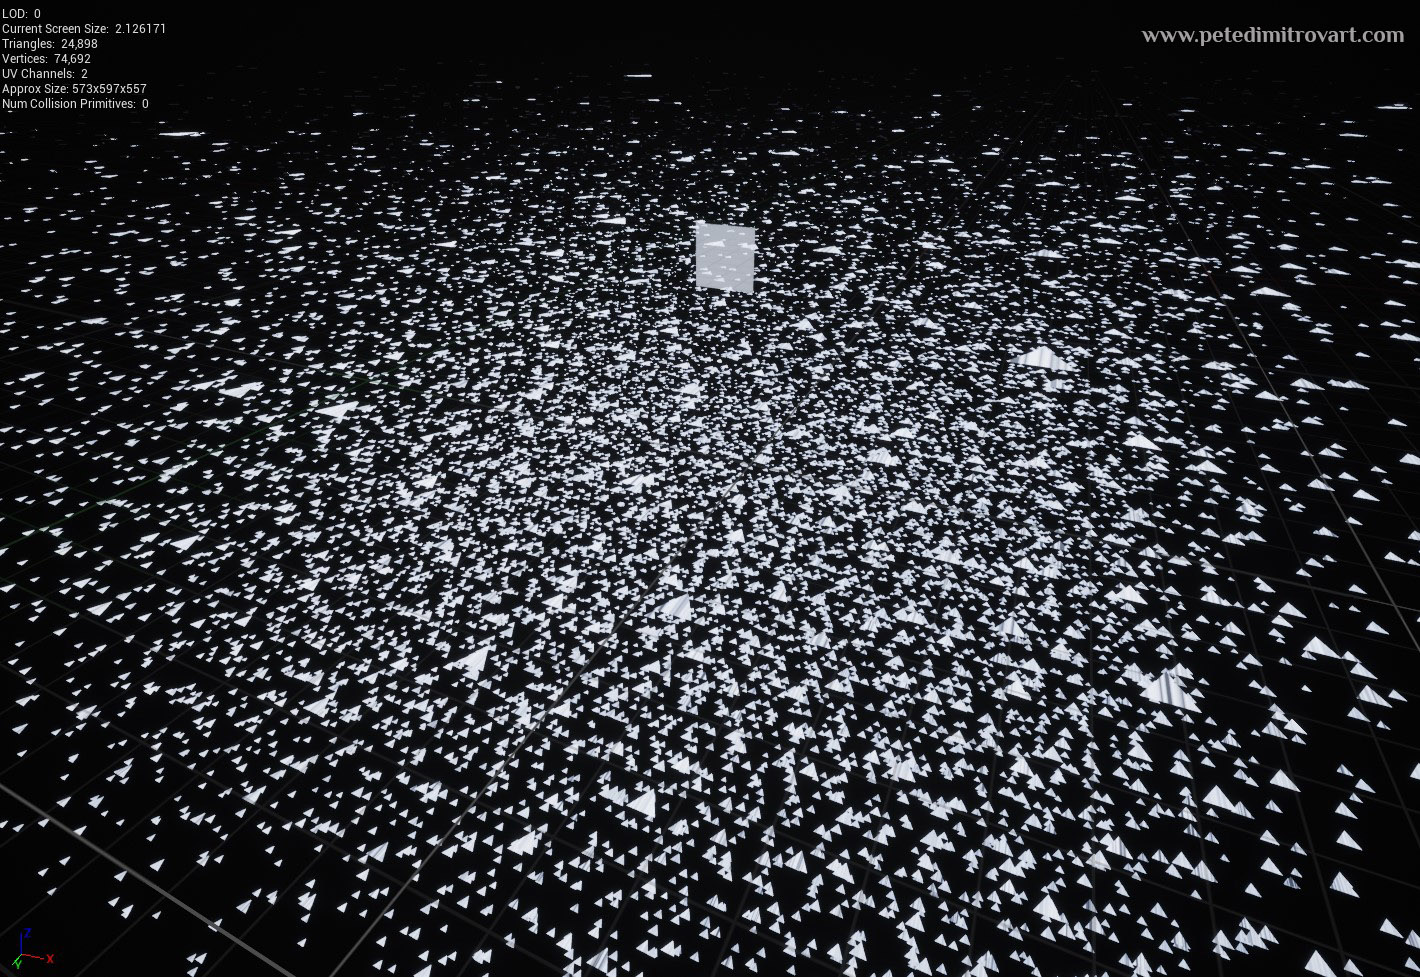
As mentioned already, image above is orb imported in Unreal but no VAT textures are applied yet. As such its a collection of what to us appears like arbitrary placed triangles.
Useful VATs
Why use VATs in the first place?
When we try to animate, say hundreds or thousands of actors onto the scene, all visible, even if they are incredibly low-poly, and use no complex textures to drag down our texture streaming budget, we often will still hit performance issues and hardly have any low MS (high FPS).
One of the reasons for that is because when we display on the screen actors like that, ones with skeleton rig animations, they each end up being a separate draw call. Those draw calls go through the CPU and as such we end up being bound on CPU before we even get to use much of the potential that our GPU has.
As such the VAT is a trade-off where we might increase slightly the polycount, increase the use of textures budged, but end up with incredibly optimized amount of draw calls. The orbs you see above, I could render 100-200 of them in the scene, visible from one camera angle at all time, and still have low MS and good performance.
Animation
In addition to the above, there is also the more obvious part. It’s the content of the animations. In Houdini I wanted to make some fluids like sims that I could perhaps pull of through a shader in Unreal entirely. It would require of me to offset my orb surfaces with World Position Offset to give it a fuzzy, liquid like movement on its surface. But then if I wanted the visual to look proper and as cool as the ones in the VATs it would mean I need to recalculate my normals as well so light bounces off those WPO surface movements correctly.
I think I will give a go at recalculating normals and making a shader like that at some point in Unreal. But for now I wanted to use the opportunity to learn fluid sims in Houdini and then learn VATs.
(Youtube embedded video above, showcasing an orb with fluid like movement animation.)
The animation, seen after VAT import in Unreal. In this video below, the VAT shader is from SideFX but I have added control over Albedo, and Emission and I’ve plugged in a Fresnel function. It gives it the glowing effect.
(Youtube embedded video above, showcasing the VAT orbs but in UE5. These are now shaded and have more refined visuals.)
Frankly, I found all of the above incredibly interesting and fascinating, even before I dived to learn the nitty-gritty of it all. I am not really a VFX artist or an animator. But I do have a love for Tech Art (even if I’m not a Tech Art in my fulltime studio job either!). My setting off into making these type of fluid like animations for my spells came in big chunk through the motivation of me wanting to see if I have in me what it takes to learn and deploy these techniques.
It turned out I did. To no one surprise because as we usually do when it comes to most tooling and software in the games industry, we stand on the shoulders of those who came before us and concepted, created then implemented the techniques. A chorus of ingenious people.
I’m saying this because after all of the descriptions above that might sound incredibly complicated to those of you who have not yet experimented or learnt this type of stuff, you might be left with the misconception that this is incredibly hard to create.
It’s indeed not as complicated as it sounds. The biggest challenge I faced in learning Houdini was how to actually come up with my initial orb animation. When I did that, the moment I wanted to turn the anim timeline into a VAT and import it into Unreal, I had a bunch of tools already created for us by SideFX.
I didn’t need to implement or write any shader. I didn’t need to automate any export - import. Those were all already available in Houdini (better yet, they come out of the box with exporters for UE4, UE5 and Unity alike).
Links
If you are reading this and hoping of trying these type of techniques, either follow the page I linked above (SideFX - VAT for Unreal)
Or follow these videos, which I followed - VAT 4 | RBD | Unreal and VAT 5 | Fluids | Unreal - though I believe those two are just mirrors of the VAT link above.
Before getting into them I suggest watching some general videos of how to manipulate and animate geometry to look like its surface is changing, or even doing some fluid simulation tutorials. After all before you try to turn something into a VAT you want to make sure you have a Houdini animation ready in the first place.
To create my orbs I experimented and at the end came up with a pipeline that creates geometrical primitives – feeds them into Clouds – feeds into VDB – then VDB to Polygons. That with recalculated, smoothed normals produces results similar to the Houdini video I embedded under the 6. Animation section of this blog post.
If you want to find out how to merge different orbs into an abstract structure, I recommend giving this video a go: https://www.youtube.com/watch?v=47hkcRgCgzo
It’s actually the one I started with. Later on, once I realized I want to try VATs, I winged it and added the “convert to clouds then convert to VDB then back to polygons” part I described above. I did that because I found that was the easiest way for me to add motion to the otherwise static orbs produced in the tutorial in the sentence above.
Environment Scene
After I had made some floating orbs and they were animating nicely inside my UE4 game prototype, of course my Environment Artist side kicked in…
I started to think how even though I love using this inside the game prototype, it would be very fun to try and use it inside a polished, set dressed scene.
I briefly considered just creating a large, circular room inside my game itself. Then set dressing it and polishing it to a vertical slice. As if when you walk inside it you walk into a finished game environment. It wont matter if the entrance or the parts before that were placeholder and checker board.
That’s around the time I got this story unfolding in my mind:
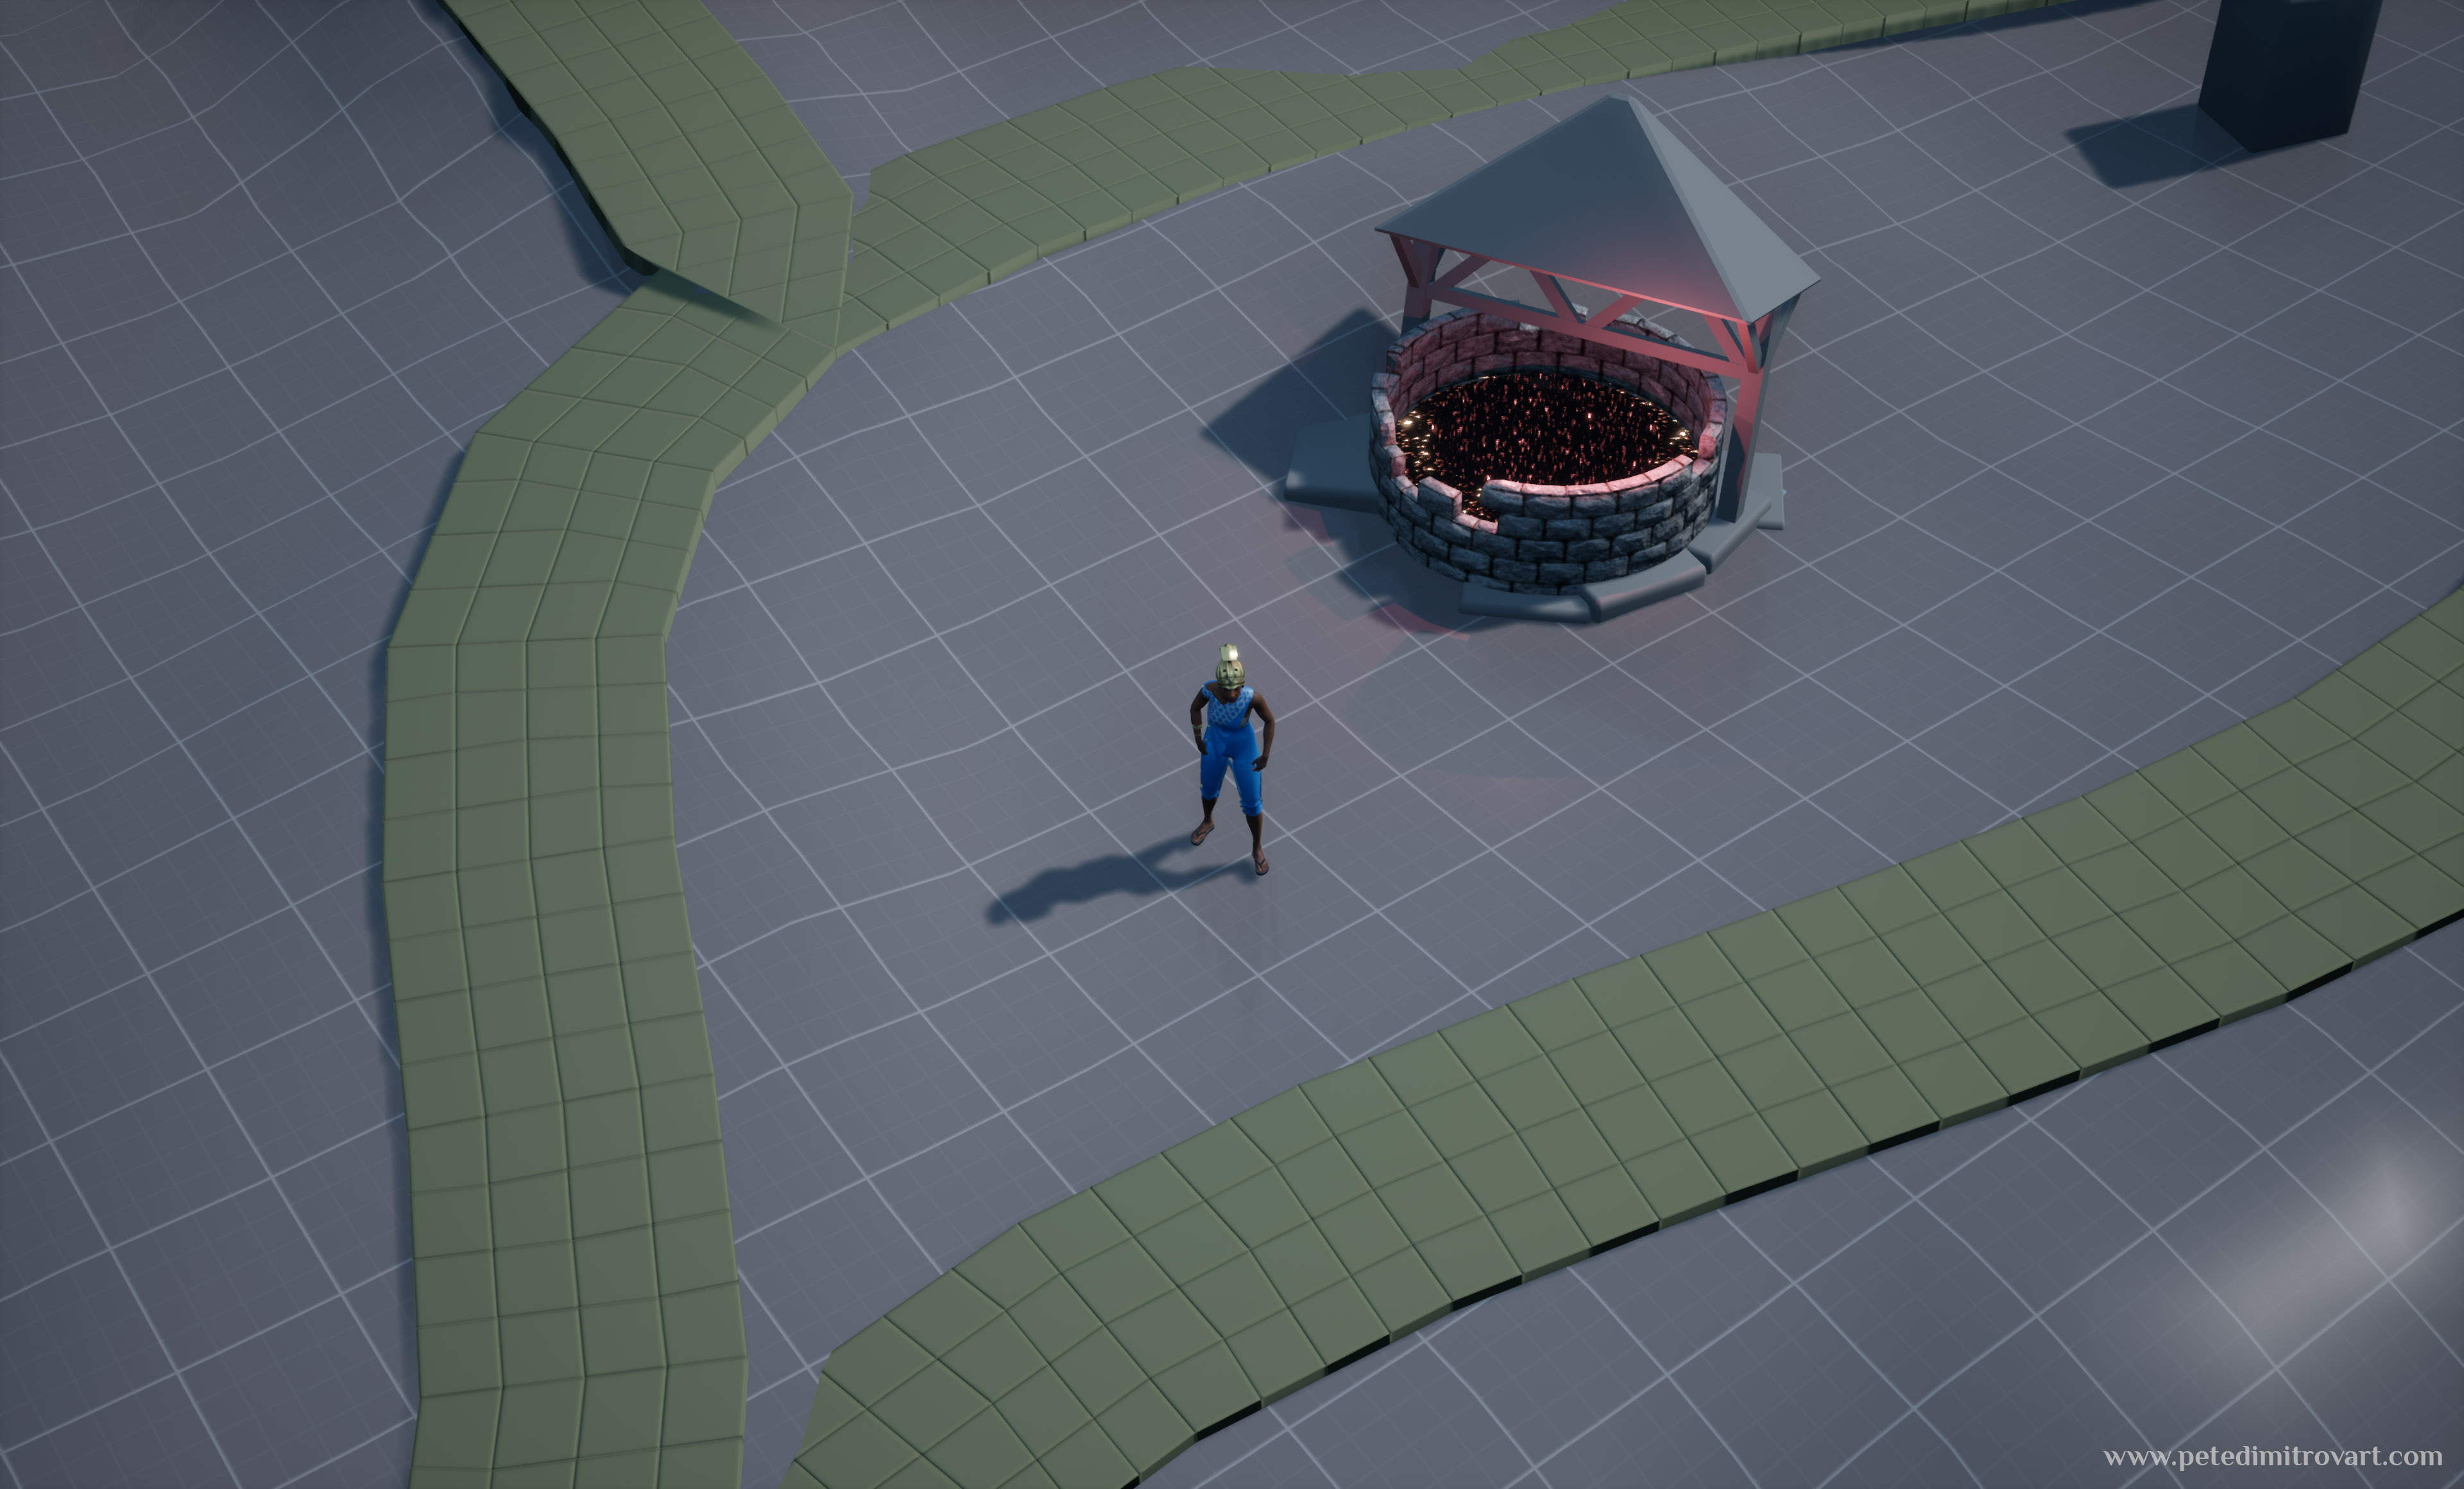
As the chamber shifted around them, their worship remained unmoving.
Circular, repetitive room. Just a few modular pieces. In the middle there is a shape that changes like fluid, using Houdini and VAT. It has strong emission and perhaps could light the room entirely thanks to that and Lumen? Test it in UE5.
The shape will pulse and be animated thanks to the VAT and combination of Niagara curves and wave functions. Next to it will be in circle a number of people.
They are on their knees like in a ritual worship.
They move up and down their upper torso, while remaining in position, waving hands in the air.
At some point the shape “glitches” into a bunch of triangles (try using a wrong Look Up Table / Textures for the VAT?). As that happens, one of the people is lifted in the air, rotated 180 degrees and then slowly floated into the shape.
The shape consumes them.
― 6 July 2022
When I got that story and jotted down those ideas above on paper, I knew I have to open a new scene and focus entire on that. I put my UE4 game prototype on the side shelf. I opened a new UE5 scene and started blocking out the space. The VAT Houdini orb I made would be the center piece. The jewel in the middle that I spent so much time on and learned so much through.
Early Scene Shot
With all of the above analyzed and described, we can now dive right into the environment side of things.
After some hours of blocking out and making some initial building wall pieces in Blender, here is what I took the scene to:
In the next blog post in this series we will take a look at my initial reference board. We will also see the different modular pieces I made in Blender and how I went about moving them into Zbrush and sculpting having in mind my end result will be used as Nanite meshes.
I hope you enjoyed this post,
Pete.
If you enjoyed this blog post, consider subscribing in the form below. That way you will get a notification the next time I publish a new blog.