
Different Lighting
I’m back for an update with a different lighting and some portal VFX.
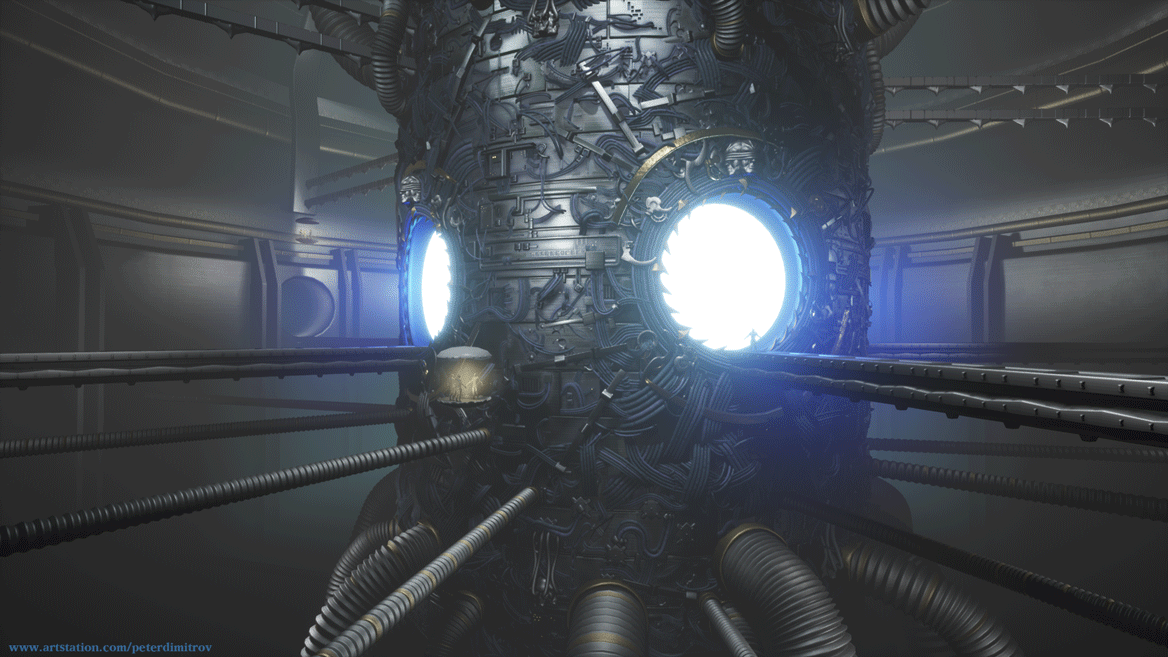
In the scene from last time, most lights were overlapping and causing quite a few baking issues. I didn’t want to leave them to Movable and as such dynamic instead of Static. Mainly because I want the scene to run well in real time so I can record a video at the end.
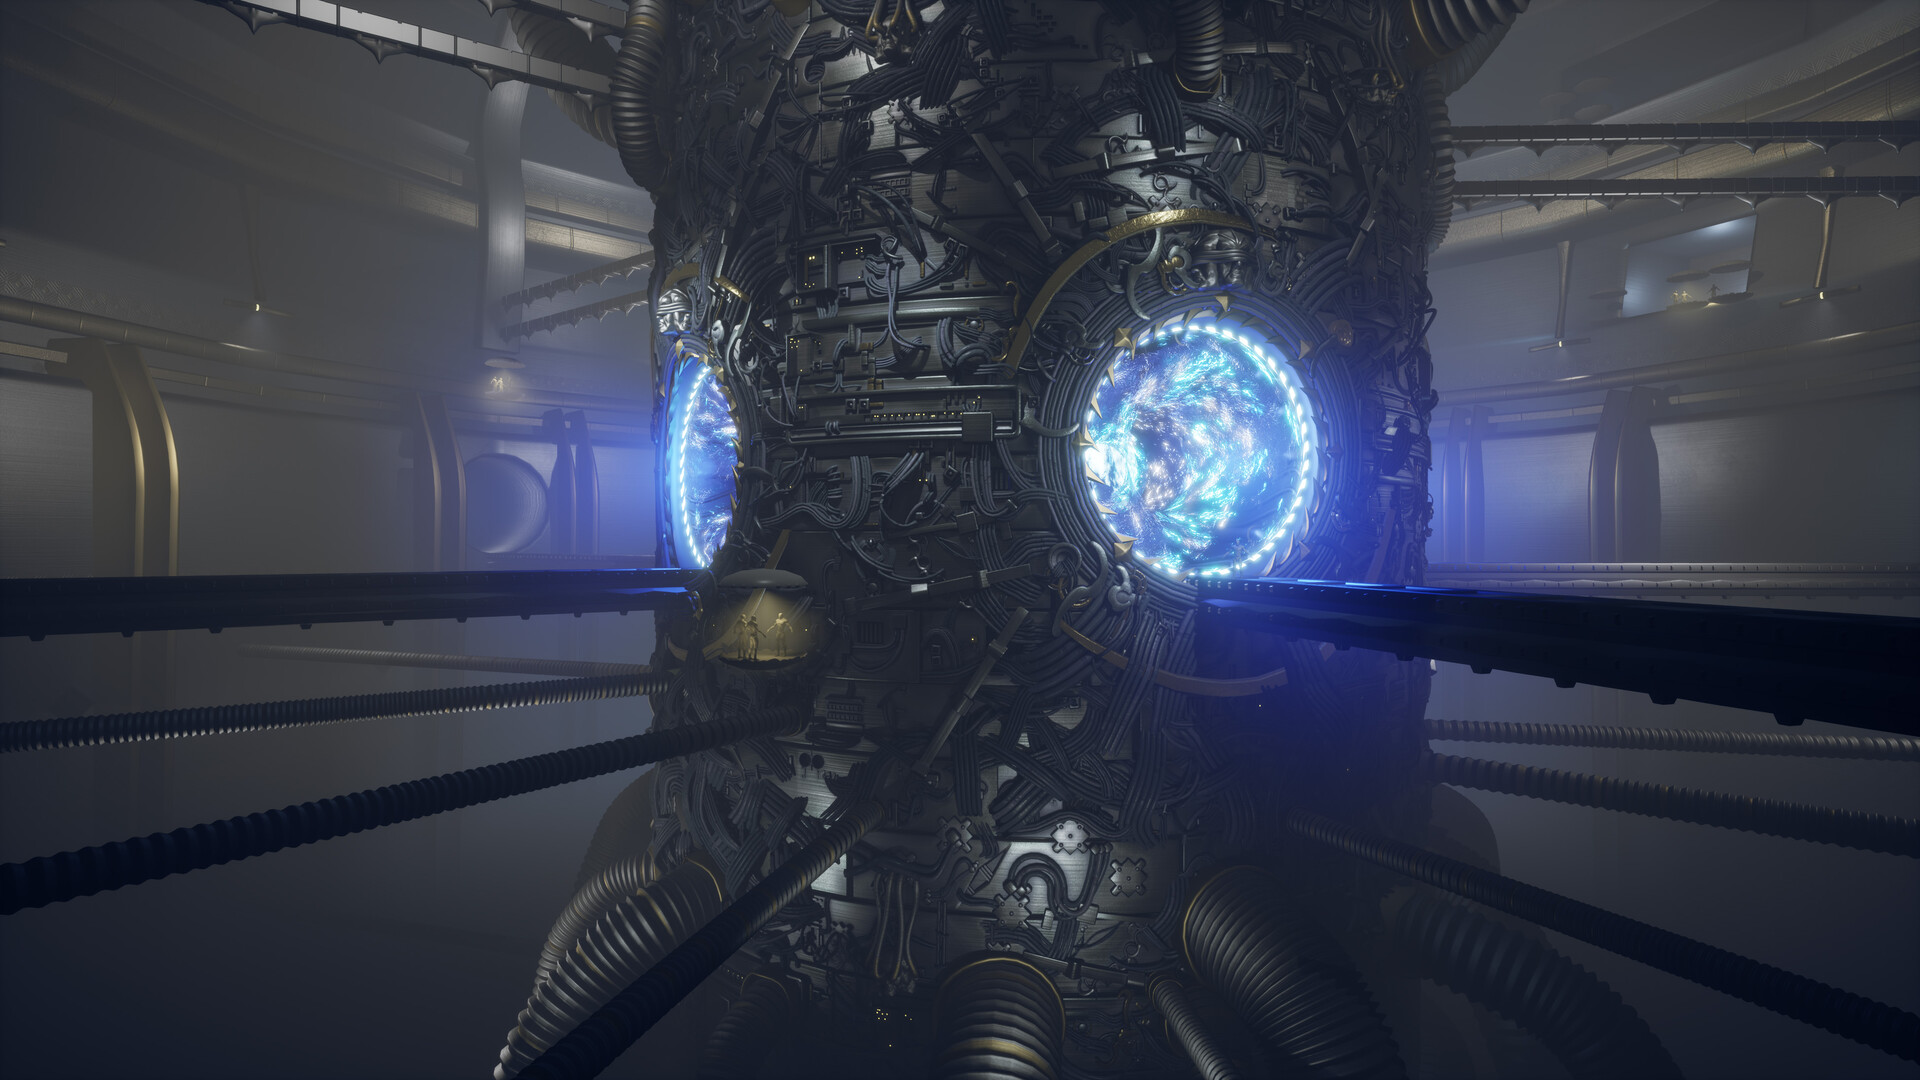
Then there was the fact that my previous version was arguably making the whole greeble details very flat. As such I decided to completely revamp the lights. I’m happy with them now and performance is much better although I might brighten it up a bit more here and there with any future progress as I don’t want the scene too dark.
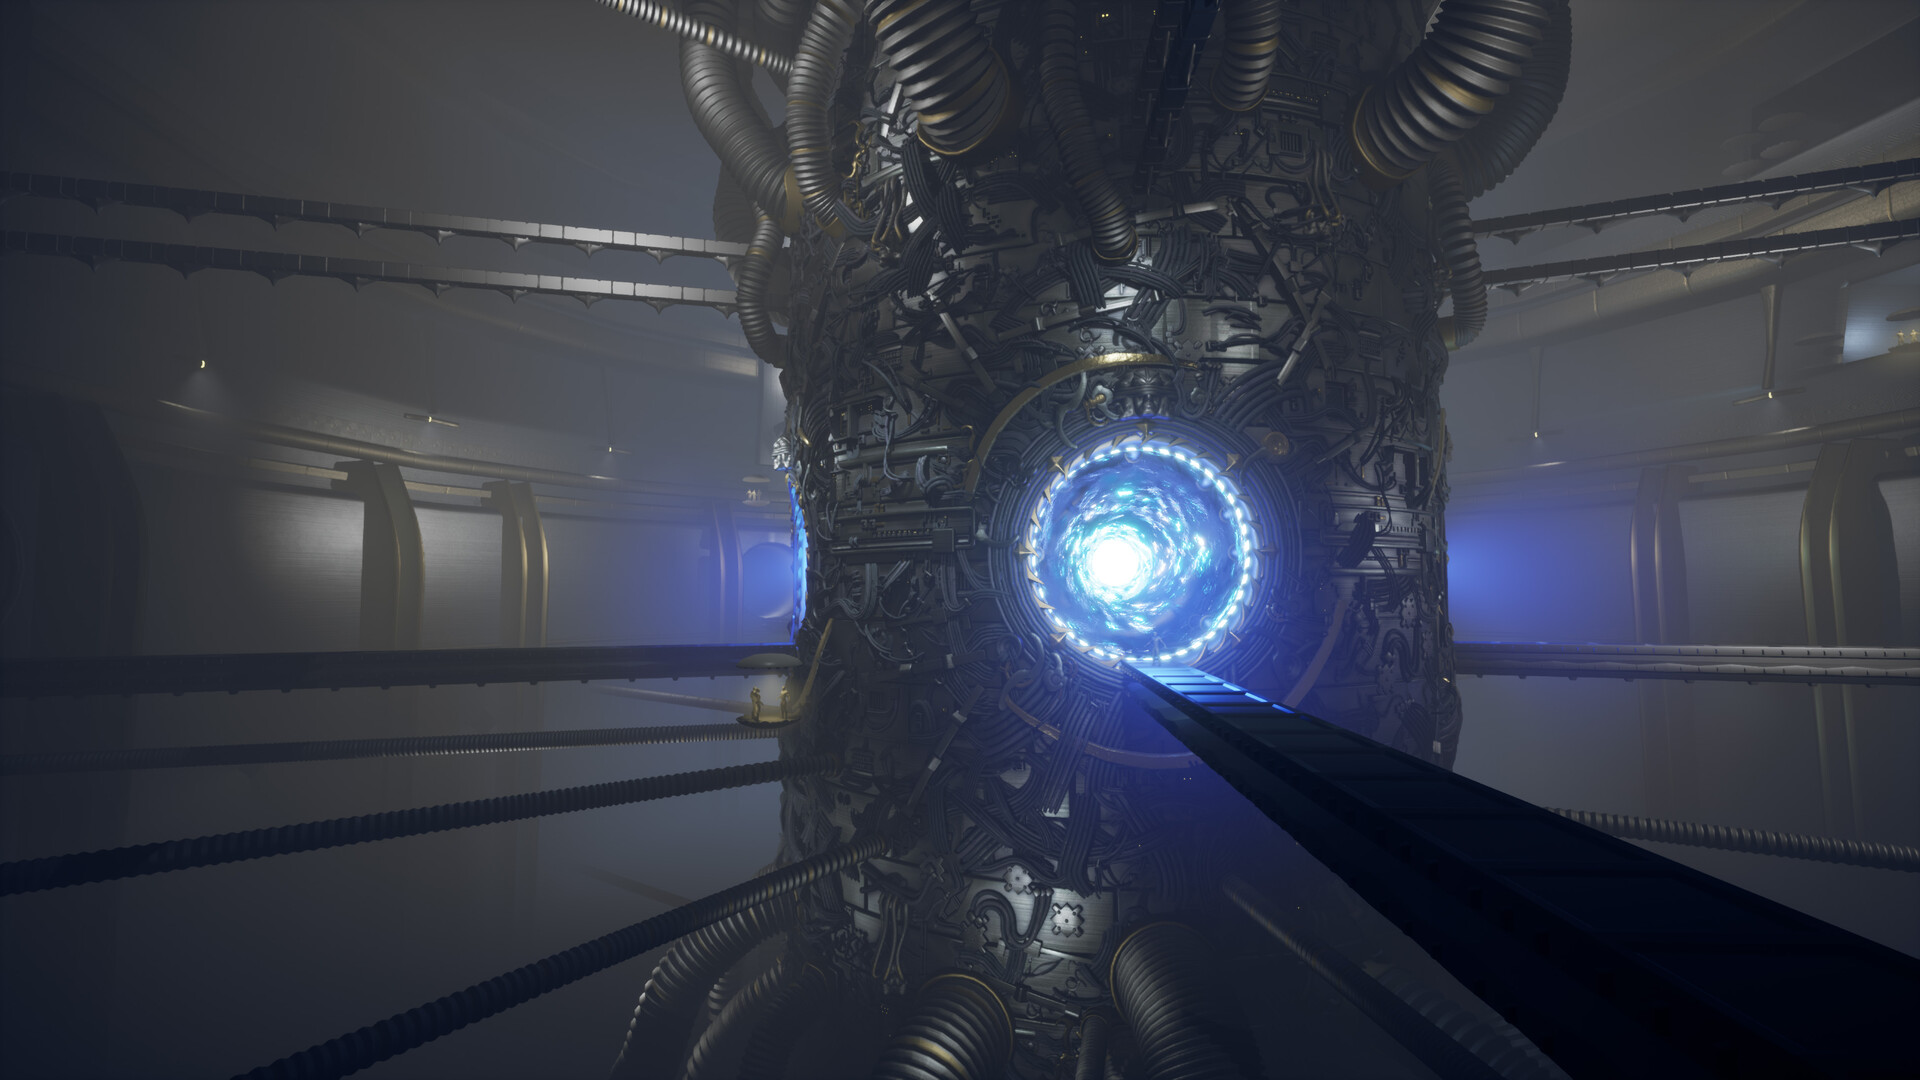
After doing the relighting I decide to have some fun with the portal effect itself. I also really disliked the fact it was completely white and empty as in my opinion it was breaking the picture a bit.
VFX Video Showcase
I did a custom shader that utilizes few Perlin, Clouds and Plasma noises exported from Designer. Few of those are b&w greyscale masks, but a few I also exported as converted Normal maps with crazy high intensity. The Normals I unpacked from Tangent to World space and I then feed into a Fresnel function. I exposed few parameters for tint, color, emission, fresnel power, fresnel emission and custom opacity control that lerps the b&w noises together.
The material I slapped onto a torus. It’s cut in half and some of the faces are prolonged. UVs on it are straightened and then when I put the material on it together with a UV panner I get the effect as if energy is moving inwards.
The end result that you see in the video above is just three tori, varying on size, overlapping one another, with three instances of the material graph that have slight variance in color, emission and panner direction.
In there you can see through the transparent bits of the portal some pipes and metal elements. I thought it would be cool if you could peek and it was not completely opaque.
And here is me going bonkers with a spline and Duplicate Special set to instance in Maya.
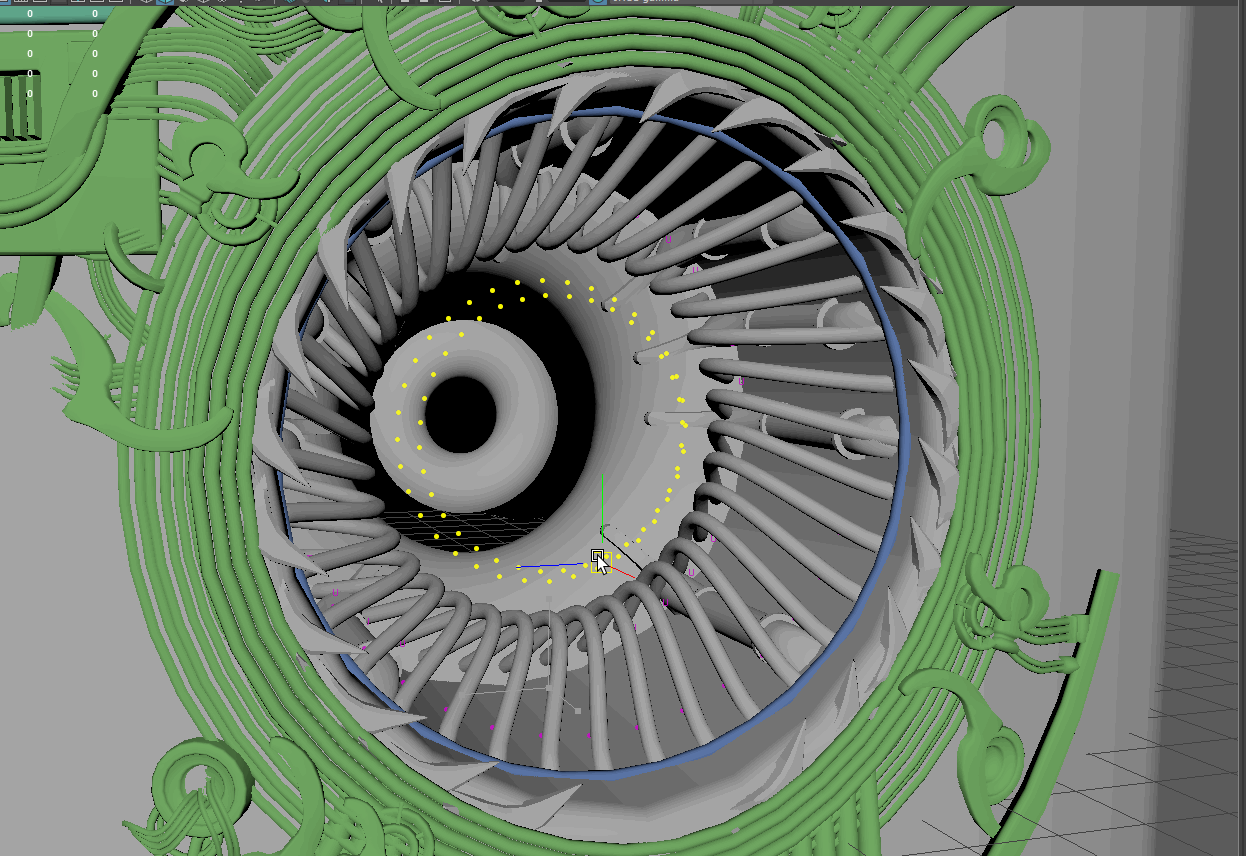
It was lots of fun and I recommend trying it if you ever do circular designs and your package of choice is Maya.
More Screenshots
You can probably notice I did some work on the background too. I started blocking out some rooms and primitive details just today and I’ll be doing more of that tomorrow. I’m hoping to soon start bringing the background to a good level of detail when compared to the foreground.
Gif
GIF of the progress. You can see me struggle with the lighting.
I hope you enjoy what you are seeing.
Thanks for reading,
Pete.