Work fom yesterday and today
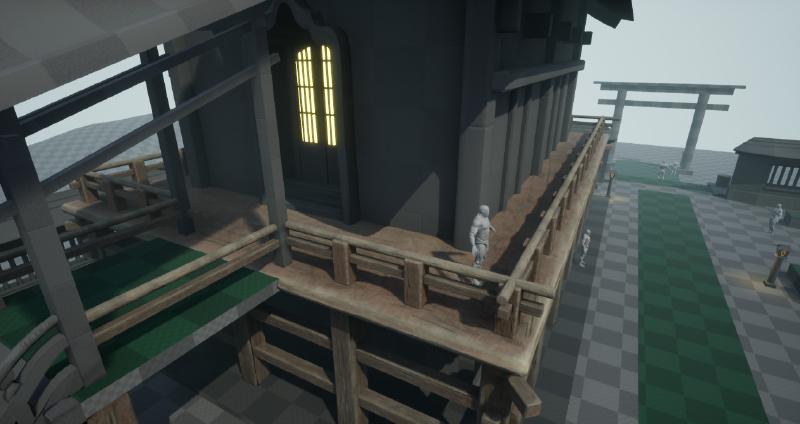
Yesterday, I started texturing. I wasn’t planing on starting this soon, but I wanted to have a preview of what is to be. I also knew that I will go for a pipeline that I haven’t mastered before, so I wanted to make sure I can do it properly. I started with objects I have the exact dimensions of. That is the wooden supports that go around the place to create the “scaffolding”.
This is the result:

I knew that I wanted a wooden texture, but to be fair I imagined I will need to do a detailed pass of Substance Designer and then use that in Painter to layer out more finished non-tillable texture feel.
Instead, I got the object in Zbrush, did a high-poly detailed sculpt of it and then baked it on low poly. I then layered a few colors together using the Curvature mask that Substance Painter bakes. The result is what you see, and to be honest I am pretty happy with it. If I manage to give everything else the same level of detail, I reckon it should be good.
As you can see in the image above, I modelled the basic shapes of the house a bit more. It got me, to what looks like in Maya, a Hansel and Gretel House. Note, I’ve marked with reddish color, shapes that don’t matter. What is white, is the shapes I need to bake and texture and then repeat to get the rest (the roof of course will be a piece of its own, with and UV of its own).
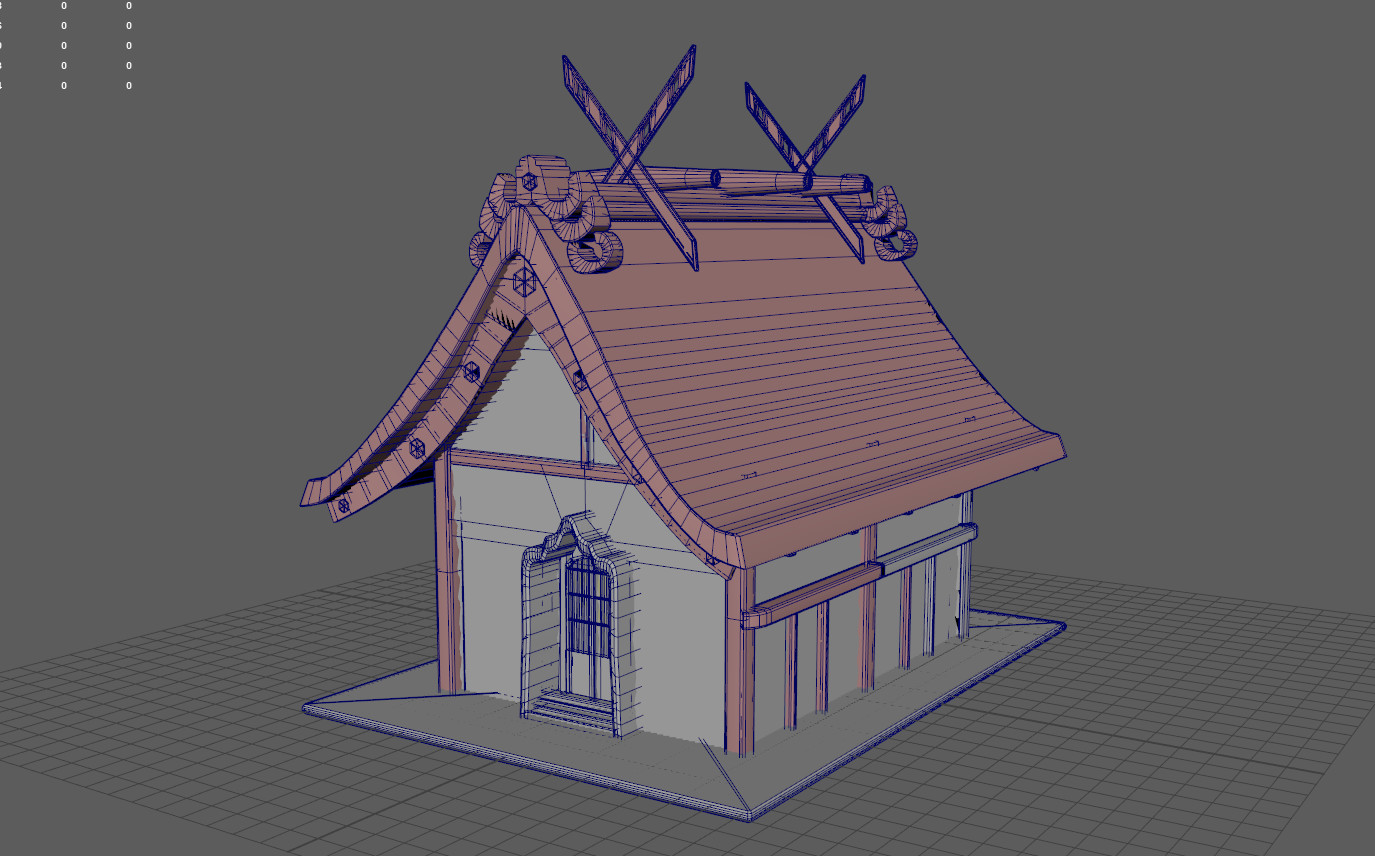
I’ve been working with modular pieces quite a bit (as seen in the wooden supports). I realized that I can do much more with less models than I imagined at first. After I learned my lesson with the wooden supports, I made sure to make the most out of the shapes I create with the house models.
As always, lets do a GIF! My favorite.
Note, I haven’t put much work into the lighting scenario. I am really happy with the modular pieces though, because they are really low poly and I managed to get the most out of them by baking.
You can see them laid out here:
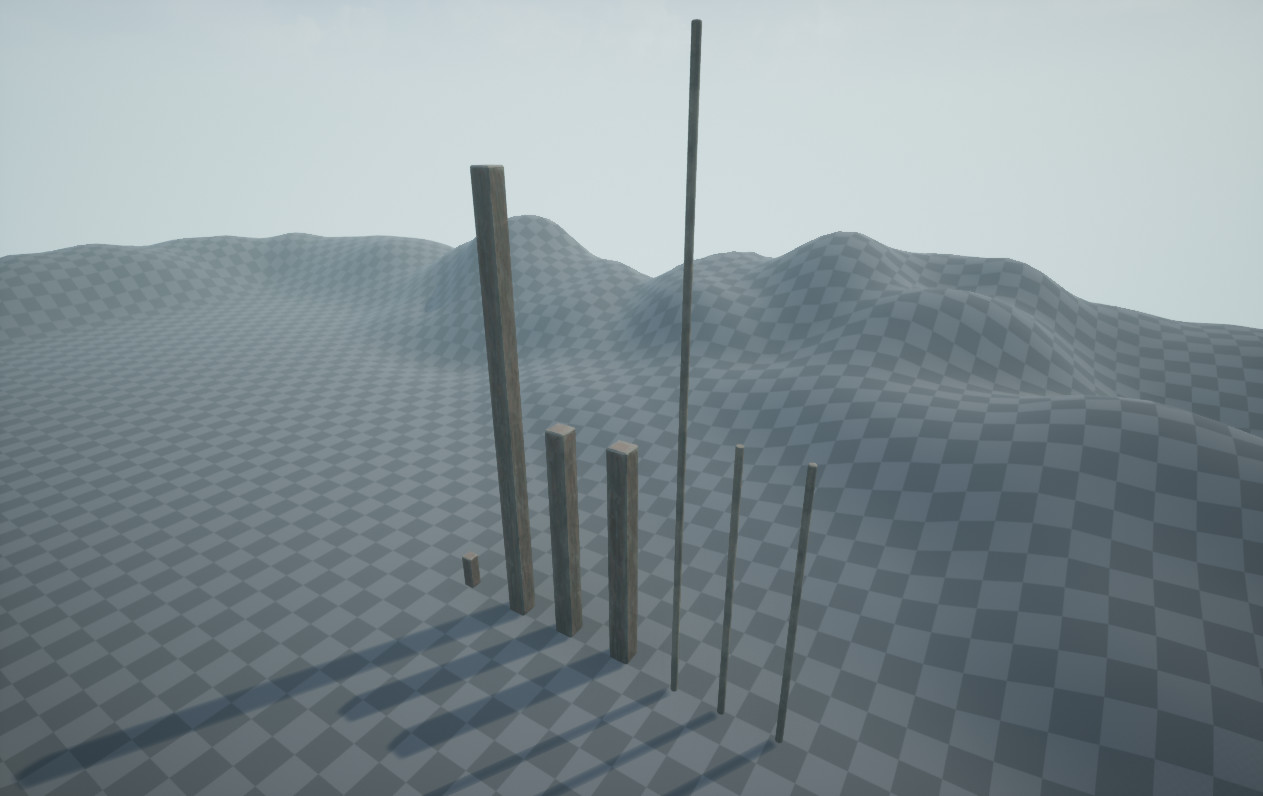
What I did is two big pieces (a part from the very small one) I modelled those those out - sculpted them in high detail - and then baked. Then I cut the pieces in the very middle. I didn’t have to do any changes on the UV or textures. I managed to get 2 extra pieces out of one sculpt. And that did make quite the big difference. Using those, I could manage to recreated and replace all of the basic brushes in Unreal.
Something else - quite obvious but still - a cube (or parallelepiped) has 4 sides. If you sculpt and bake those properly, you can rotate the same object each time you repeat it and get enough variation out of it!
I’m gonna texture the new pieces I did for the main buildings soon (the emissive windows and etc.) and I hope it looks good. I’ll share all of the results with you.
Good night from me, and I hope you are doing great!