Intro
Lately, I’ve been making steady progress on the World of Warcraft style, hand-painted diorama. Few months ago, I started documenting its creation in a series of YouTube videos. Making those has been keeping me busy, and as such I’ve not been updating this blog nearly as often with chapters about the making of this same diorama.
I wanted to drop this update and show you some screenshots, and behind the scenes, of how far I am into the creation of this UE5 scene.
The writings won’t be nearly as detailed as usual, but nonetheless, I will add some images that might be insightful. Those will be ones that I might not have had the time to showcase in the videos (you can only add so much to a video before it drags on and on in duration, becoming way too long).
Software:
In the making of this diorama, I am using Blender, Unreal Engine 5, Zbrush, Substance Painter and Substance Designer. The videos below have tons of time-lapses and insights, exactly on those packages.
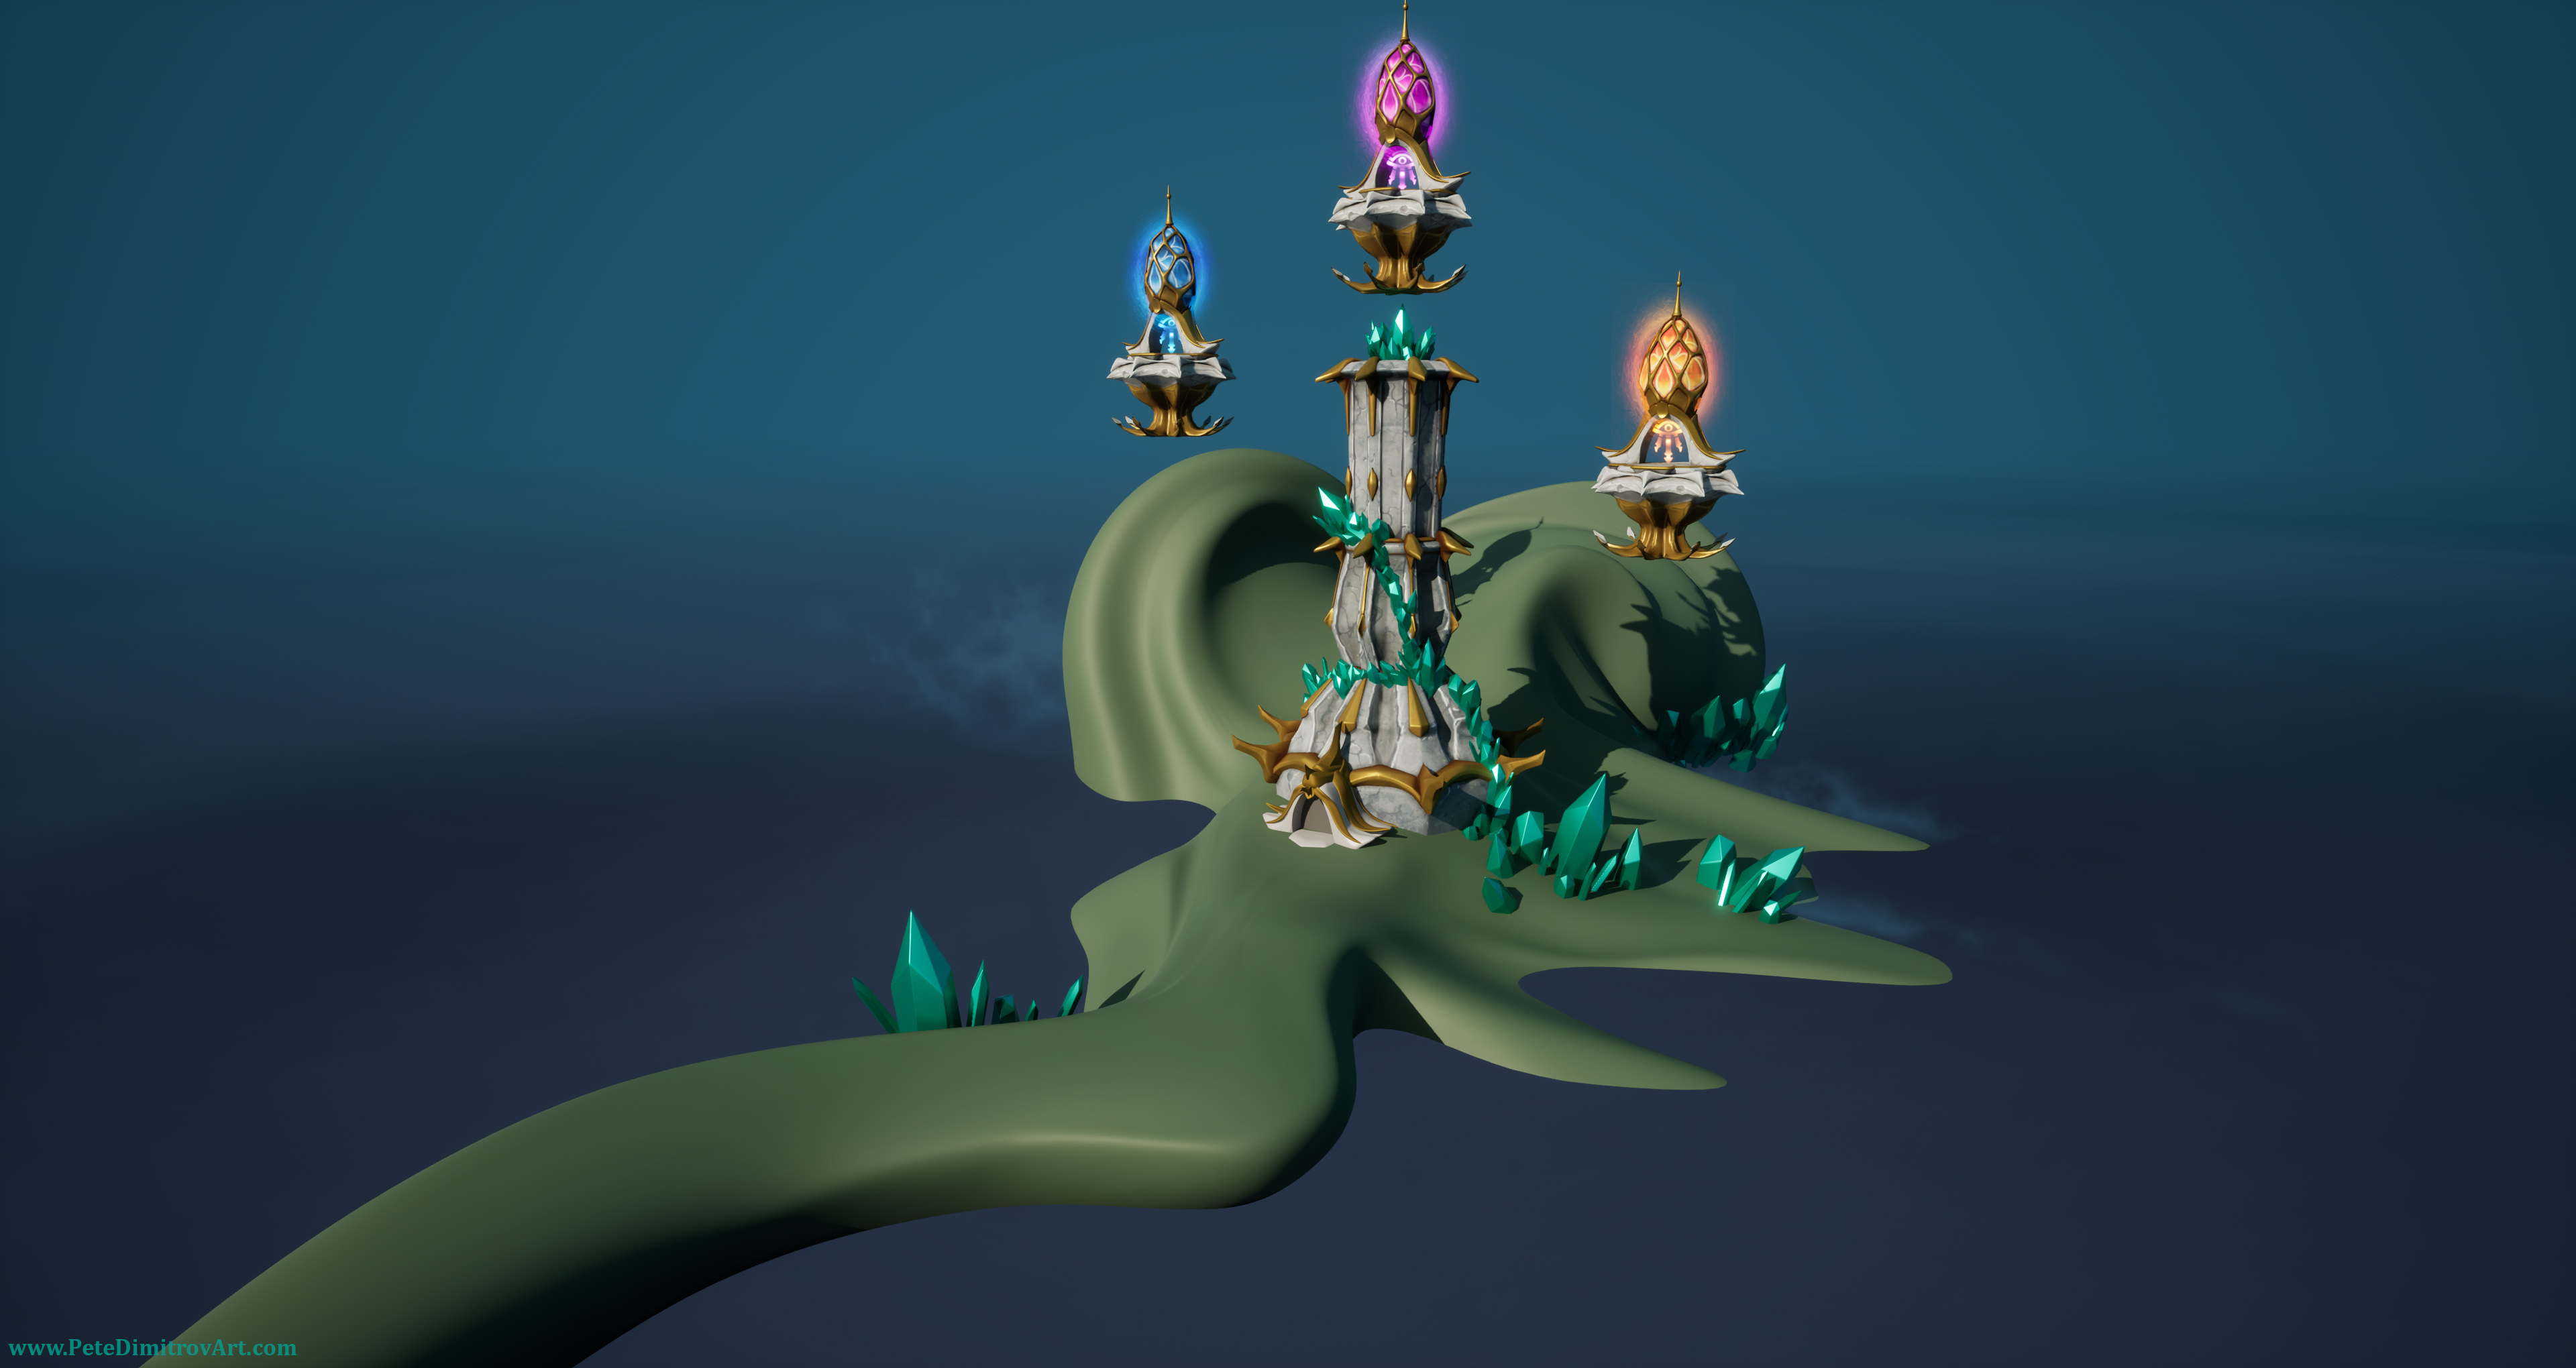
Main Camera
Here is the tower so far, from the main angle that overlooks the entire island.
Video Devlogs
I’m going to list the videos from the latest one, to the oldest one. That won’t give you a chronological order, but will get you straight into the most exciting 3D action from the latest video.
If you are truly dedicated, and have the time and interest to learn, scroll to the bottom, for the first video, and give them a watch in a chronological order. Enjoy!
Video 4 - Making WoW Style Textures | Painter, UE5 & Blender Devlog
In this video, numbered four, we go over my reference and my approach to painting the stone surfaces of the lower body of the Apexis tower.
Video 3 - Hand Painter Textures, VFX & Retopology
In video number three, we go over retopology of the floating spire and how I hand painted textures on top. The software I used for that was Blender and bSurfaces addon (for retopo) and Substance Painter 3D (for texture painting).
Video 2 - UE5 and Blender, Creating a World of Warcraft Style Diorama Devlog
In this second video, we go over editing landscape in the UE5 diorama. I use few different approaches and try few different tools. For example, in one spot, I edit the land through the use of Blender’s sculpting tools. Then in the next frames, I try out Unreal 5 modelling toolkit.
Video 1 - Start of a 3D Diorama in UE5 and Blender
We actually saw this video in the previous blog post on the topic of the Apexis Mage Tower, but I thought I shall list it here for you nonetheless.
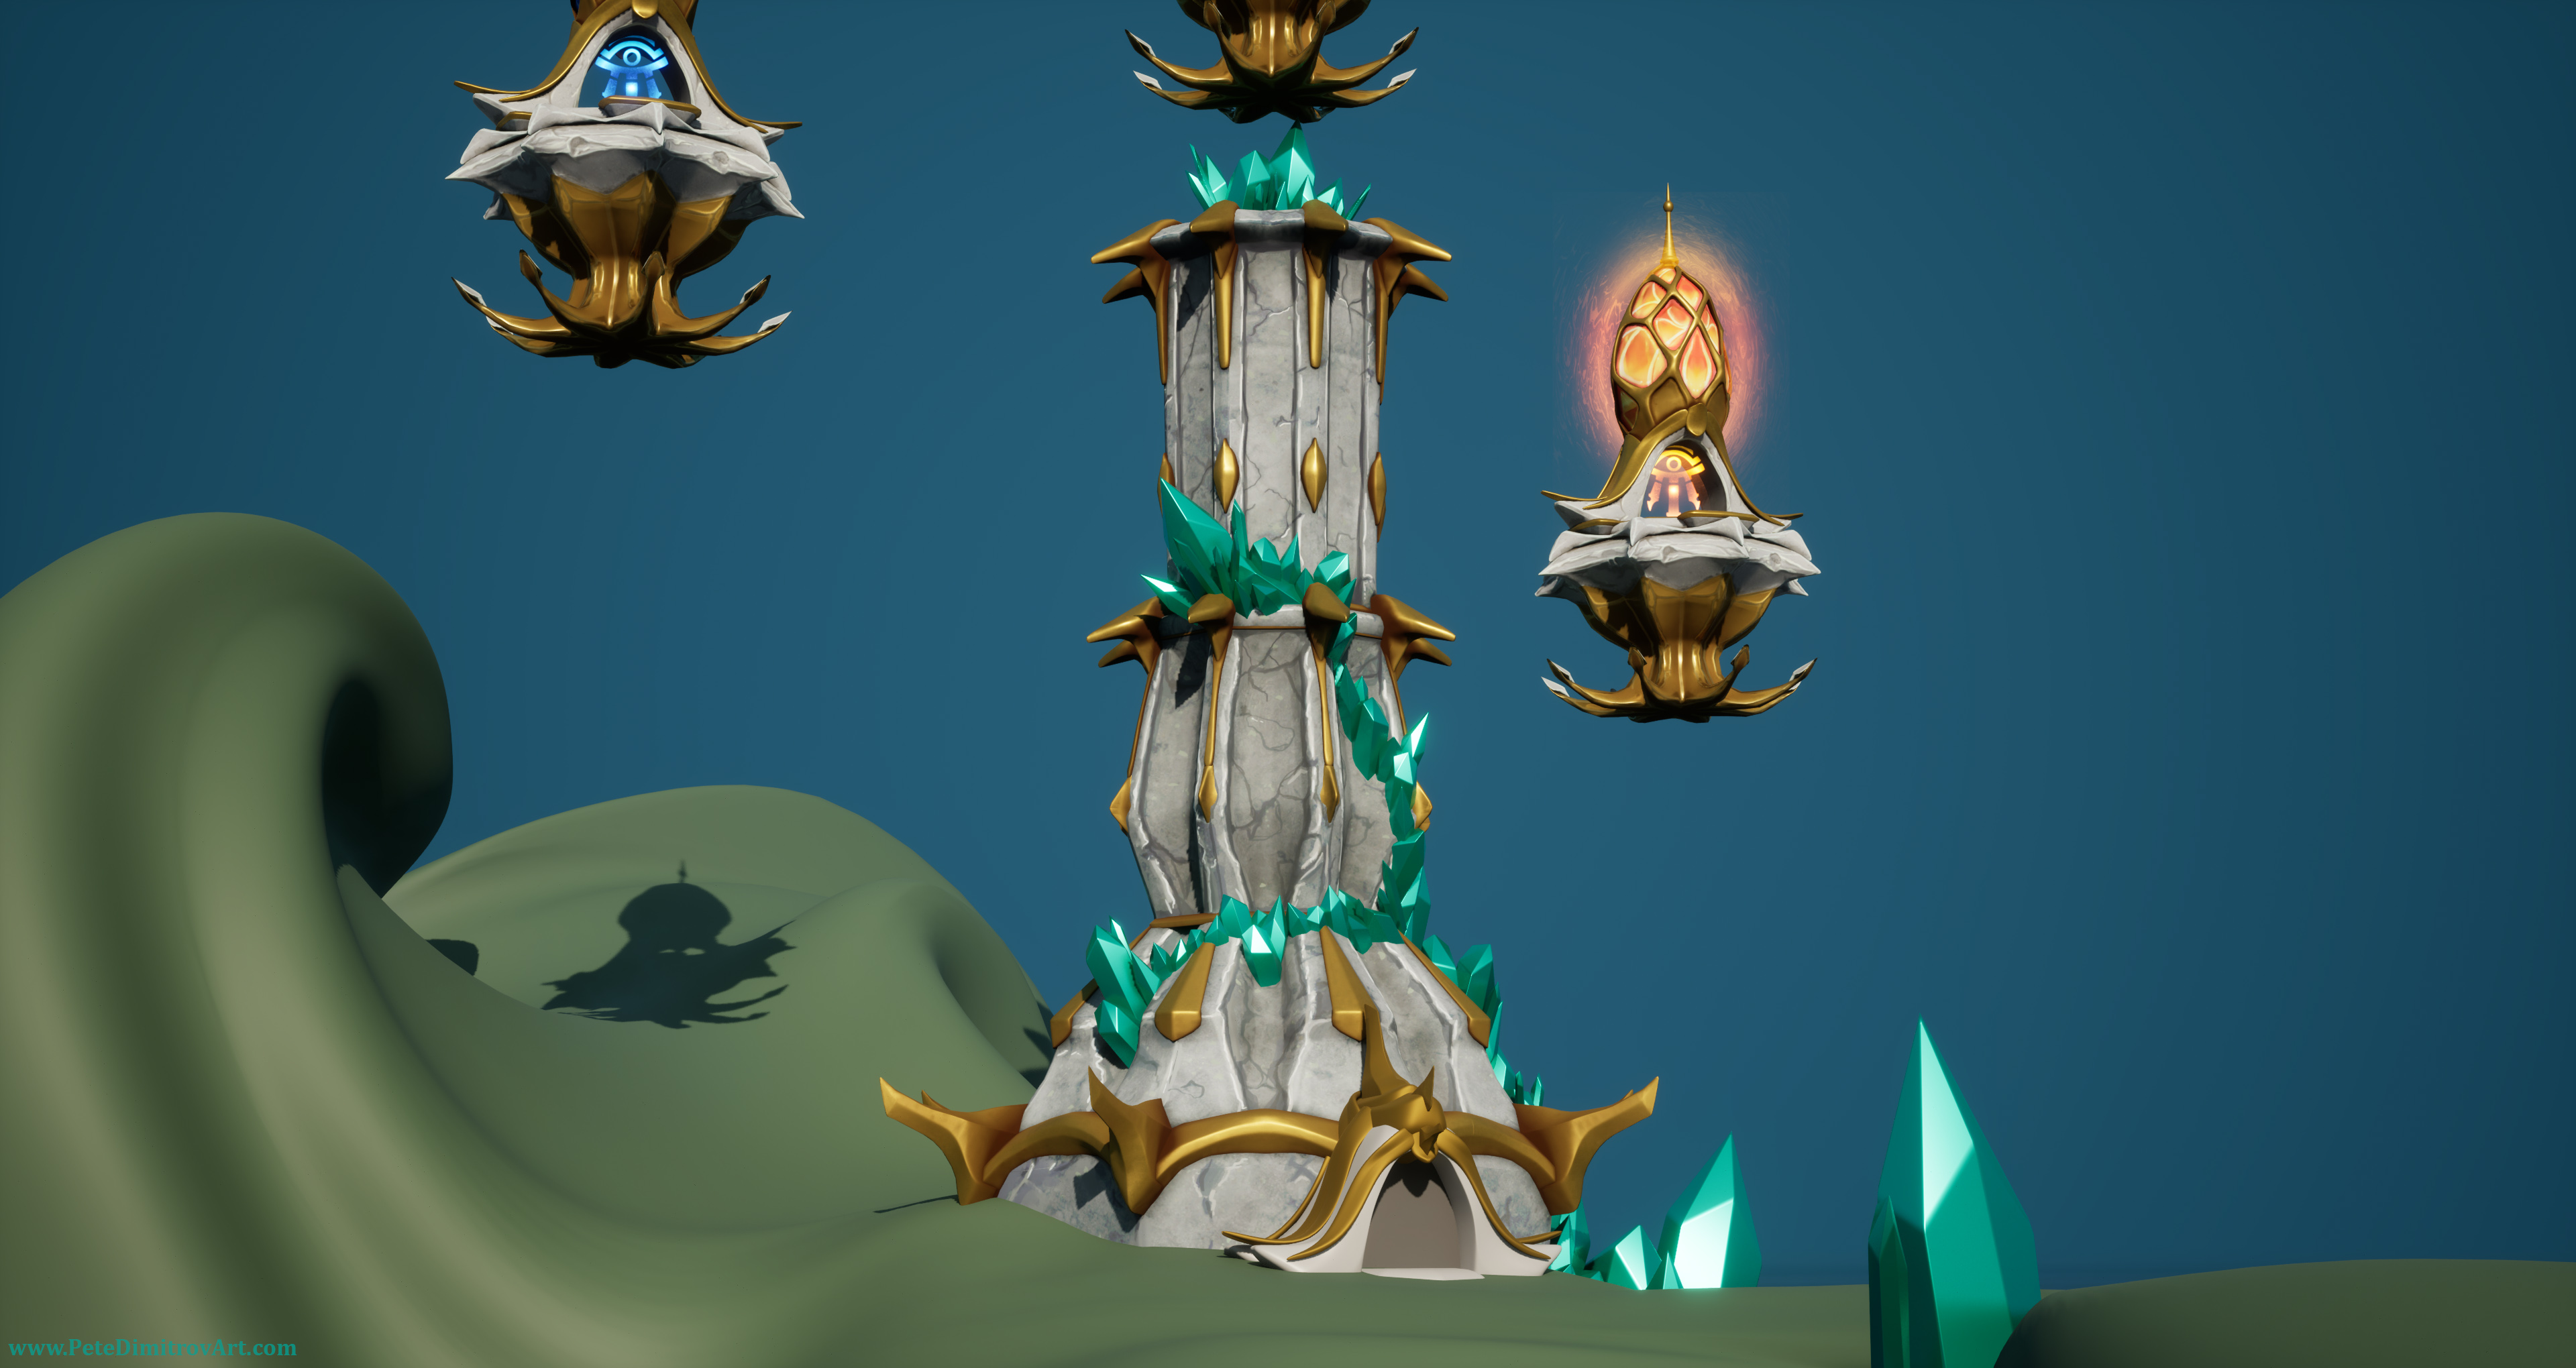
Tower Close Up
Here is a view of the tower, but from closer up.
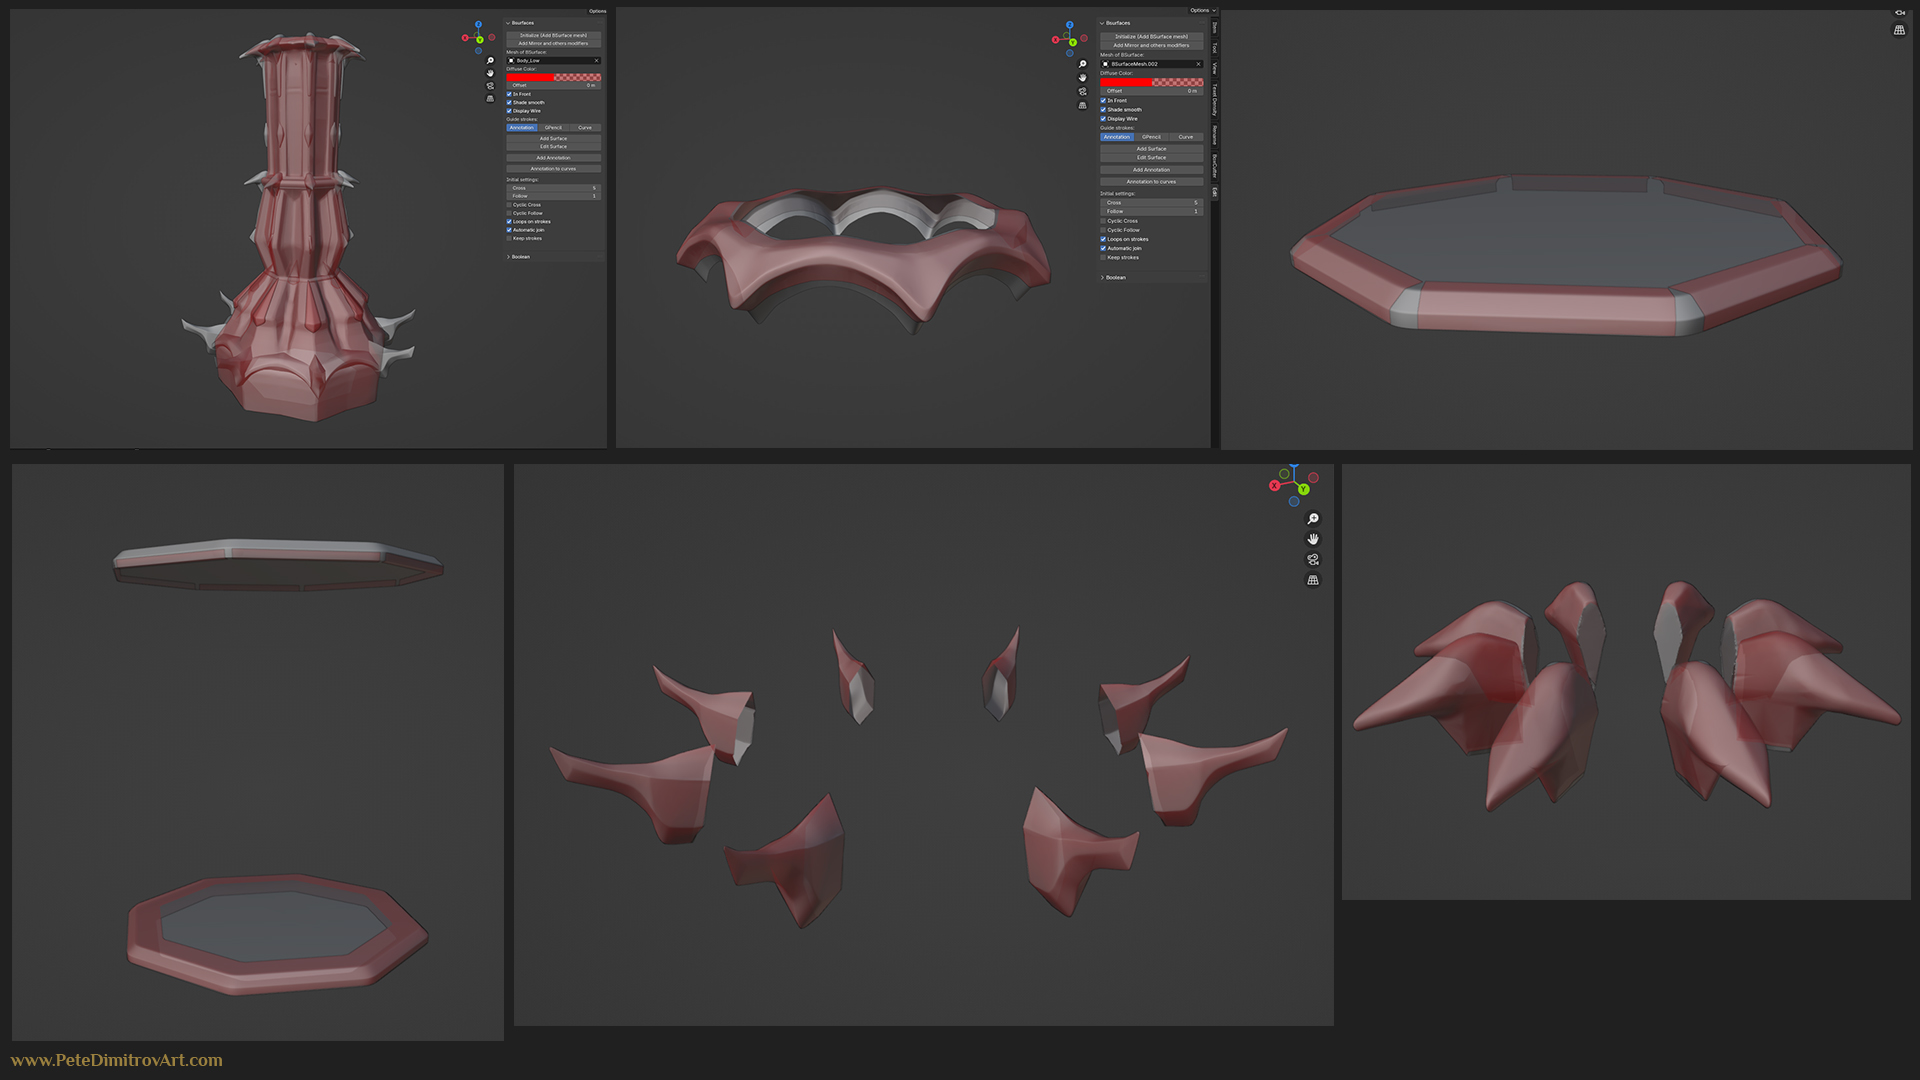
Tower Retopo
Here are some of the pieces of hand retopo-ed geometry. These ones I skimmed over in my latest video, as such you can’t fully see them in detail over there.
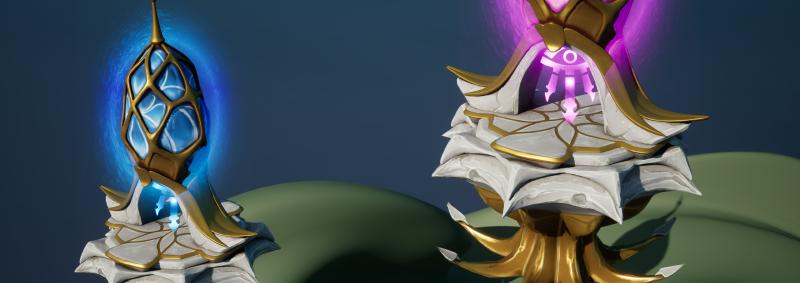
Texture Iterations
Before I settled on the patterns, tones and highlights in the hand painting that you see, I explored different ones. It’s hard to paint and immediately nail exactly the colors that you need. Often, you put down some paint, and through the development you see what improvements are needed. You tweak your chromas and values to match that.
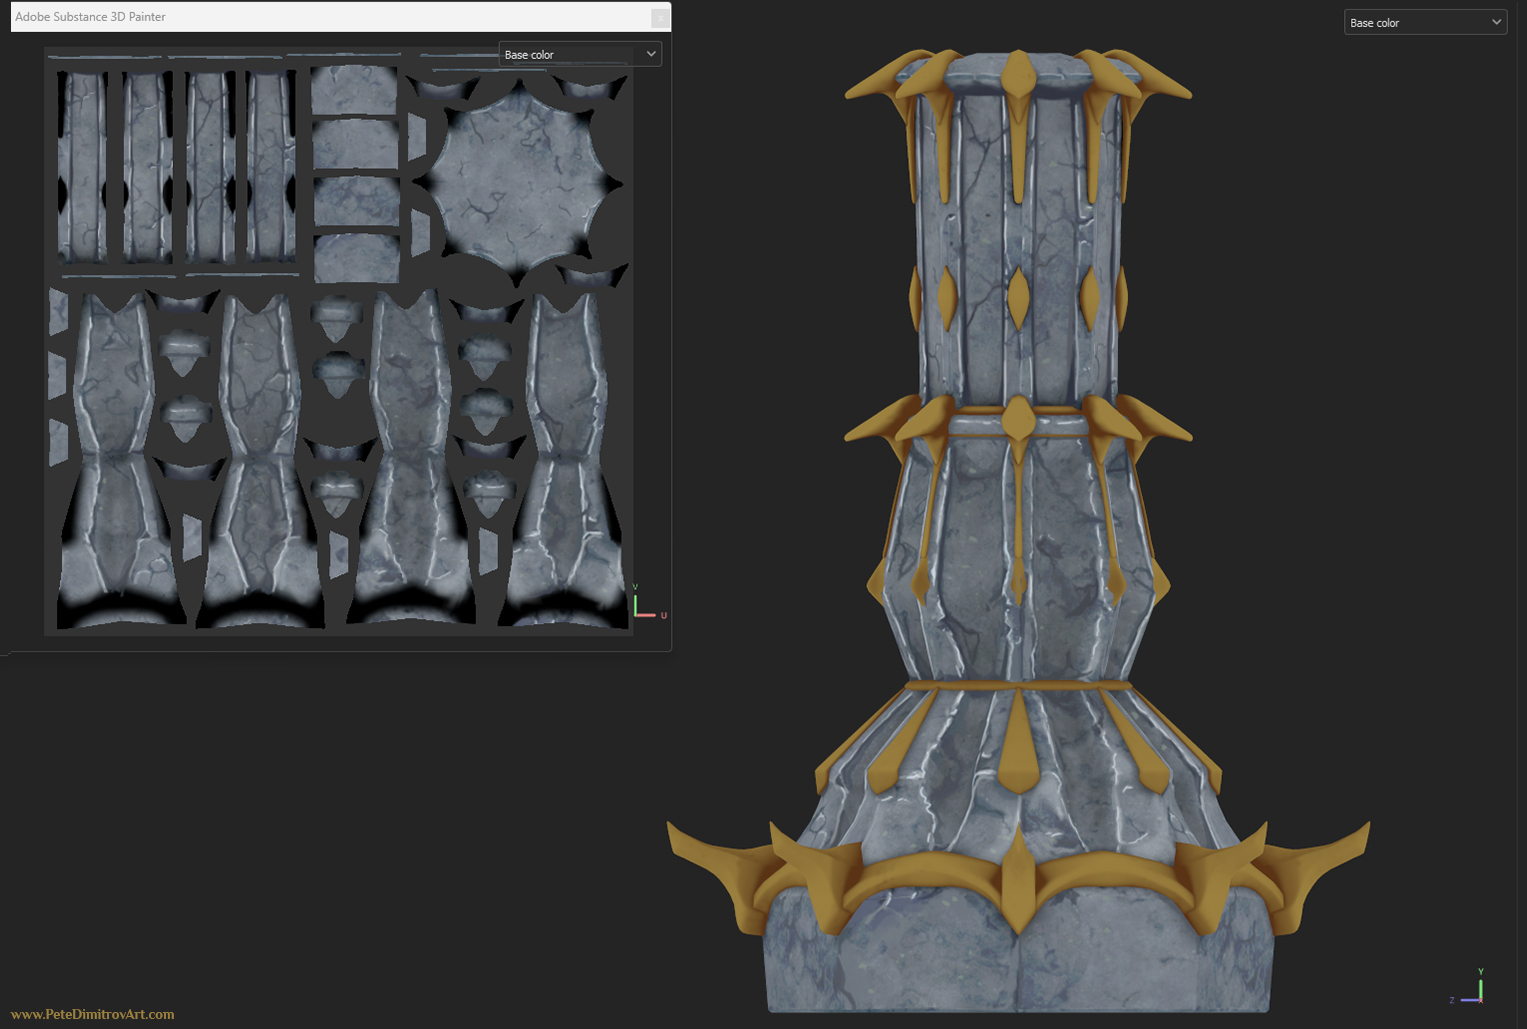
That’s exactly the approach I used here, as such you can see me shift from these warm colors:
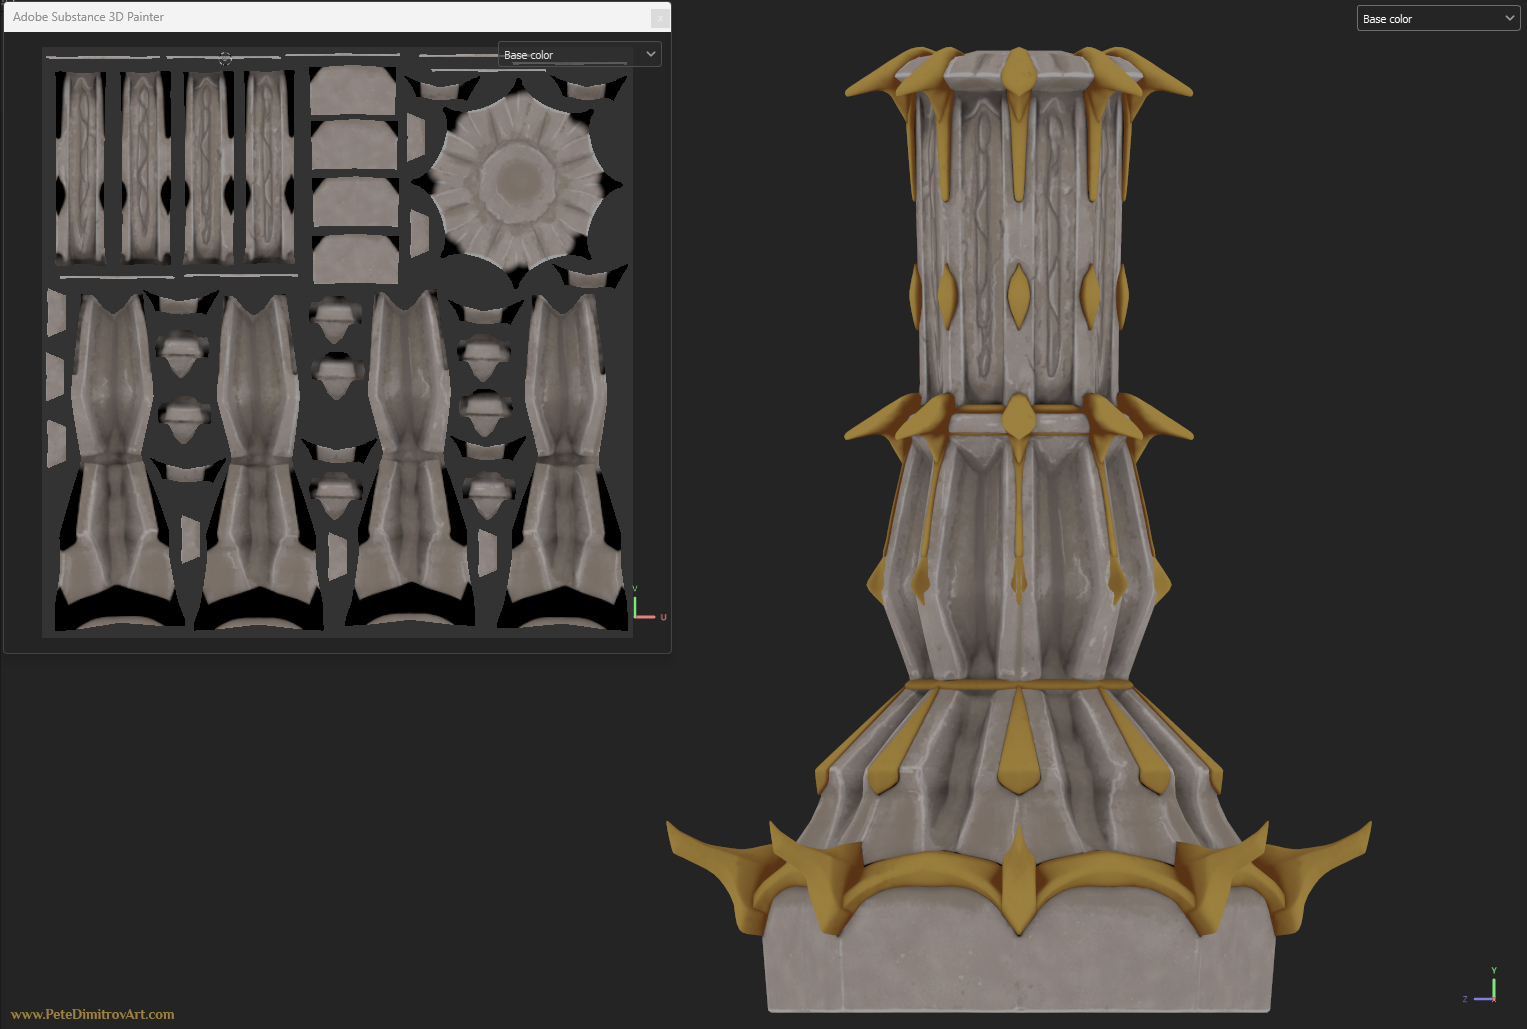
To these cold colors:
Conclusion
This quick blog post showcased different behind-the-scenes insights of the diorama. Those were pieces like the retopologised geometry and then screenshots from Painter that show the warm and cold progression in the tones of the texturing.
Lots of the chapters listed the different videos that I made which document the creation of this diorama so far. After watching them, you hopefully have seen further insight in things like blockouts, landscape editing, sculpture, retopology and hand painting. Those would be in software like Unreal, Blender, Zbrush and Substance 3D Painter.
All the best,
Pete.
If you enjoyed this blog post, consider subscribing in the form below. That way you will get a notification the next time I publish a new blog.