
In the last post we mentioned the most important Blueprints we need in order to have actual gameplay. They do build the win/lose condition, but we still need one more very important element.
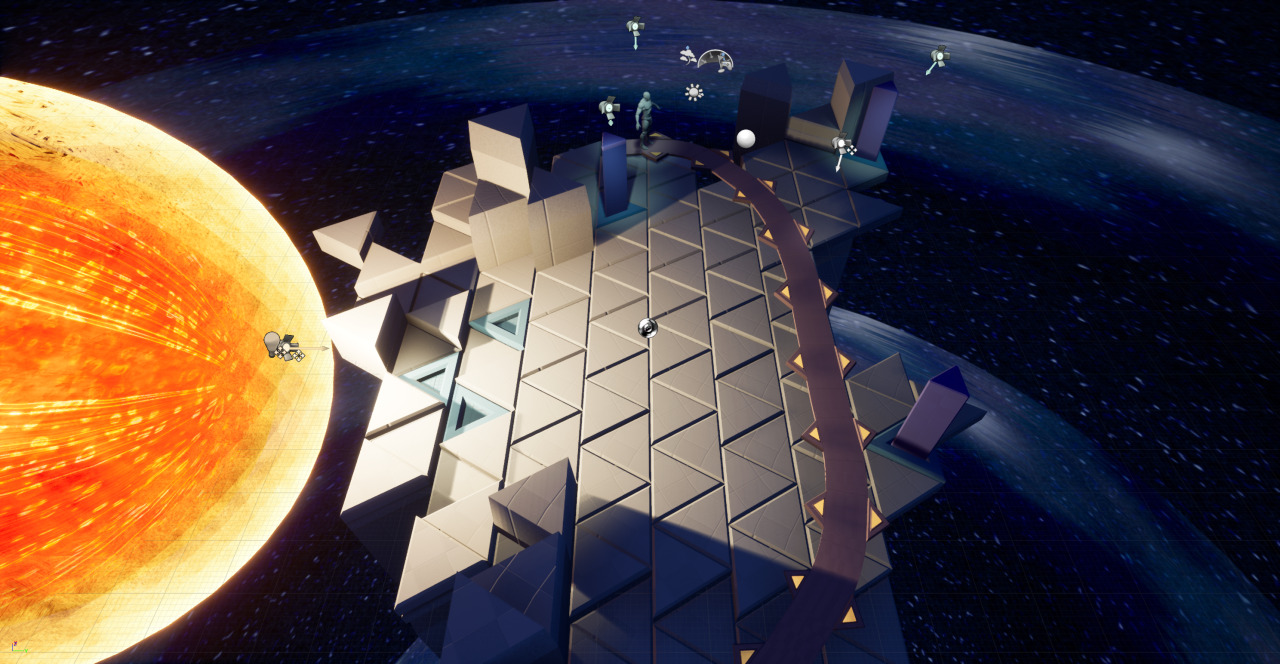
We need what I call right now, and am going to refer to, with the word “blocks”. The blocks are the pieces that go on the environment to cast shadows here and there. The blocks are what the player is in control of, as I said way back in the first post.
Tetris Pieces
In the game, I have tiles, that put together create the map/surface area. Then, on top of those, go the blocks. They fit together perfectly in slots, as I need it to be visually explicit where a player is allowed to place and where they are not.
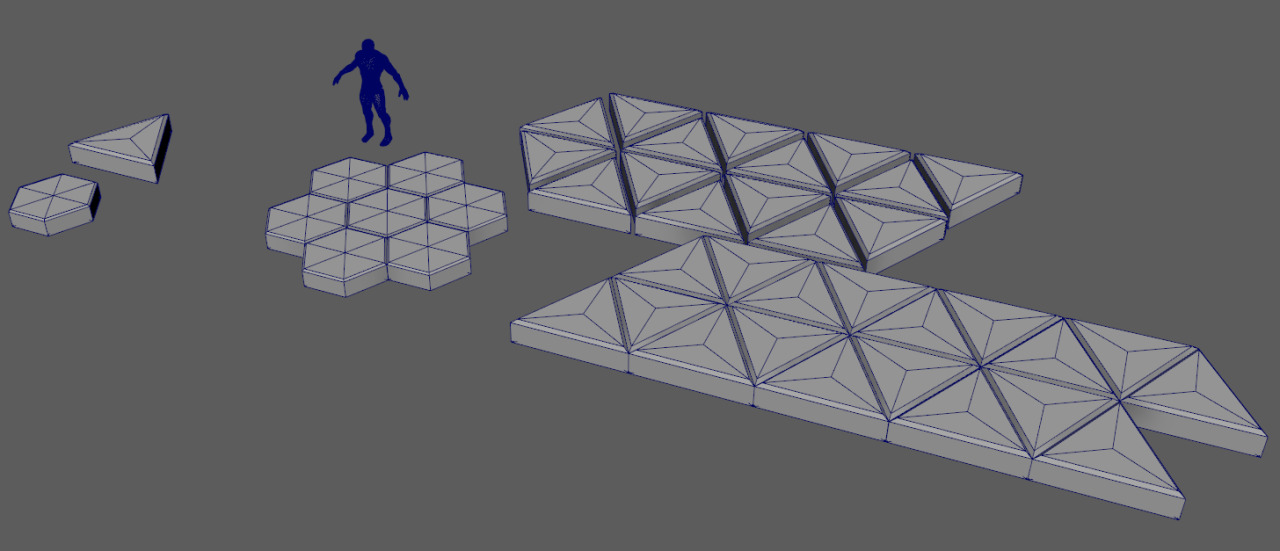
First “sketch” of the shapes I did in Maya. It was a quick test to see what shape could work the best. At that point in my mind I already knew I wanted one shape repeated many times like a tile, but I still was not certain what that shape would be.
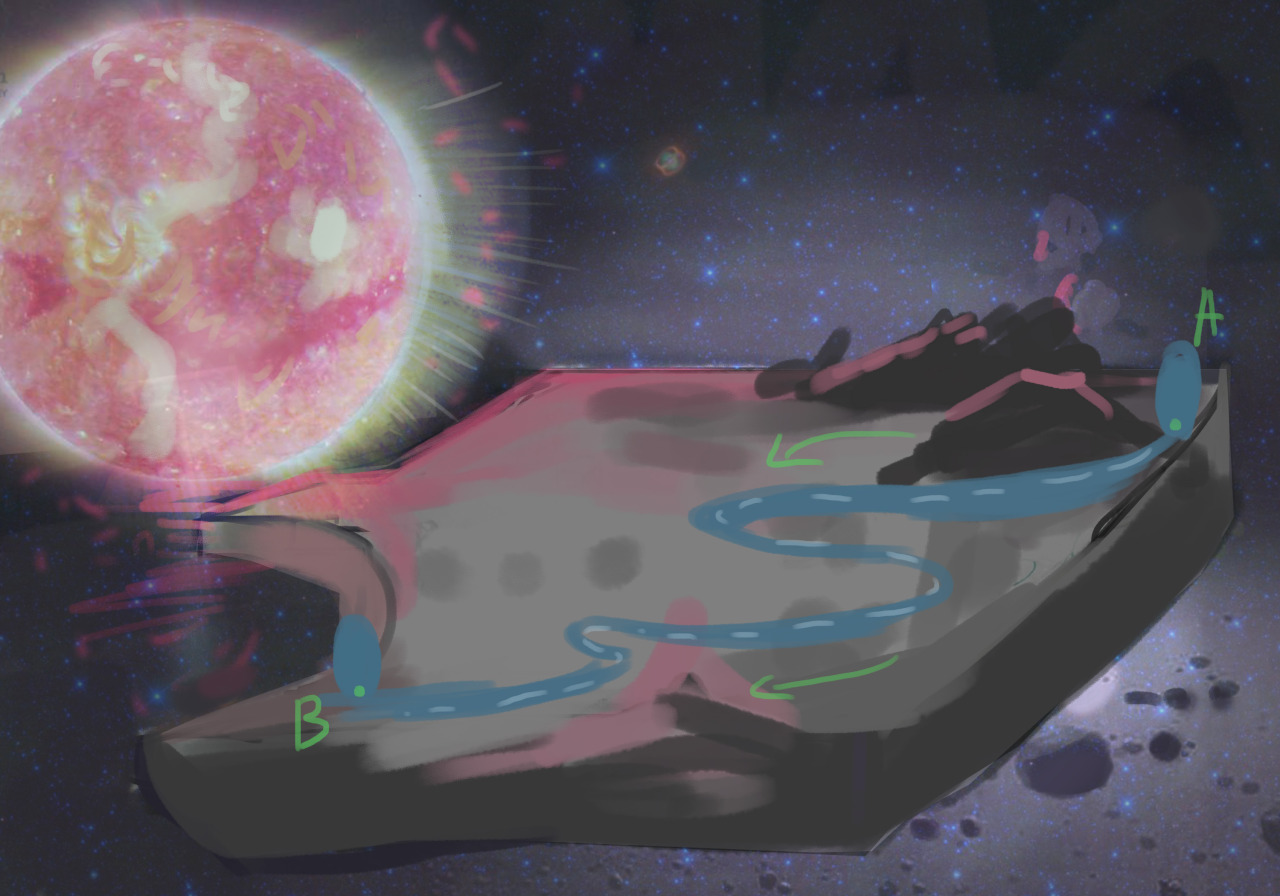
Before I did anything, I had a quick sketch, that does not look very impressive, that I made in Photoshop. It was more of a guide for the mood, that was assuring me I am going in the direction I want to.
You could probably see that the image I produced above, was what inspired me to go towards a blue starry sky, overall dark tone, and a very bright sun.
You can also sort of see the path, illustrated in blue, and the idea of going from point A to point B as a main objective in the game.
Sun
After I had figured out the visual of the tiles, and the Sun next to them, the first draft was a hollow, holographic looking star. Although I said I don’t have plenty of time to create textures and shaders (thus the tiles are textureless) I still needed to make sure the Sun has a texture. The Sun needs one, because it is a main game mechanic element. We need to be able to tell, visually, that it’s big, that it’s hot, and that it is potentially dangerous. It can’t simply be hollow. That is when I went into making a texture and some basic animation for it.
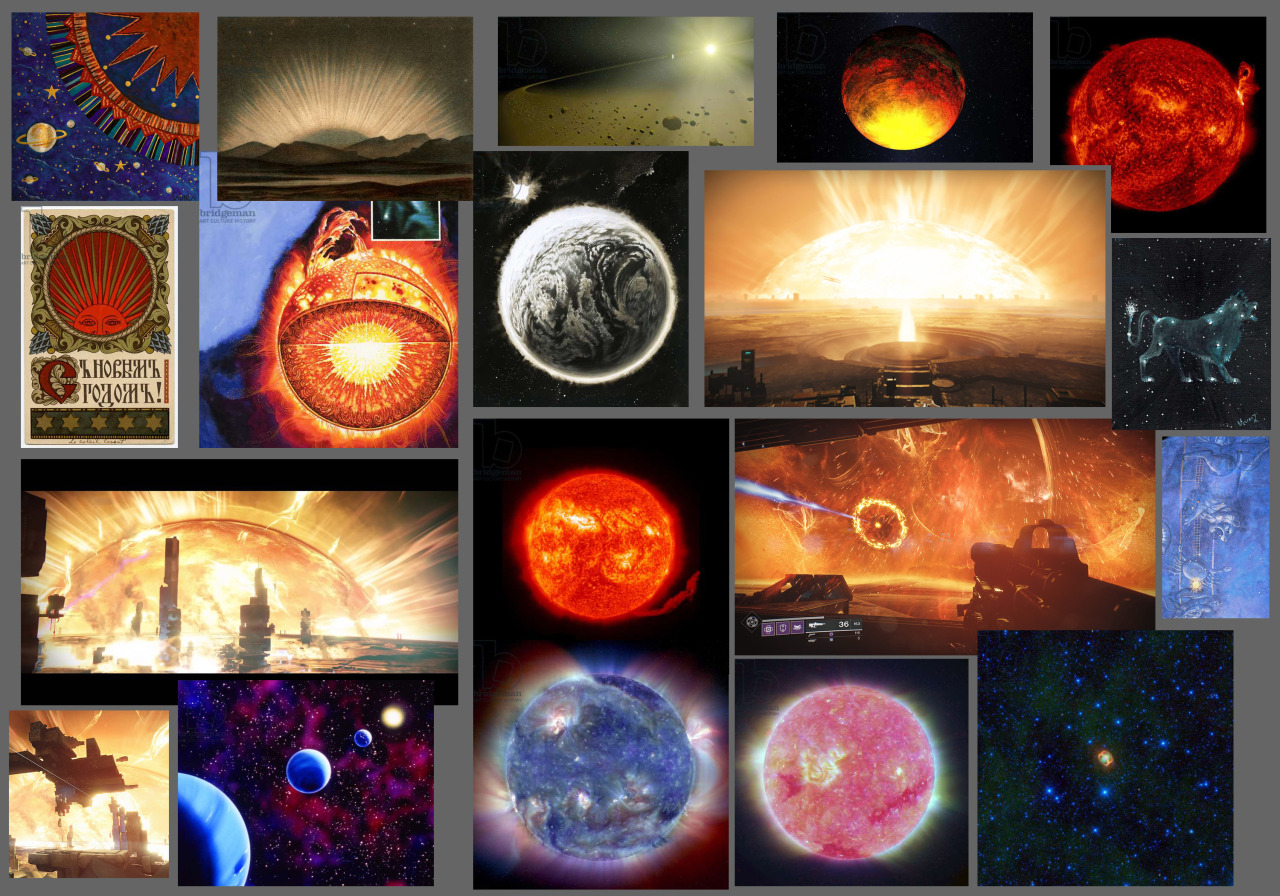
My reference sheet (or what others call a mood board) for the Sun. You can see the giant Sun from Destiny 2 on a few different screenshots.
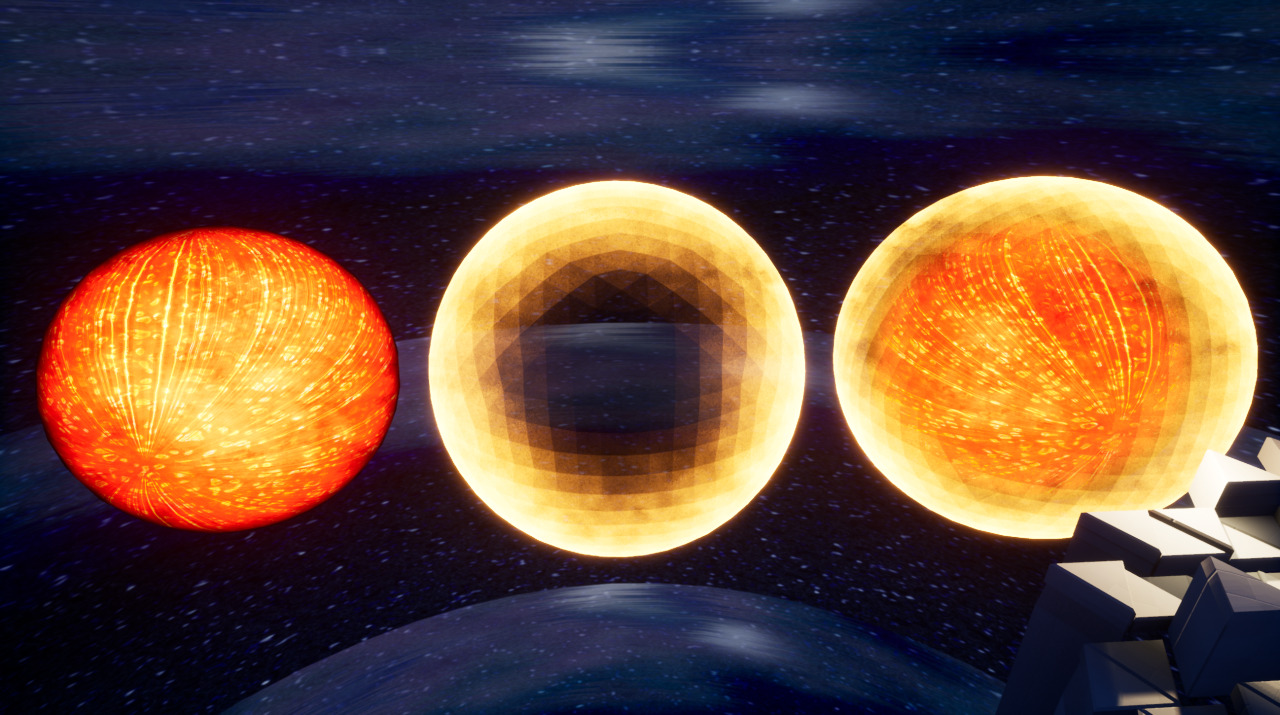
The final visuals of the sun.
The Sun is created from two spheres that go inside each one. The outer one is a low poly, with a Fresnel Shader applied to it. It gives it the triangular holographic look, that flickers with a subtle animation. Inside of it is a proper texture, unlit Shader, that has an animated normal and some glow too. Both materials can be controlled for a change in color.
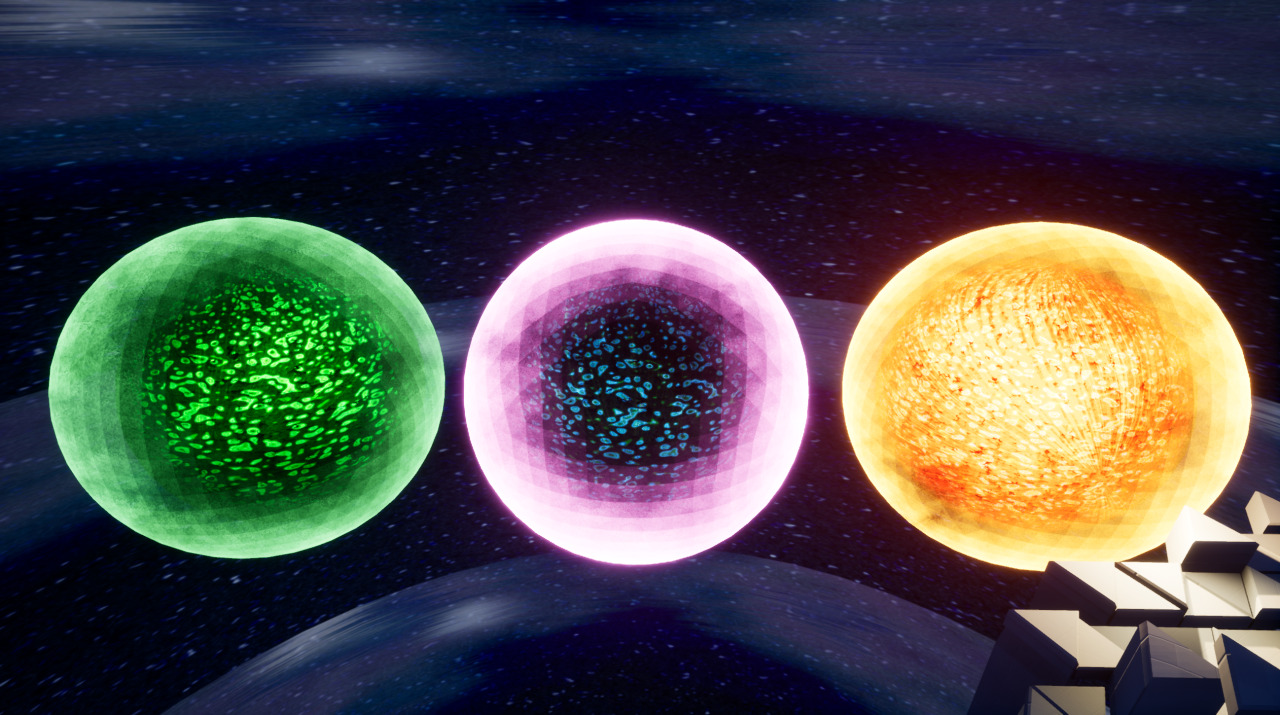
Different colors of the stars.
Some levels of the game could have multiple suns different locations. In that case I can have selection of colors so each is unique, more interesting.
Back to the Block Pieces
What those needed was a “placement system” Blueprint. It was good that I knew exactly how I wanted that. That’s, again, thanks to the traditional RTS games. What I ended up making is simple in words, but more complex in Blueprints. It’s a system where you can click on a block to place it, it becomes semi-transparent and red (again with the help of a Fresnel function). If you point to a tile, that is marked with a Boolean that says “True” for “Is this tile Place-able on?”, then the transparent color turns green. It also lets you place it on top if you click.
The system for that is quite complex and I genuinely would have to do a few posts to find a way to explain it like a tutorial. Something, for which sadly there is no time right now.
I also have to thank my brother, Miroslav Dimitrov, who is a programmer and helped me figure out the logic of a few things I needed to do, so I could properly turn them into Blueprints. I am sure he did not find it as amusing and fun as I did, mainly because he writes in code, has no idea how Blueprints work, and had to just guide me and watch me struggle on my own with Unreal.
My guide for anyone that might want to make a system like that is to look into Get Hit Result Under Cursor by Channel. That is basically a line trace that goes where the location of the mouse cursor is. After you use that, do a check to what object the mouse is pointing at, and then have your IFs to change color, check if placement is possible and et cetera.
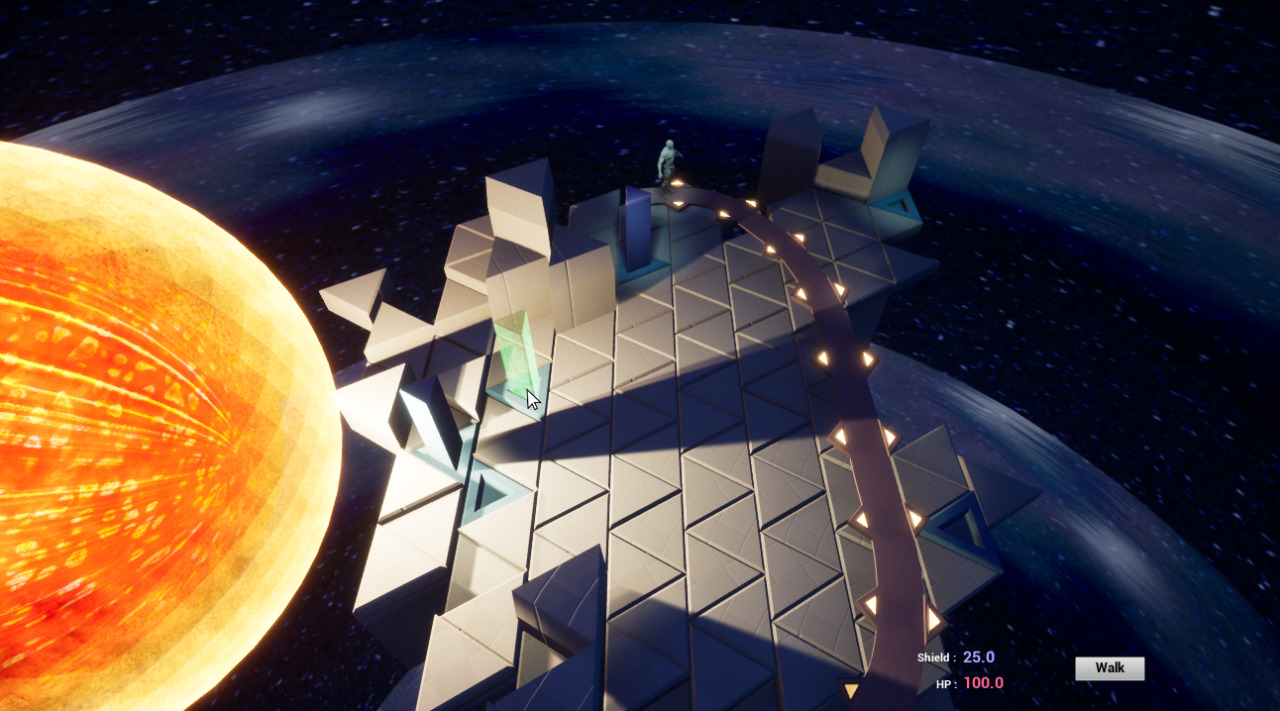
Pointing the mouse at valid slot tiles makes the block green. Red for not being able to place.
Blocks Visuals
Here I want to mention, that given the blocks are so important and the player interacts with them, it would make sense to have textures and proper interesting models for them. I would love to do that, but for now just a different color will have to do. I will go back to it and maybe model out something, given that after I completed all of the important Blueprints I need, and I make a few playable levels, I am left with some free time.
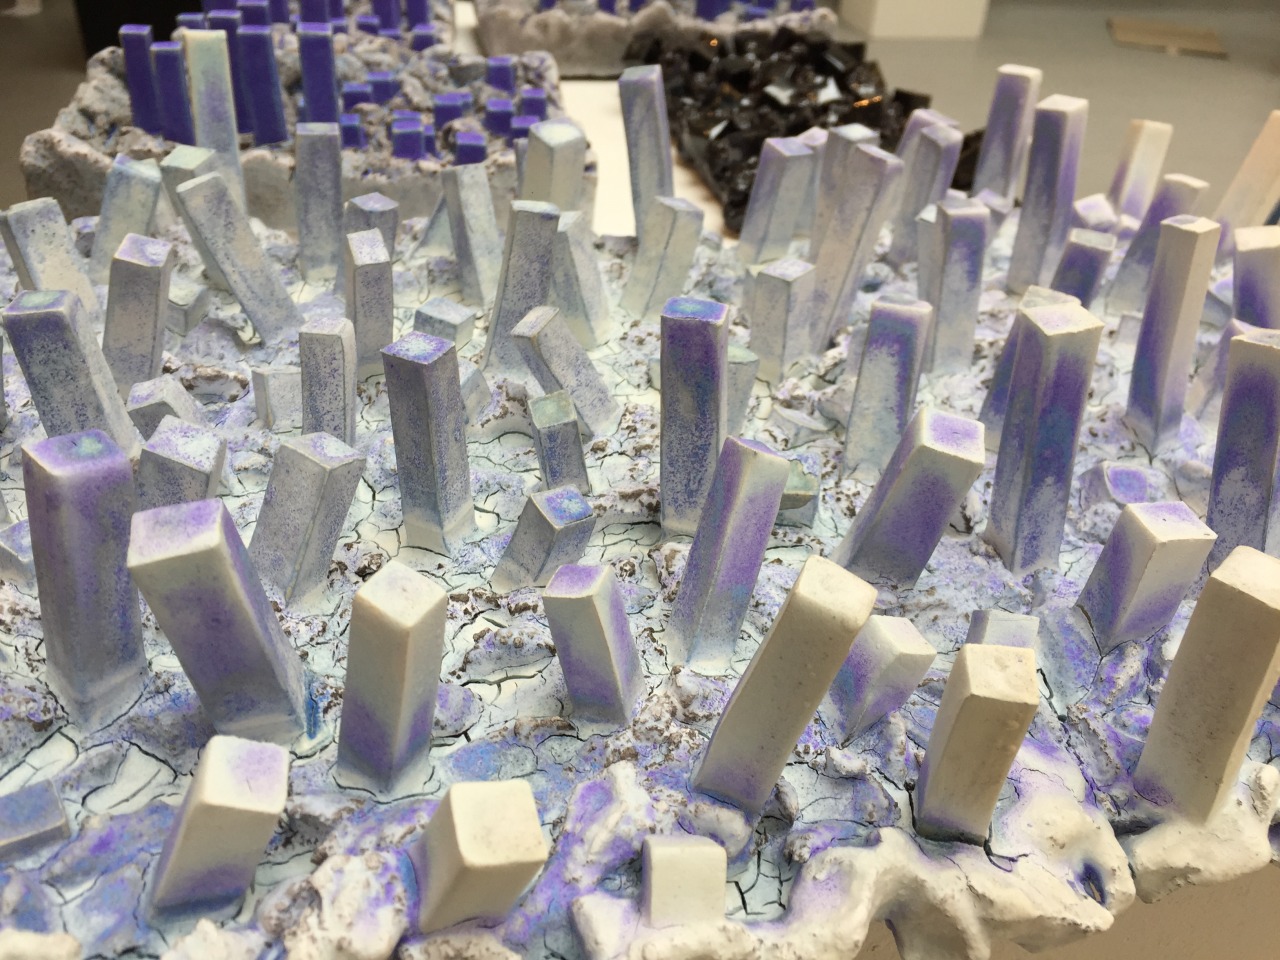
My research on how the blocks could potentially look just randomly walked through my door one day. Or more like not my door, but the door of the university building I am in during classes.
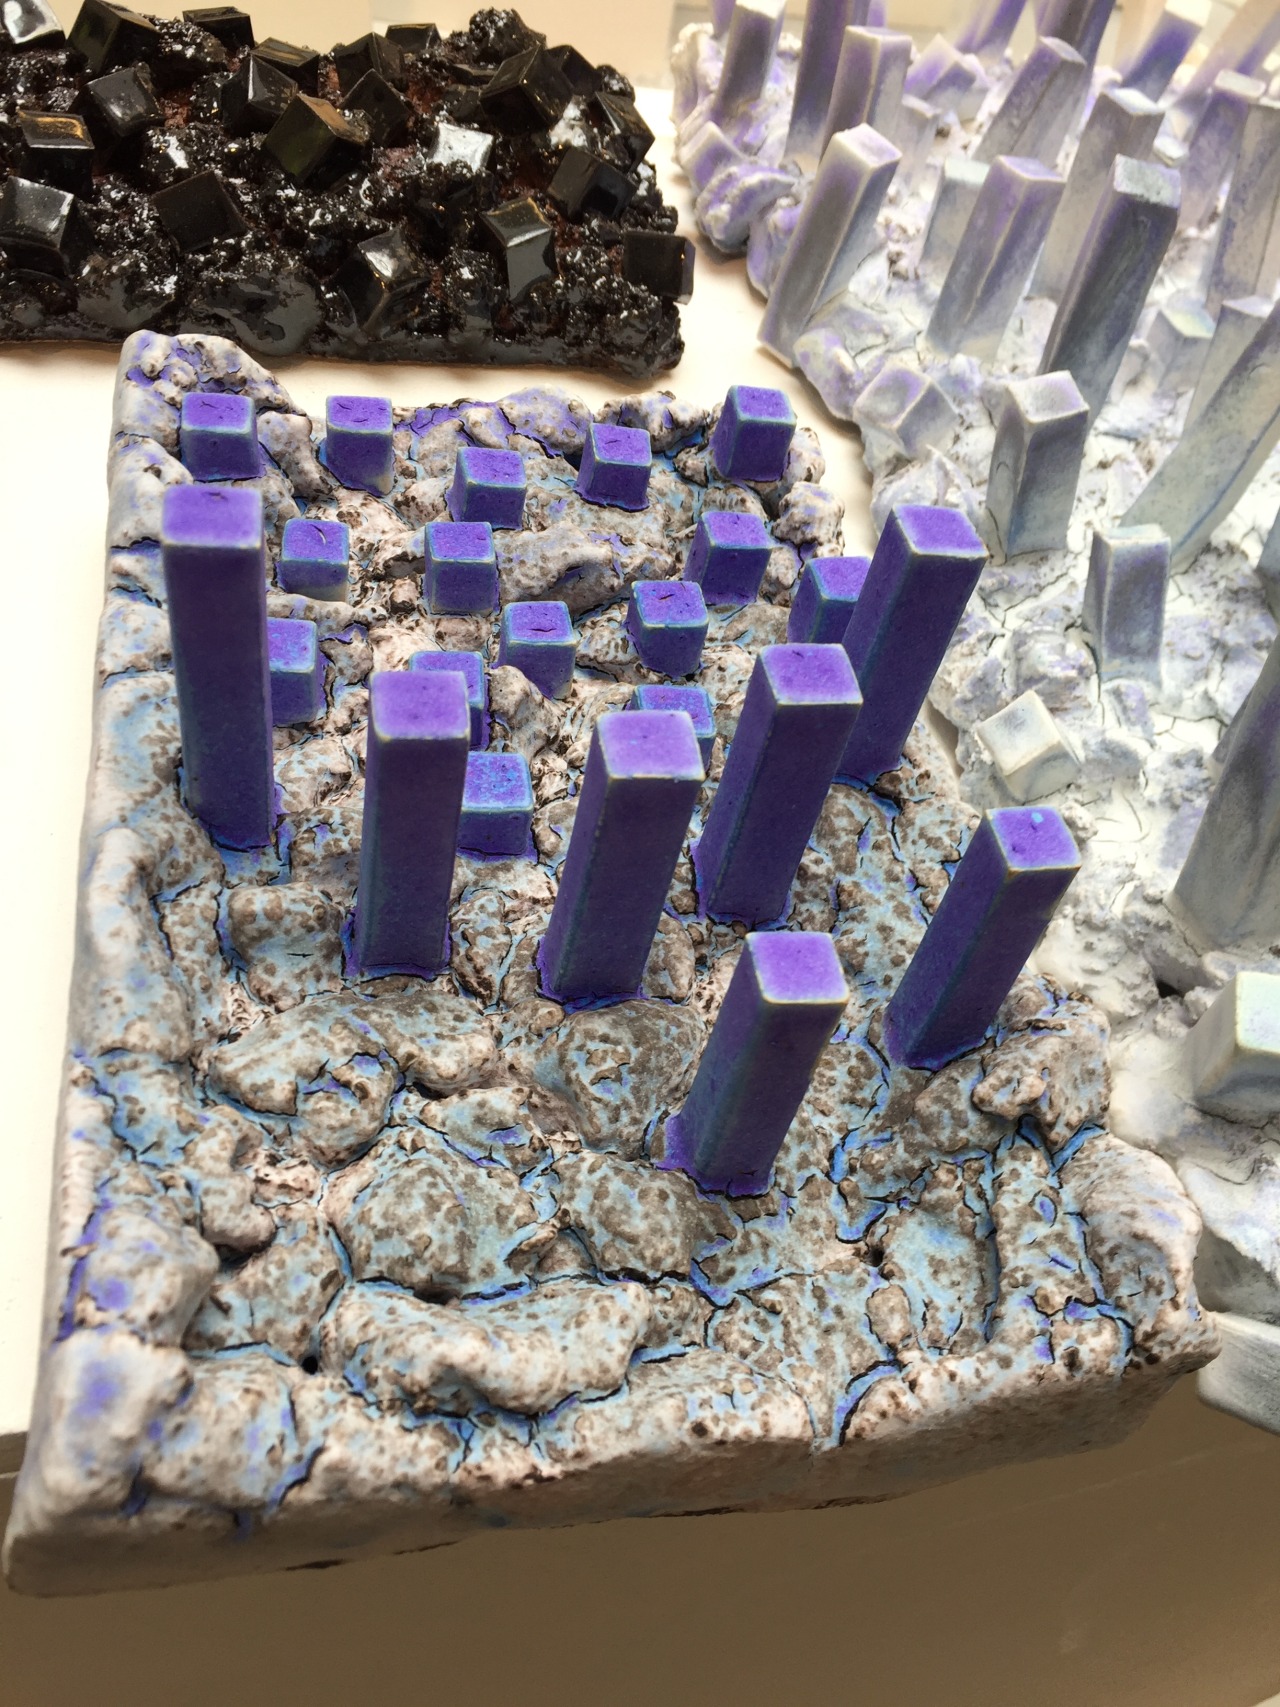
Beautiful statues, courtesy of Cheryl Vollor.
Those intricate ceramic statues, painted with acrylic on top (if I remember correctly) are created by Cheryl Vollor. I met her randomly in the first showcase room here at UCLAN in Preston. To get to the studio of our class, you walk through an entrance, small “hall” of sorts, where every week different art displays are put on. That’s where Cheryl had the exhibit of her statues.
The moment I first saw them, I suddenly imagined some of the maps of my game to be like that. A weird, alien environment, with peculiar crystal formations and colorful blocks that are in a juxtaposition with the dull monotone colors of the surface. The player could pick up those blocks and move them around. This whole thought came to me way before I had done any prototyping and it just sparkled a lot of excitement in me.
I spoke to Cheryl, who was amazing, and let me use the visuals of her statues in any game I created or for any research I would need. Thanks again for that, Cheryl!
Another photo of the statues. By Cheryl Vollor.
But as I said, we will sadly have to wait to see if I get some free time to “upgrade” the visuals of my blocks with anything remotely similar to those pictures.
Hopefully you found this visual research intriguing. Next we will look into the first playtest with actual living people, that my game saw! Woah!
Until next time,
Pete.
Update from 2023
I wanted to quickly update this entry to mention that there was no “next time”. I wrapped up the project by adding a few extra levels and having it all then playable.
I will admit to you though, that the game prototype was behind, priority wise, on the list of my other works, given I had at the time focused on crafting an Environment Art portfolio to try and find my break into the industry later that same 2019.
As such I put most of my attention in “The Animal Shrine” and “The Neon Graveyard” (both of which you can read in detail about by using the “Category” buttons to the right whilst on the main page of this blog).
I did, however, create a “trailer” for the game, as part of the course. I never got to writing another entry to these blogs and showing it there, but here it is for you:
Game Trailer
No mention of “vampires in space”. Kind of a missed opportunity, 2019 Peter! Instead just “Astronauts”? Oh well…
You can see in the trailer that I tried to keep it humorous and easy going, as I thought then, and still believe that would be the right course of action for the game.
Thanks,
Pete.