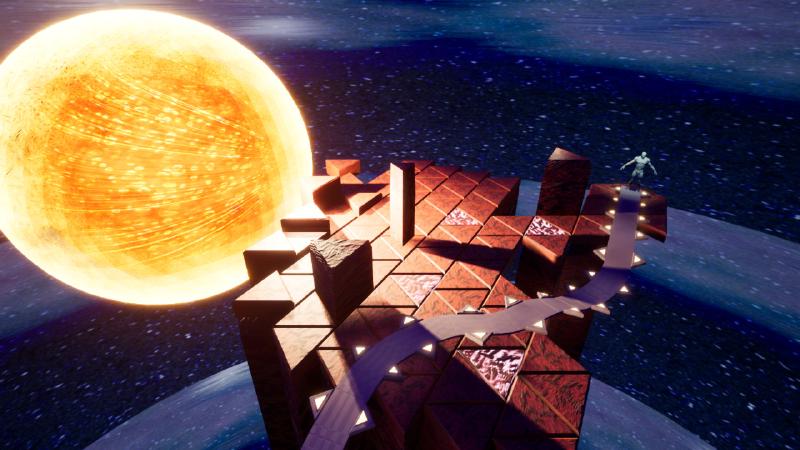

Screenshots showcasing the path with the unit (astronaut) on it. There are red ground textures in this one, but I stepped back and returned to a more clear visual style late, mainly because I wont have much time to work on visuals. Its all about Blueprints and game mechanics.
Important Blueprints
For this to become a playable game, I need three crucial elements.
One:
One is the camera. Unreal Engine 4 does start with a few presents of options for camera. You can have first- or third-person instantly set up with proper Blueprints. In this case, though, I need a system for a camera that is more close to the properties of one in an RTS game. I want the player to see everything from above, at a sort of isometric view. That preset does not exists and sadly I will have to build my own, from scratch.
Two:
Two is the path, on which the player unit is going to walk. The player themself are not exactly that unit, they are not the astronaut. They don’t control the astronaut. At least not in the sense where the player moves them around with inputs like arrow or WASD keys. Instead, on the screen UI there is a button. It says “Walk”. The player presses that and the Astronaut starts walking along the path.
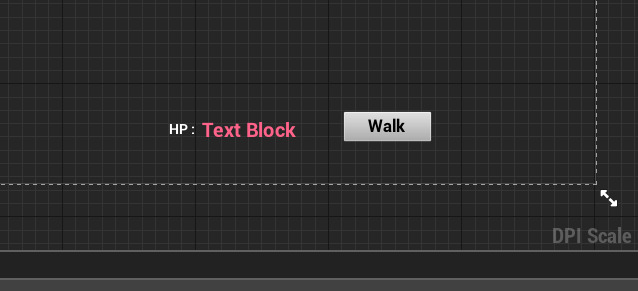
The Walk button as seen in the game, next to the Health Pool display.
Three:
Three is a Sun blueprint. In it would be stored the information of when the player should take damage. In this case, I’ve created a array of elements. I reference those and then cast a line trace between those elements (in this case, they are spotlights) and the Astronaut. If in-between those there is any element blocking the trace, then I can come to a conclusion that the Astronaut must be in shadow, and thus should take no damage.
Having said all of this, lets look at each one individually once more, but this time more in detail when it comes to the logic and the blueprints themselves.
Camera

I’ve created my own Pawn blueprint. In it I’ve placed a camera that moves together with the movement of a ball. The ball is set to be invisible, with no collision and through the Blueprints I move the ball around. The camera follows it and thus becomes functional.
There are four ways to control that movement. Three are quite simple and the 4th is a bit more complicated. First and second are controls through the arrow keys of the keyboard and through WASD. I’ve mapped those to axis movement input in the Project Settings, and then I’ve called those keybindings in the blueprints.
Third way of movement is panning. You click right mouse button with the cursor of the mouse anywhere on the screen and you drag around - the map drags with the movement.
Fourth was the most complicated one. It’s just like the one in a traditional real-time strategy game. You point the mouse at the edges of the screen and the camera moves in that direction.

To get that working, I am calling a function in the Blueprints that is there by default. It is called Get Mouse Position on Viewport. See, the screen is composed out of numbers. Sort of mapped in X and Y coordinates. Just like the illustration I’ve included above. The functions returns those X and Y and I check their value. I create 4 cases, sort of mapping the screen in 4 sectors. Or 5 I presume. One is the very middle where nothing happens. The 4 important sectors are those in the edges. If X and Y correspond to numbers that are in those 4 sectors, I then know the mouse is there and next I move it in the correct direction.
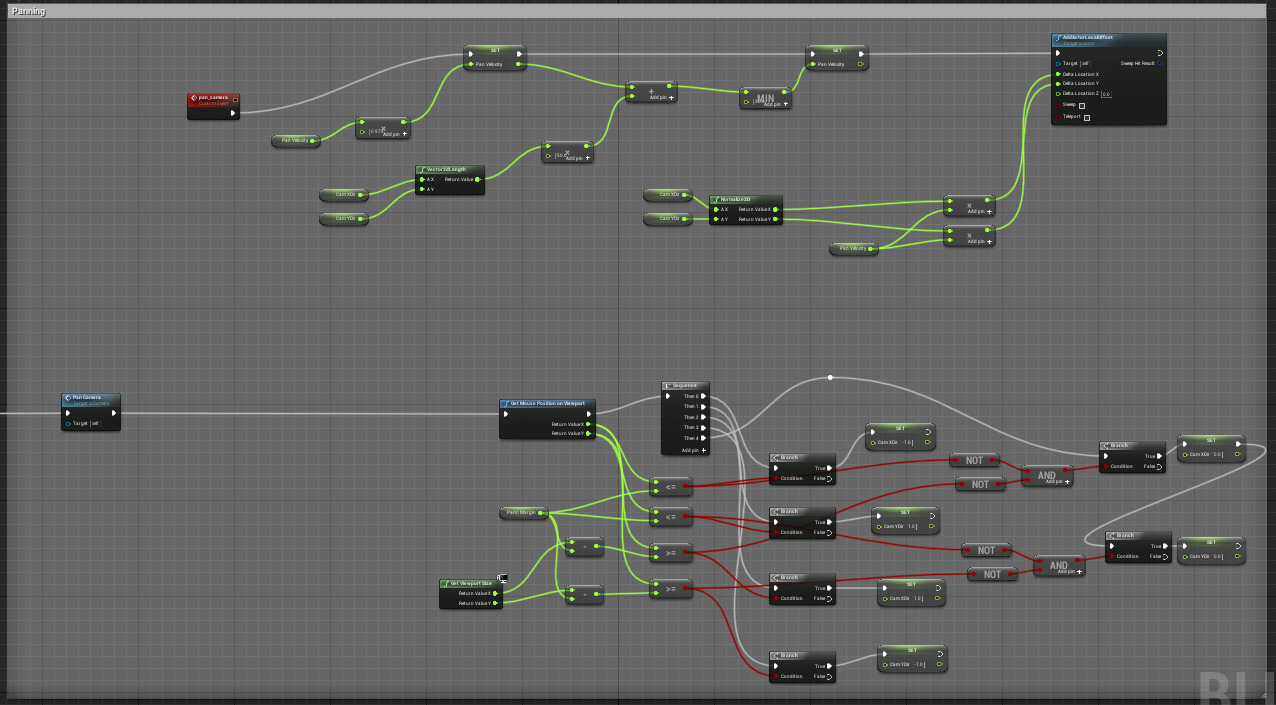
A view of the blueprint.
Images hosted here are for some reason tiny, and I know that you probably wont be able to see very well each individual node. But I believe you can follow the logic following the colors of the links.
(Edit: this was initially hosted in another web where images are smaller. One above is bigger, yet I know its actually still not easy to follow what is seen, so I apologize for not having a higher resolution for you.)
Everything goes in, running on an Event Tick. After all, I need to check where the mouse is all the time. Going in, it then plays a Sequence hooked up to 4 IFs (branches). You can already guess, that those 4 ifs control the test where the mouse is. In a case an if branch is true, it sets a value of 2 Float variables I’ve created. XDir and YDir. I set those two to -1 or 1. And with their respectable combination, it yells 4 results to where the mouse could be.
I don’t have enough time to take screenshots of each node and showcase it well. Or to explain the logic node by node. As this is not really a detailed tutorial. But I do hope talking about the logic behind this blueprint served to be of some help to anyone reading.
Walkable path
The spline system seen in the Engine. The visuals are outdated and the shaders I am using look kind of weird. Still you can see the system demonstrated.
If you want a similar spline system set up, you can follow this. Mine is identical, with the difference that I’ve also included a player mesh that moves on top of it (Astronaut).
The important part about this system is the fact that the spline, with its points that I can add, remove and move around dynamically, allows me the freedom to set up multiple levels. It’s like a sandbox system ready to be used.
Sun Blueprints
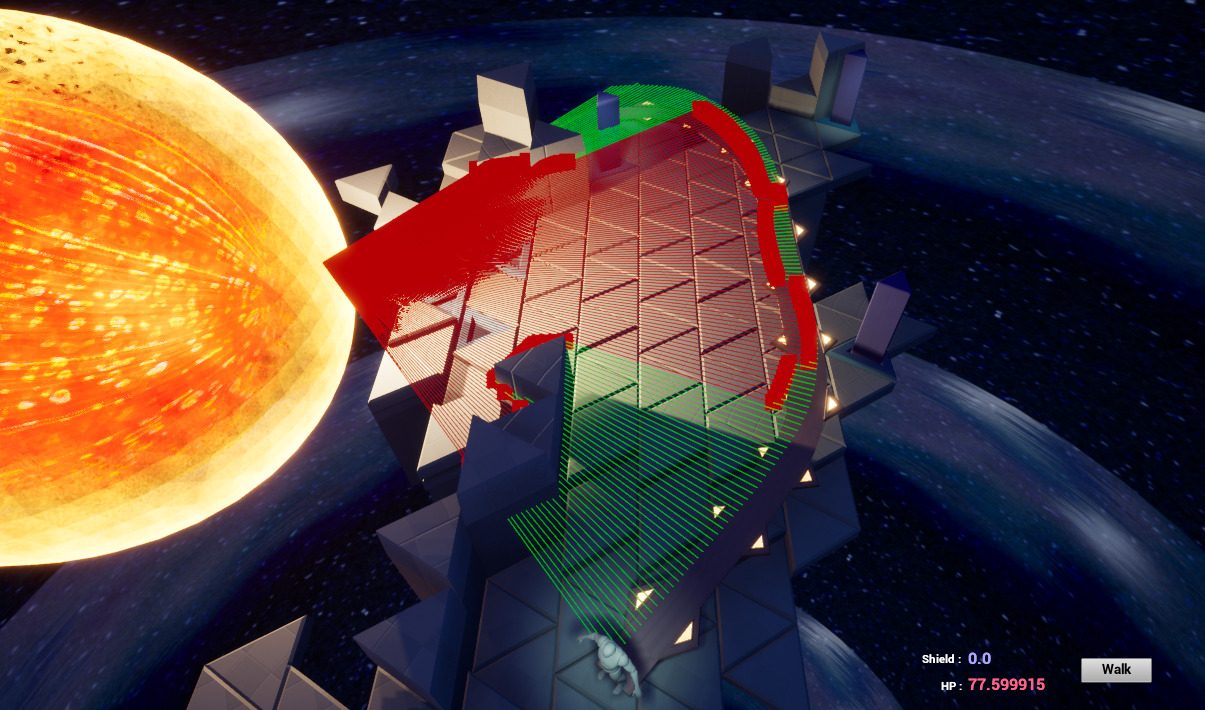
Invisible line traces are cast all the time to detect collision. In this image, I’ve made them visible for illustration purposes.
Line traces are cast from a function called Line Trace by Channel. Its pretty straightforward to use and I am sure you can find plenty of resources about it. Its “Start” is Sun, and the “End” is the Astronaut BP Actor (the mannequin). Small tweak I’ve done is that the start is not just the Sun, but its an array of Spotlight Elements. That way I can place a spotlight anywhere and have it referenced as the starting point and thus have more control.
That would be it for now, hope you found this insightful!
In my next post we are gonna explore some thoughts on models, visual language, props and the map itself. Stay tuned,
Pete.