Intro
In the past months I’ve been creating a World of Warcraft inspired diorama inside of Blender and UE5. You might have seen glimmers of it in some of my previous blog posts.
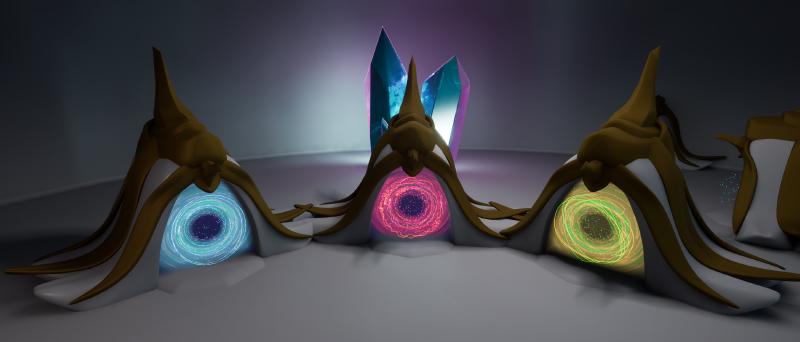
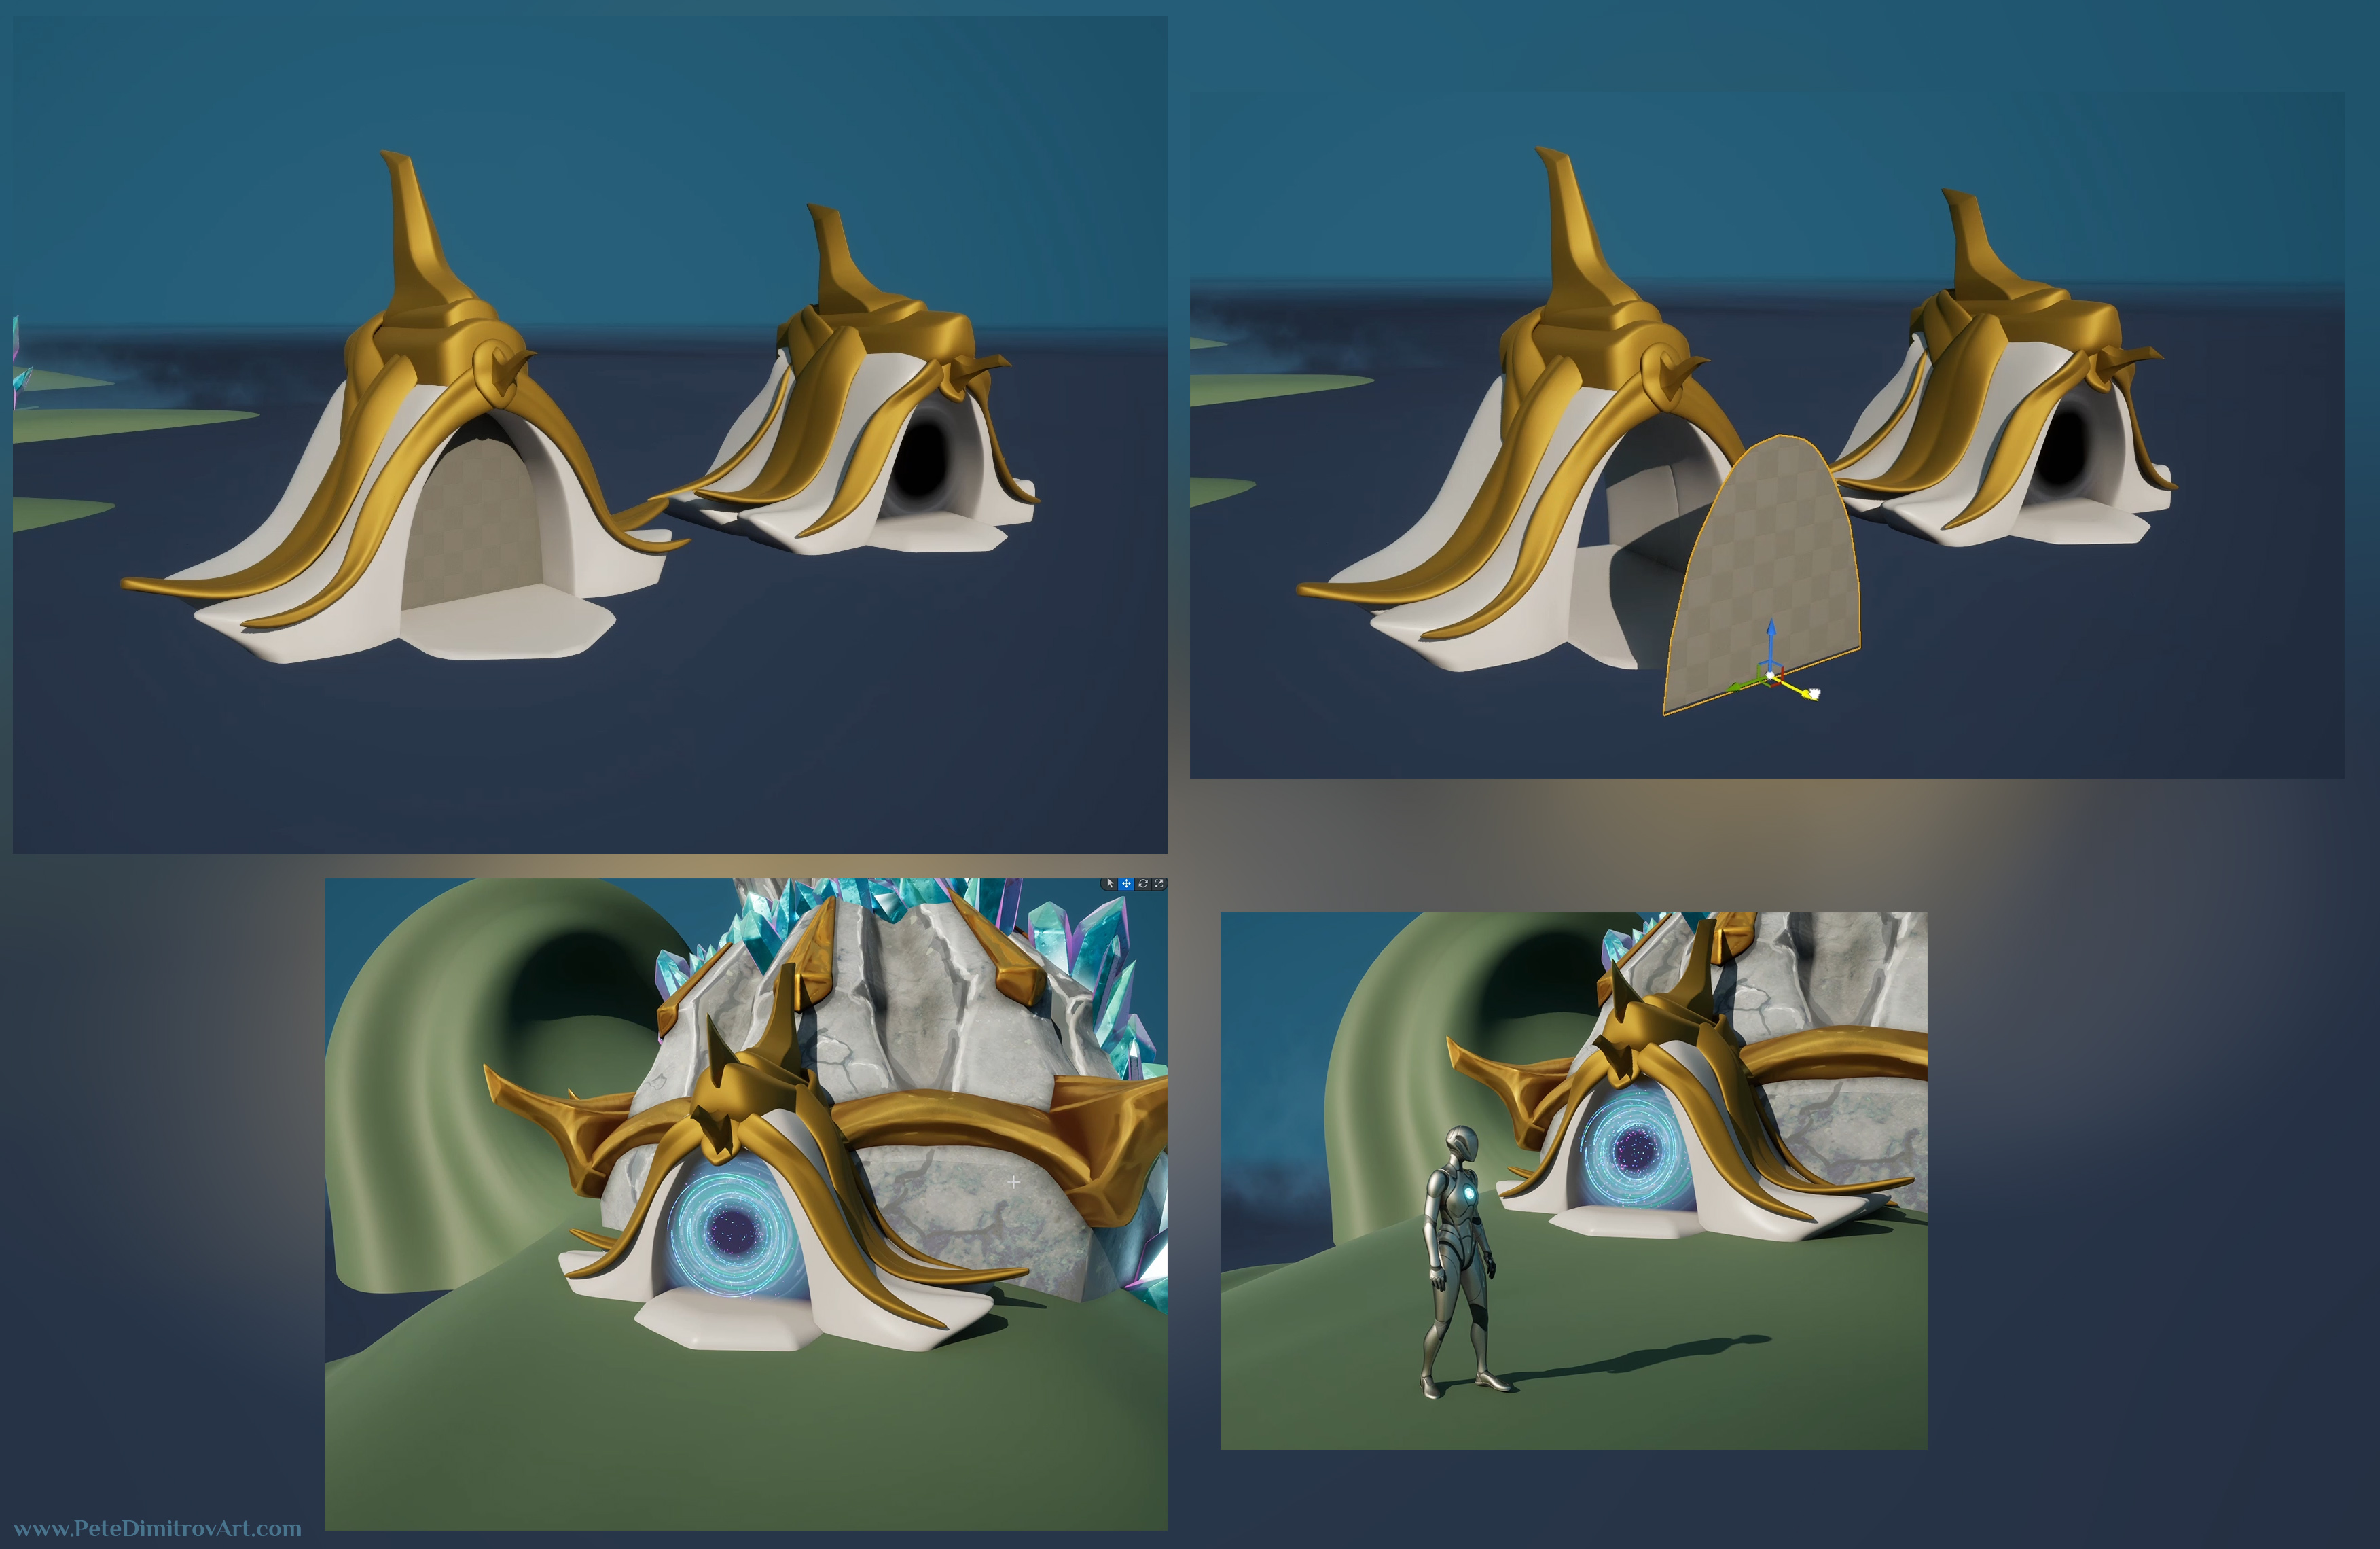
In case you haven’t seen it, here is how far I am with it as of the moment of writing this:

One of the most recent additions in the art above, is the blue vortex portal that you can see in the gate of the tower. In this post, we will talk lots about specifically that.
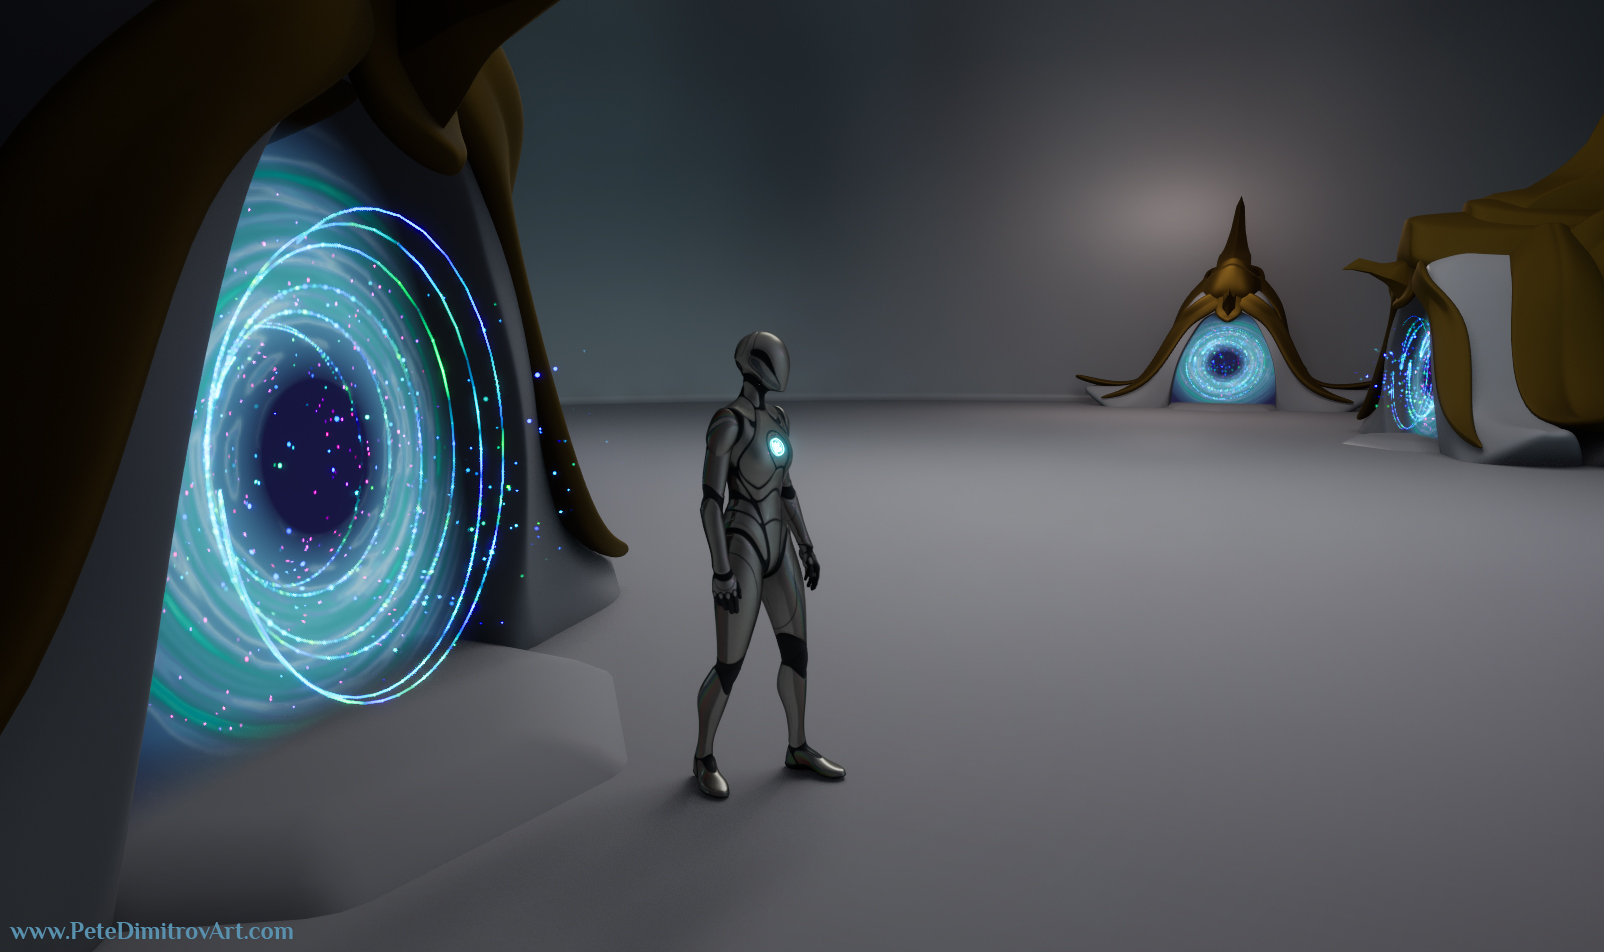
I had lots of fun making that through custom materials and some Niagara VFX. I decided to then take it a step further. I added a 3rd Person Template controller to my scene. That allows me to run around the diorama as a player. You can drop in front of the tower, you walk into the blue portal and it teleports you to an interior room of the structure.
Motivation
I’ve created written, step-by-step tutorials in the past. This time, however, I wanted to create a video series for you.
I thought I have some interesting ideas of things that will combine different disciplines into one; art, level design, mechanics design, code (in this case Blueprints).
One of those ideas was to create a portal that is fully functional, teleports you from A to B, but also has Construction Scripts so you as a developer can re-use it in the world and swap its colors easily.
In this series we will be examining exactly that.
Software:
In the making of this portal, I am using Blender, Unreal Engine 5, Zbrush and Substance Designer. The functionality is created through Unreal Engine's Blueprints. The VFX is made inside Niagara.
In this Tutorial Series
Here is a summary of what we will cover if you watch all chapters of this tutorial series:
The portal will enable you to teleport a player from one location to another. A secondary option, exposed inside the Blueprint, lets you (the developer, the designer editing your current game level), to pick if you want to teleport a player to:
- an existing location in the currently loaded level;
- a completely new level (by unloading the current level, then loading a new level).
We will accomplish the above through Blueprints. That will cover the functionality of our portal.
For the art:
- We will create a door, threshold prop, as seen in the image above, inside of Blender. We won’t texture it, but we will create it in a size appropriate for the player to go through the portal;
- Next, we will make a material graph parent material shader. That will give us the vortex visual that is animated;
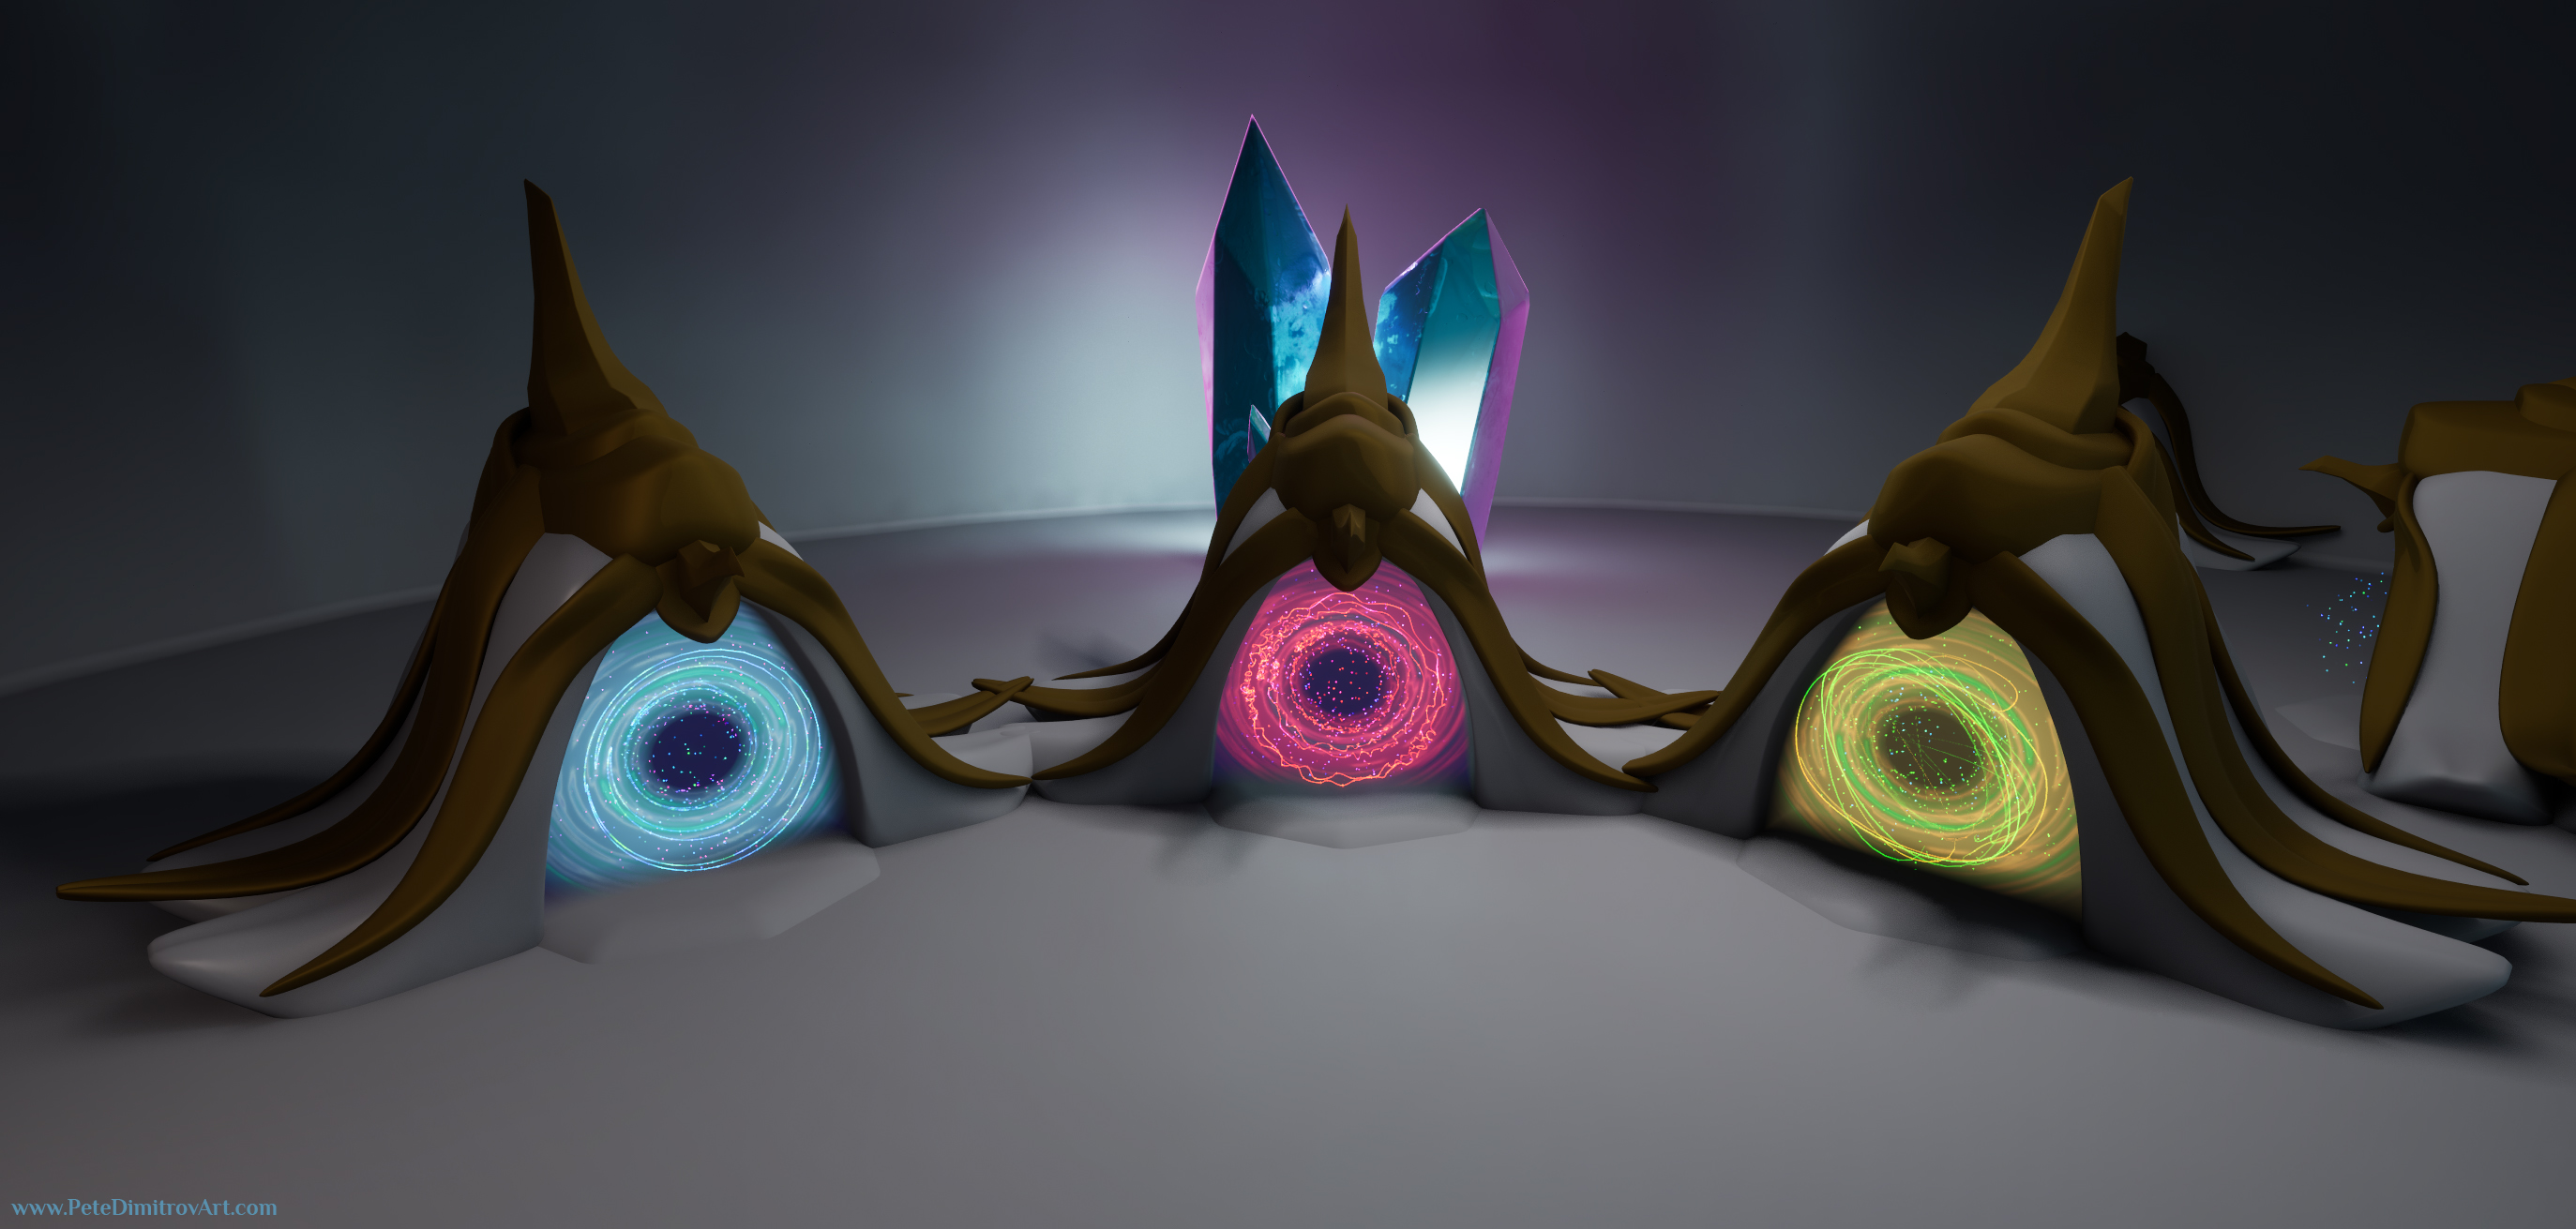
- With the parent material created, from it we will derive: blue, red, yellow, rainbow, and dark (inactive) material instances.
Once the above is done, we will move to the VFX portion of the art:
- We will create a Niagara Particle System that gives is the fairy dust sparkles that come outwards from the portal;
- From there, we will create a blue, red, yellow and rainbow versions of those. In the variations, we will give some difference in the way our curved trails move;
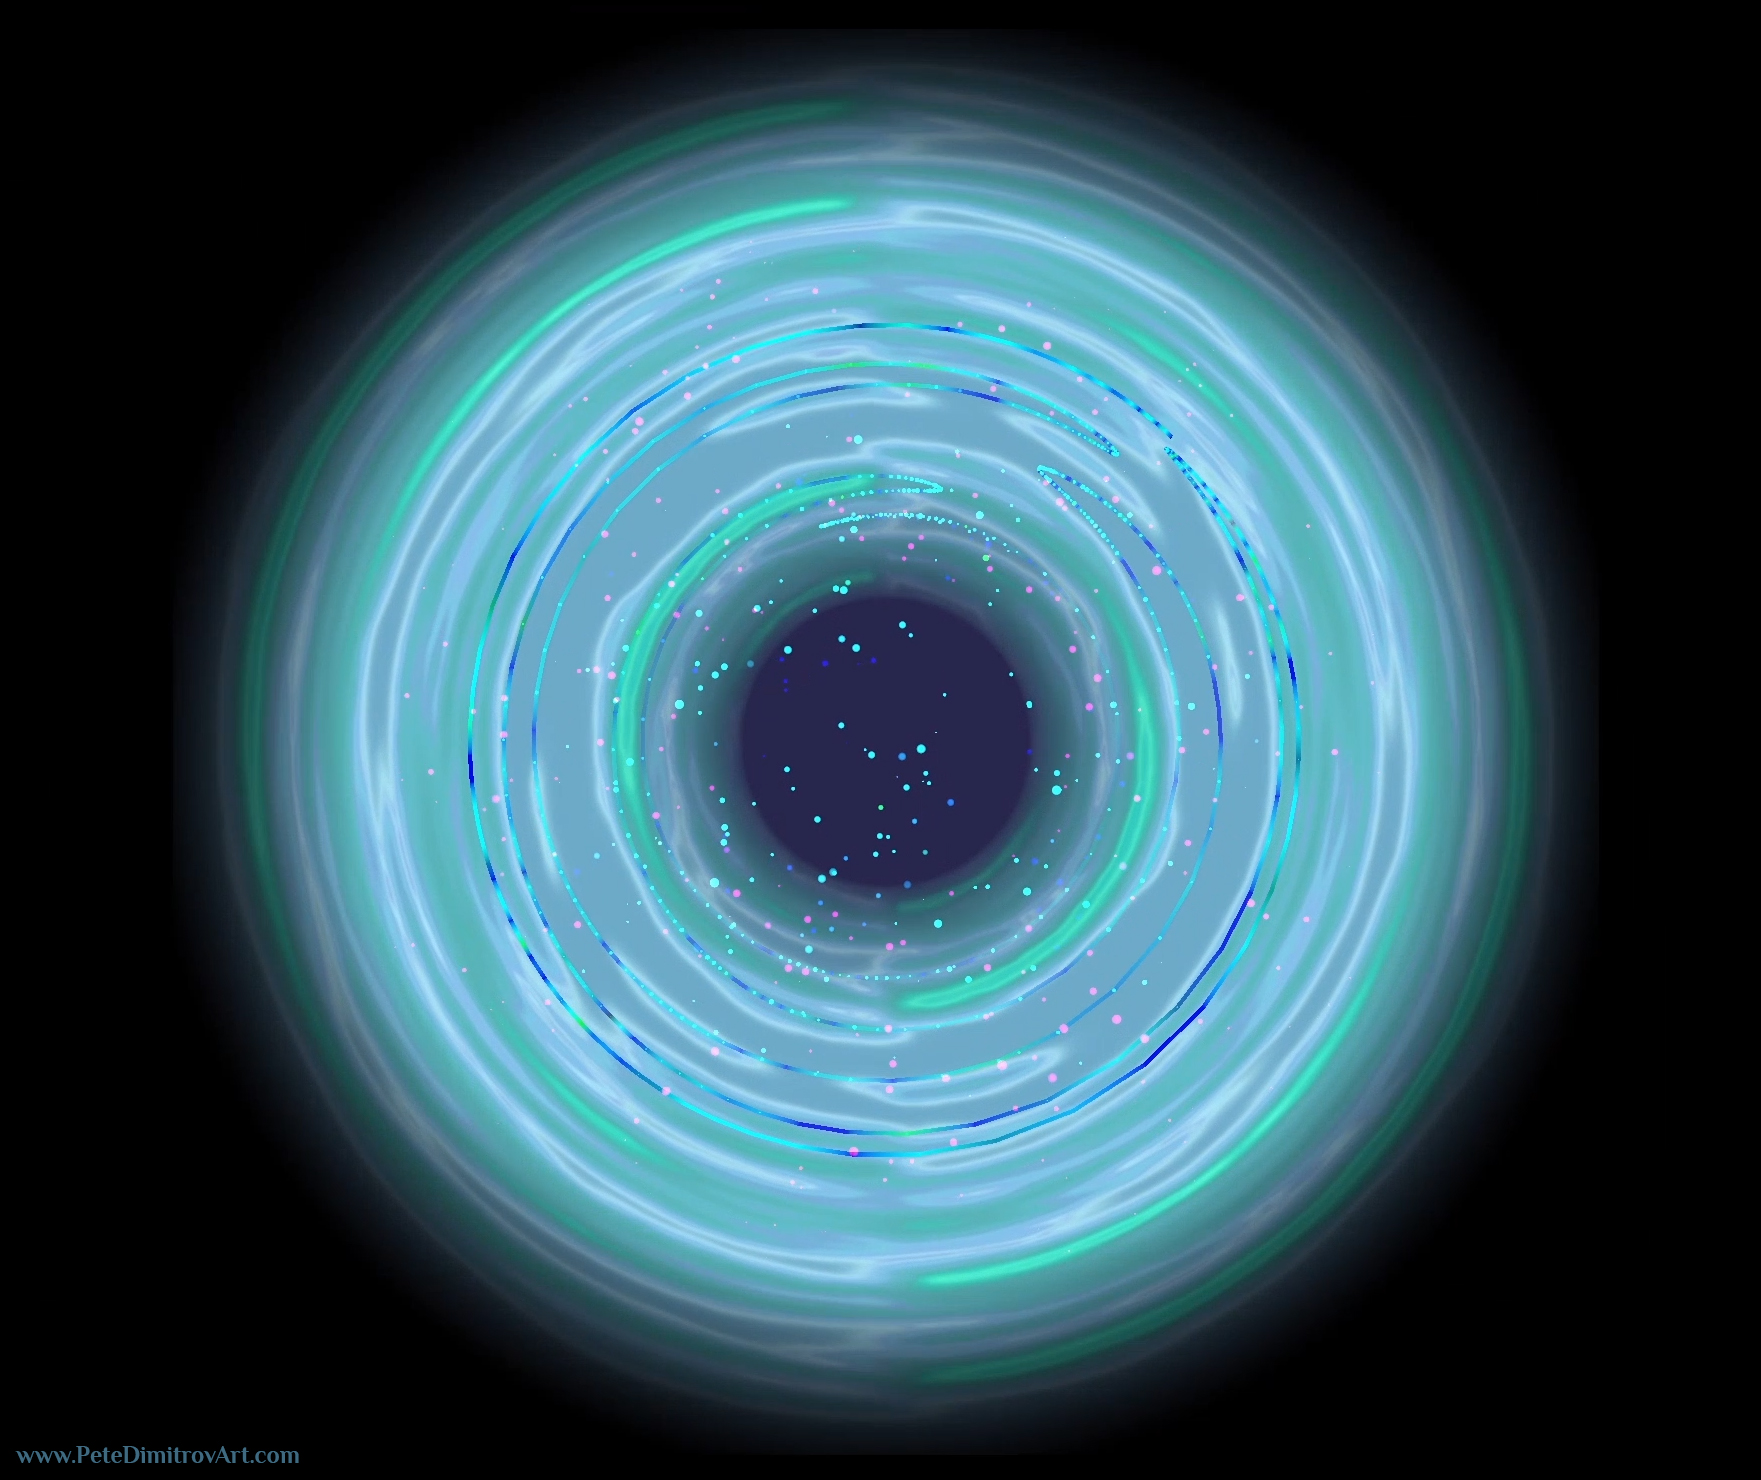
- Once those Niagara’s are done, we will look into how to reuse them into our UI. We will make vortex and VFX materials that are flat and turn on the screen once the player moves into the portal.
Audio:
- We will add simple proximity sound inside of our Portal Blueprint. That way, when the player approaches it, they will hear an active humming;
- We will also add a sound that plays once the player steps into the portal, adding to the immersion.
UI/UX Widgets:
- We will create a widget that turns onto the screen once the player steps into the portal. THat widget will turn the screen dark;
- Once the screen is dark, we will play the flat, 2D vortex and VFX that we mentioned above, making the player feel like they truly stepped into a magical portal (preview image is seen above).
In this Chapter
Here is summary of what we will cover in this first chapter of the series:
- We will spend most of our time inside of Blender, where we will model the gate threshold prop for the portal;
- We will also create a plane with correct UVs, to support our vortex, shader work, later on;
- By the end of the chapter, we will set up base materials (untextured gray and gold, metalic, colors).
Final Result of Chapter One
Here are image previews of the prop that you will have if you follower the video tutorials below (Chapter One, Blender).
Tutorial Video:
Finally, here are the videos. Chapter One is composed of six videos that go over Blender and how to model the prop:
Part 1 - Model The Gate
Part 1.2 - Blender Modelling - Mirrors
Part 1.3 - Practice More Blender
Part 1.4 - Intricate Shapes in Blender
Part 1.5 - Portal Mesh Creation
Part 1.6 - UE5 - Set Up Base Materials
Chapter Two
Stay tuned for Chapter Two. Once I’ve released all videos in it, I will make a blog post similar to this.
What to expect in the secondary chapter of these tutorials:
- We will go over Material Graph in Unreal Engine 5 and how to use it;
- We will explain UV Space and how we want to manipulate it in order to accomplish visual effects;
- We will set up a Cartesian to Polar Coordinates shader logic. It will give us the vortex effect that we are after;
- Once our main (parent) shader is created, we will derive different colored versions for our portal;
- A good Material Graph also needs supporting texture work. For that, we will dive into Substance Designer where I will show you how to create some noise textures.
YouTube Playlist
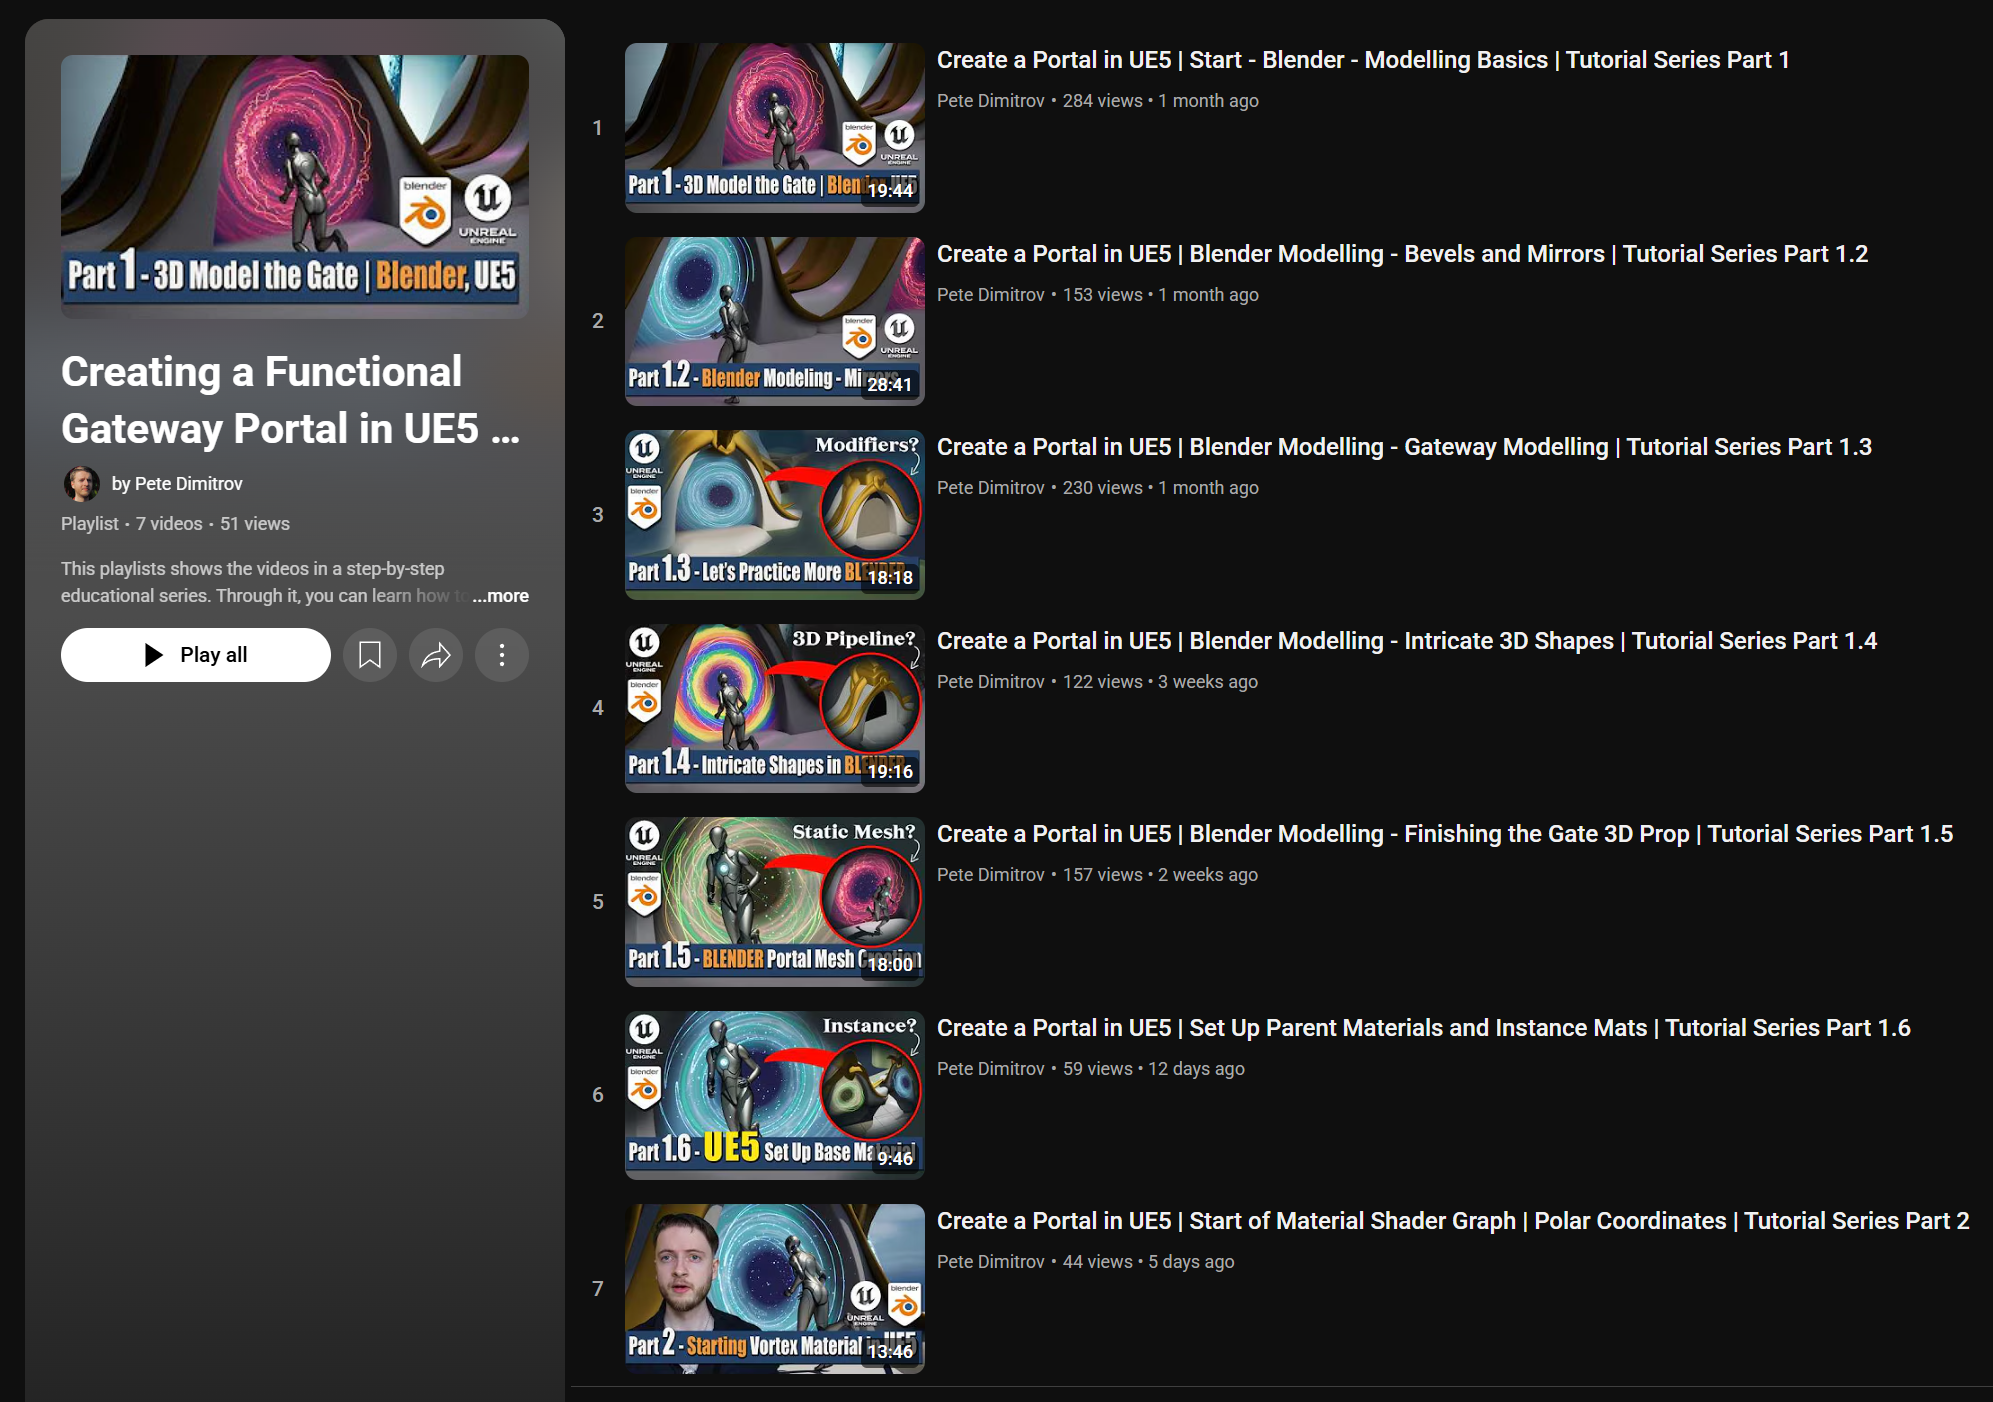
You can also find the entire playlist for this tutorial series over here.
In there, I’ve listed not only the videos that are making up Chapter 1 (the one where we cover the Blender portion of our modeling of the gateway prop art), but I’ve also listed the next chapters.
For example, in Chapter 2, which I have already started uploading above, you can begin watching how we create the shader for our VFX. We work on that inside of Unreal Engine 5’s Material Graph.
When I wrap up uploading every part that makes up Chapter 2 (shader tutorial portion), I will make another blog post and list them all for you here. Until then, make sure to subscribe to my YouTube and keep in touch over there.
Conclusion
In this blog post we went over the different aspects that the tutorial series cover.
We mentioned the need of Blueprints, the gateway main prop art, Niagara, Construction Scripts for setting up re-usability, UI Widgets and more.
The main body of this blog post covered the different videos in the Chapter One of this educational series.
In there, we went through Blender and how to create a prop using different modifiers and varying modelling approaches.
All the best,
Pete.
If you enjoyed this blog post, consider subscribing in the form below. That way you will get a notification the next time I publish a new blog.