
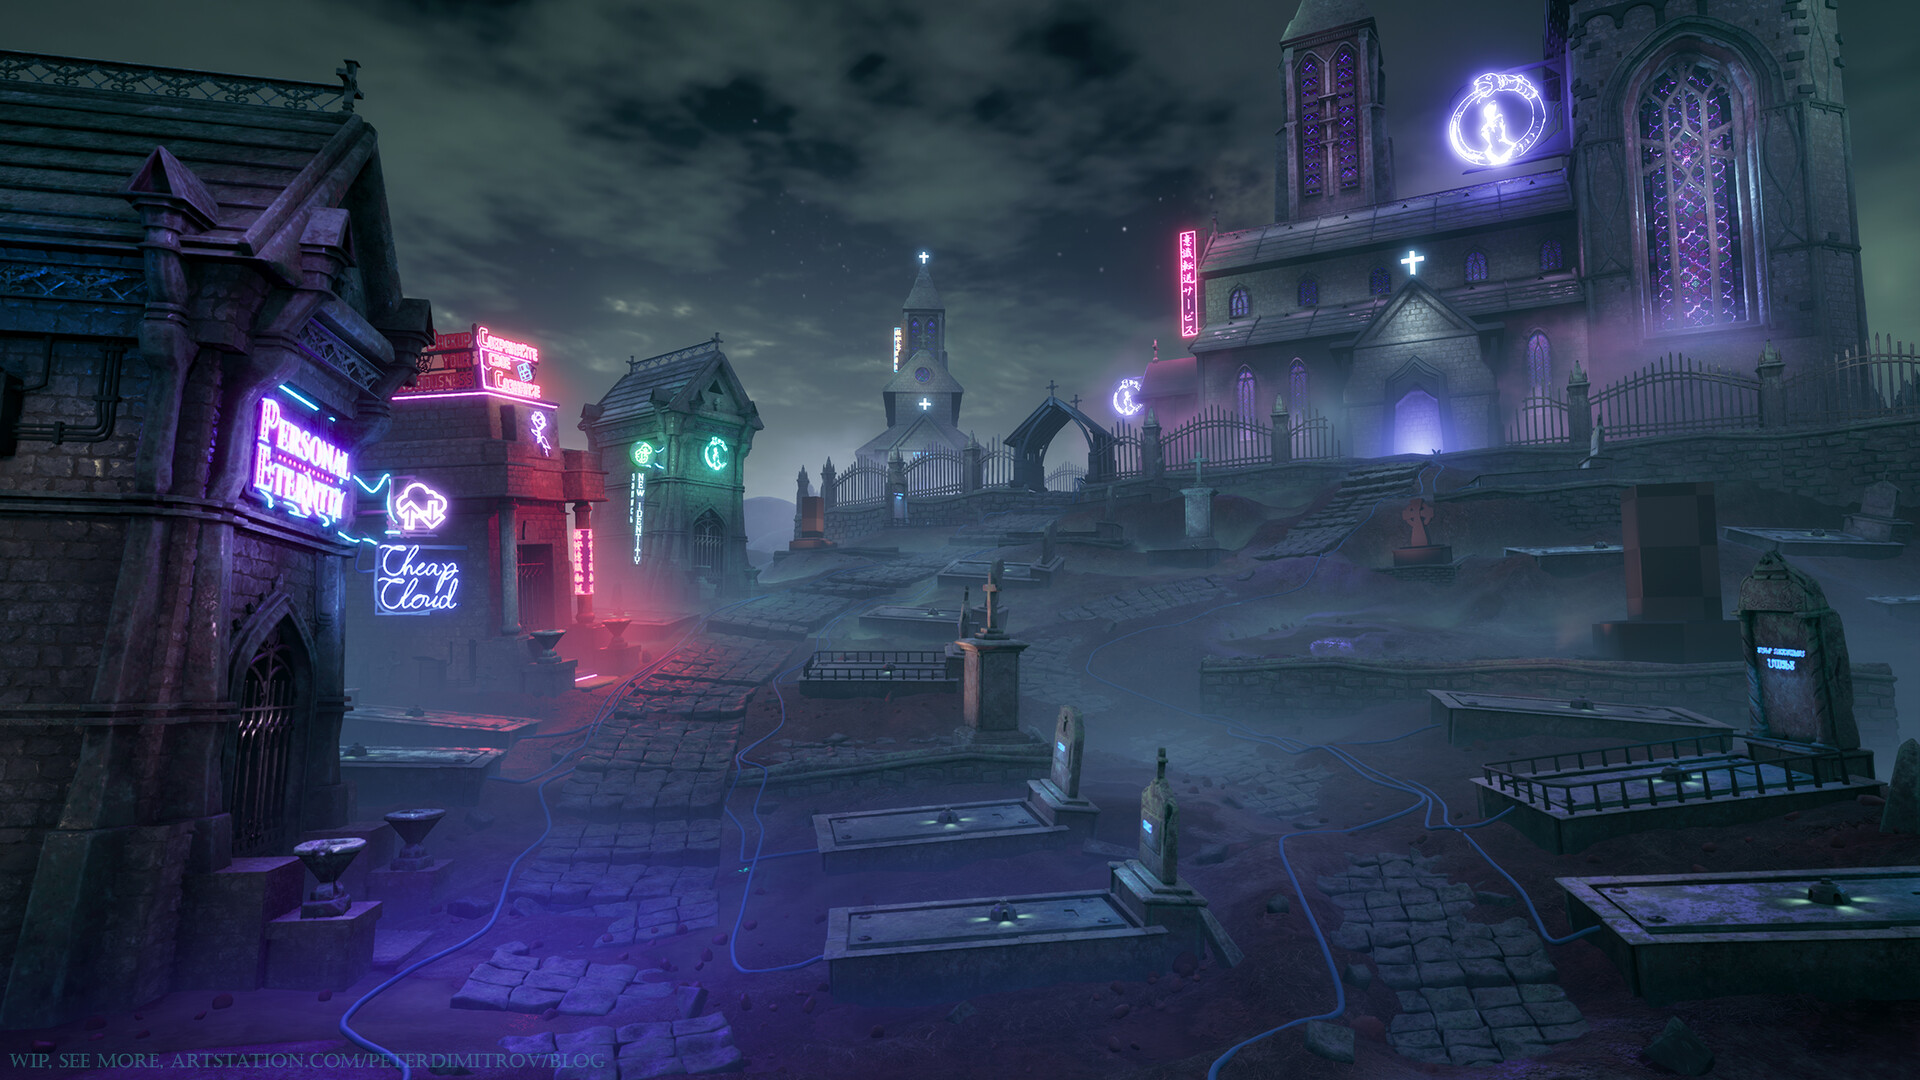
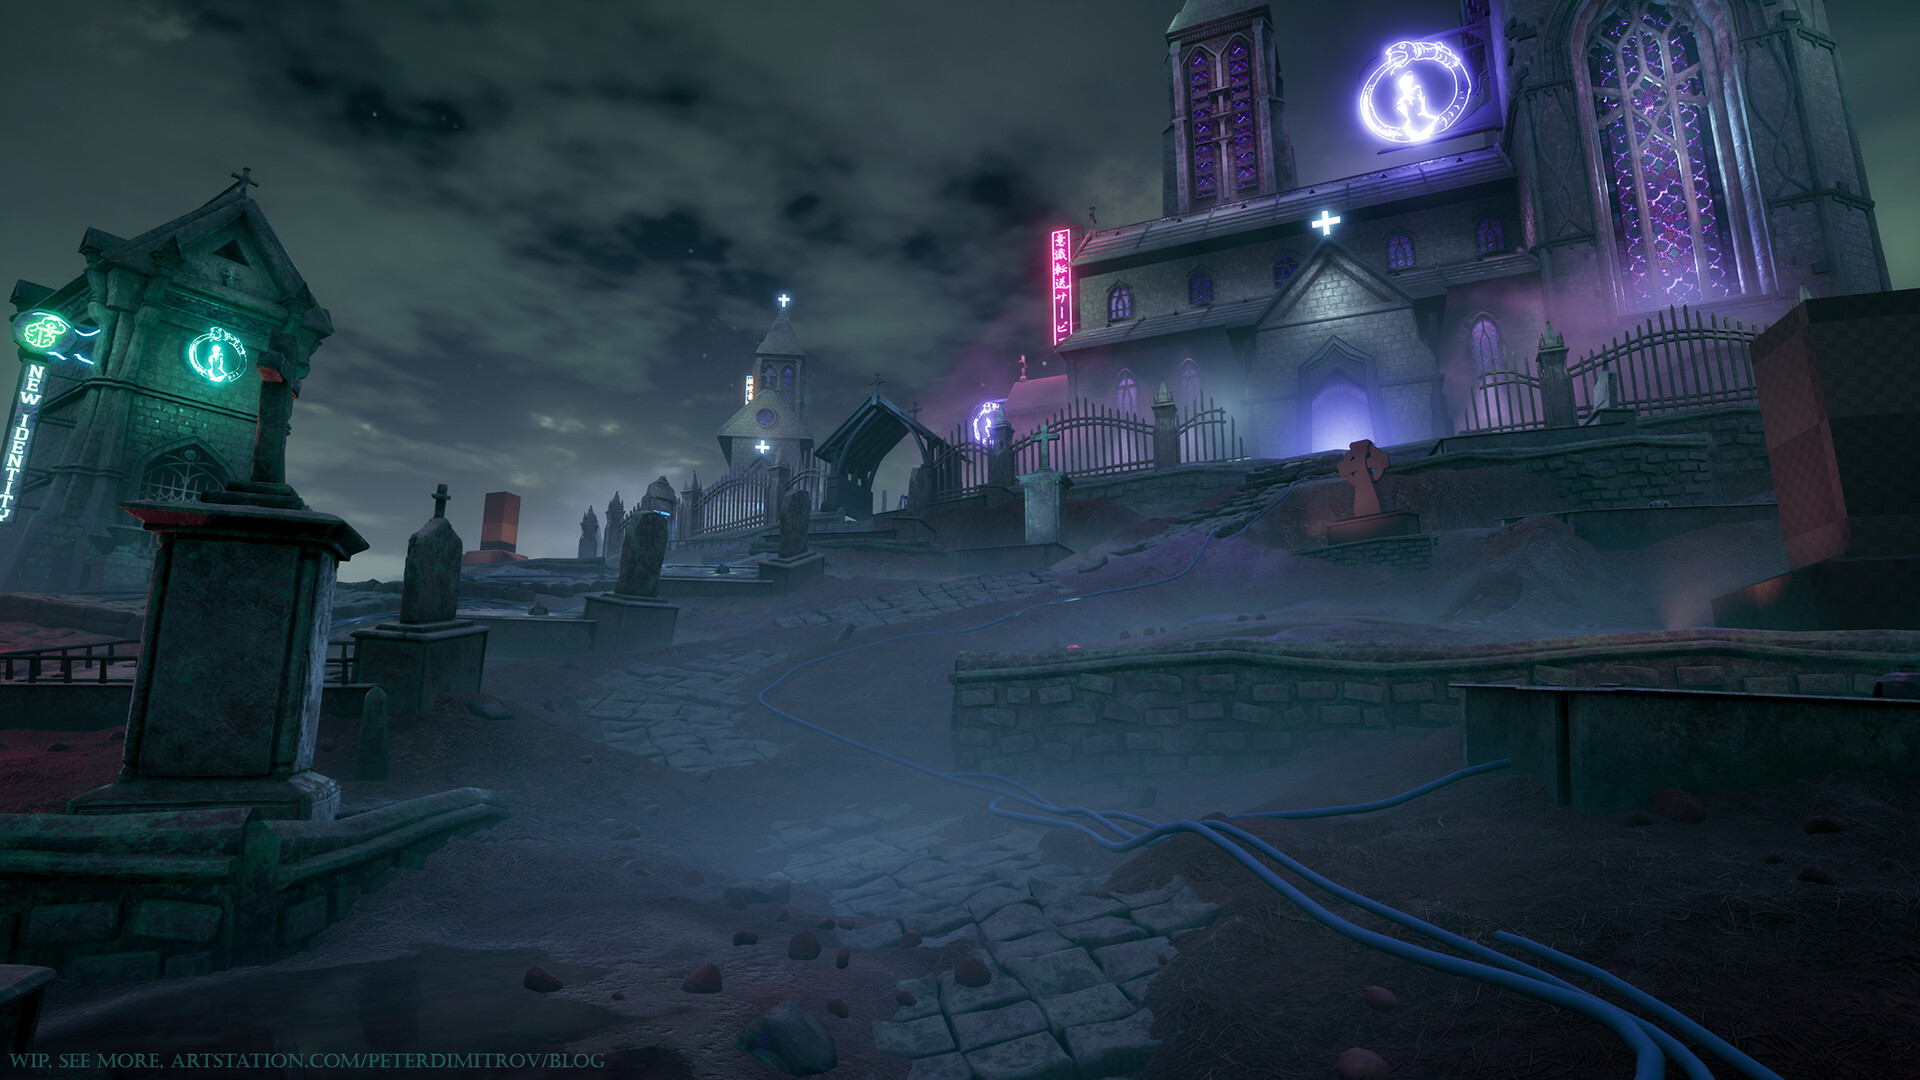
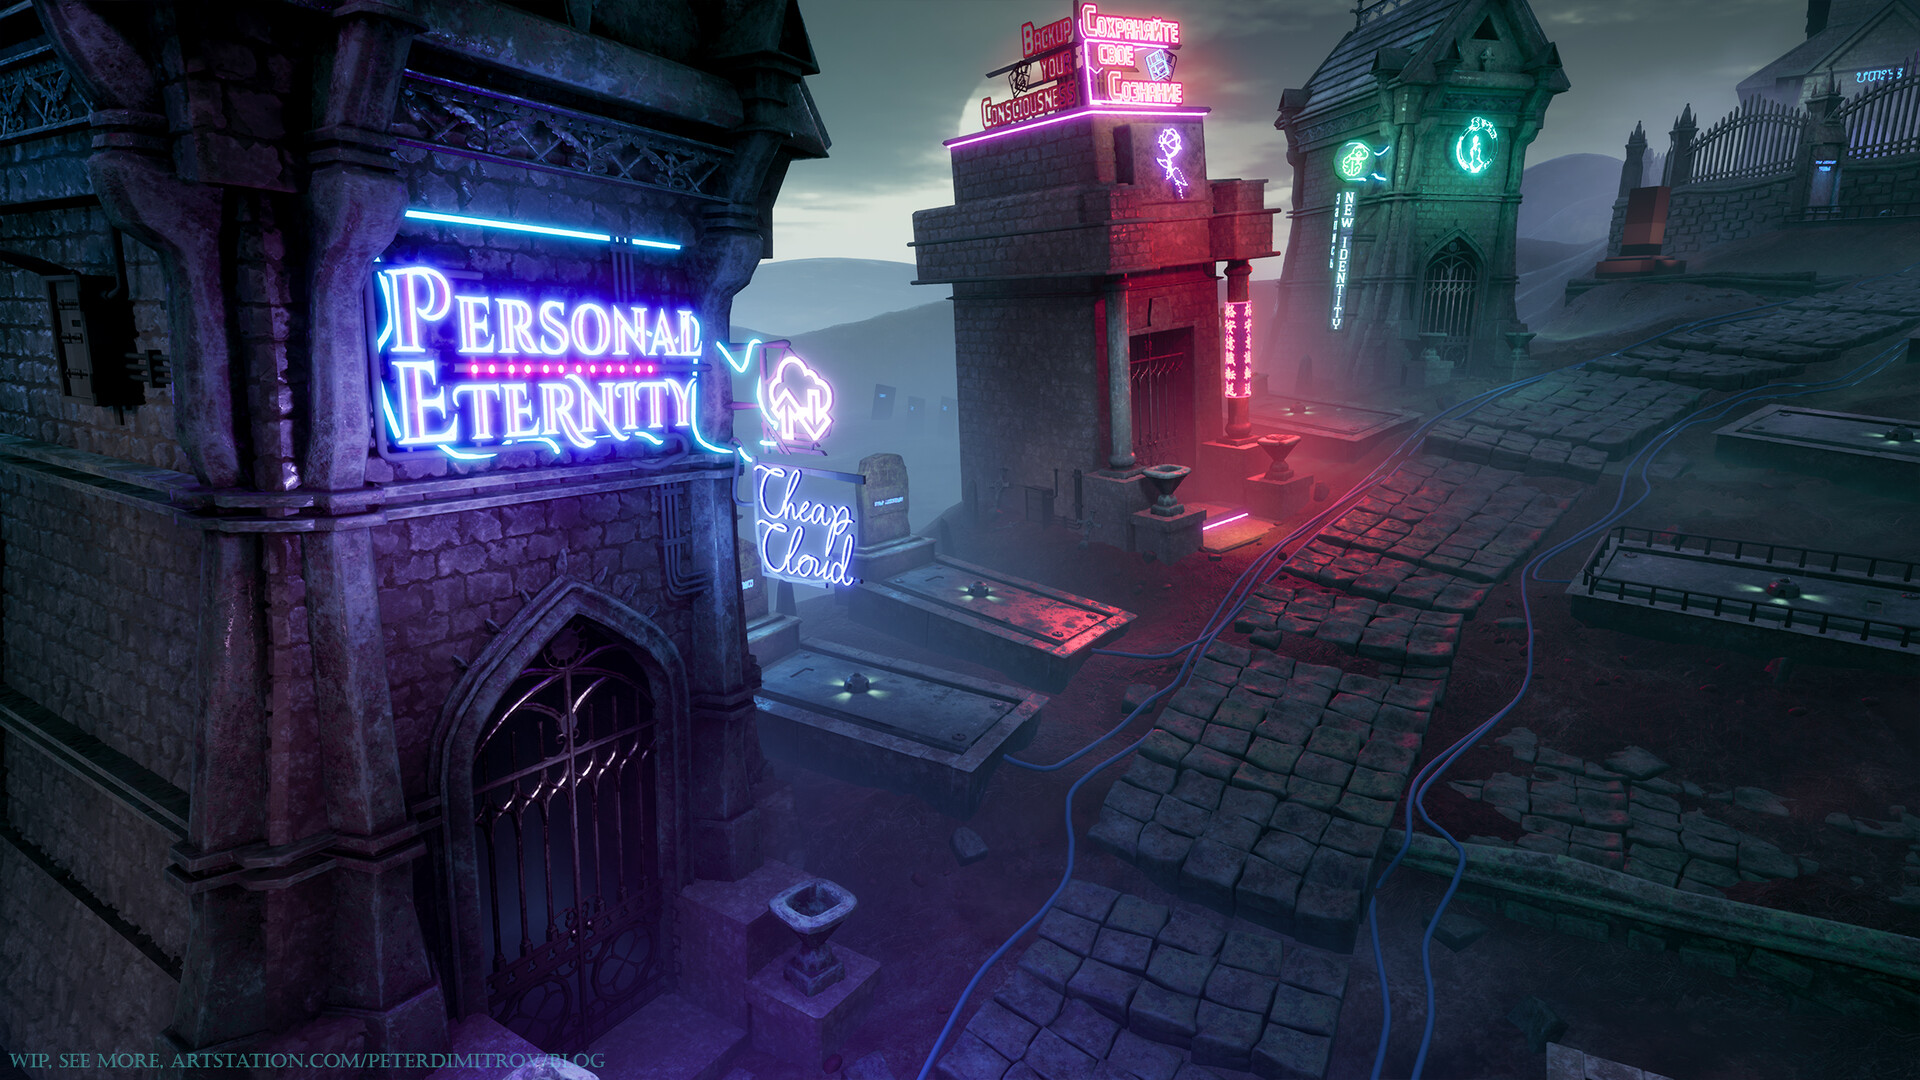
If you remember the scene from last time, you would probably notice that it looks completely different. That is, looking at the atmosphere, at least. The layout is more or less the same.
Mist
I had this idea, of having mist just above the surface, since the very start. I purposely postponed it until now, though, as I didn’t want to get crazy with tweaking volumetric fog settings, alpha and fog cards and putting crazy amount of time in it, whilst not having the basic layout figured out or any of the props ready. But now, when nearly all of the props are ready, I had the time to sit down and work on vapor and smog.
For anyone wanting to recreate this, the ground mist is just a very large Particle Emitter. Its tied up to a Clouds texture, pans a tiny bit, has a pretty short lifespan and is spawn cylindrical. After that its just a matter of tweaking your Volumetric Fog settings in your Exponential Height Fog volume. I’m pretty sure the guy in Epics video (14th minute mark) about Volumetric Fog in the Engine quickly recreates something very similar. The only part I added myself, is how I placed it in the world. It’s just below the surface of my Landscape. And that’s how I made it look like ground mist.
Stained Glass
Another, very important addition since last time, is the Stained Glass material that I created. It’s made from scratct in Substance Designer. What you see here is version 2.0, as the first one I created, I abandoned after a bit, as I though its shape was too simple. It had a diamond pattern going for it, and I wanted something more intricate looking than that.
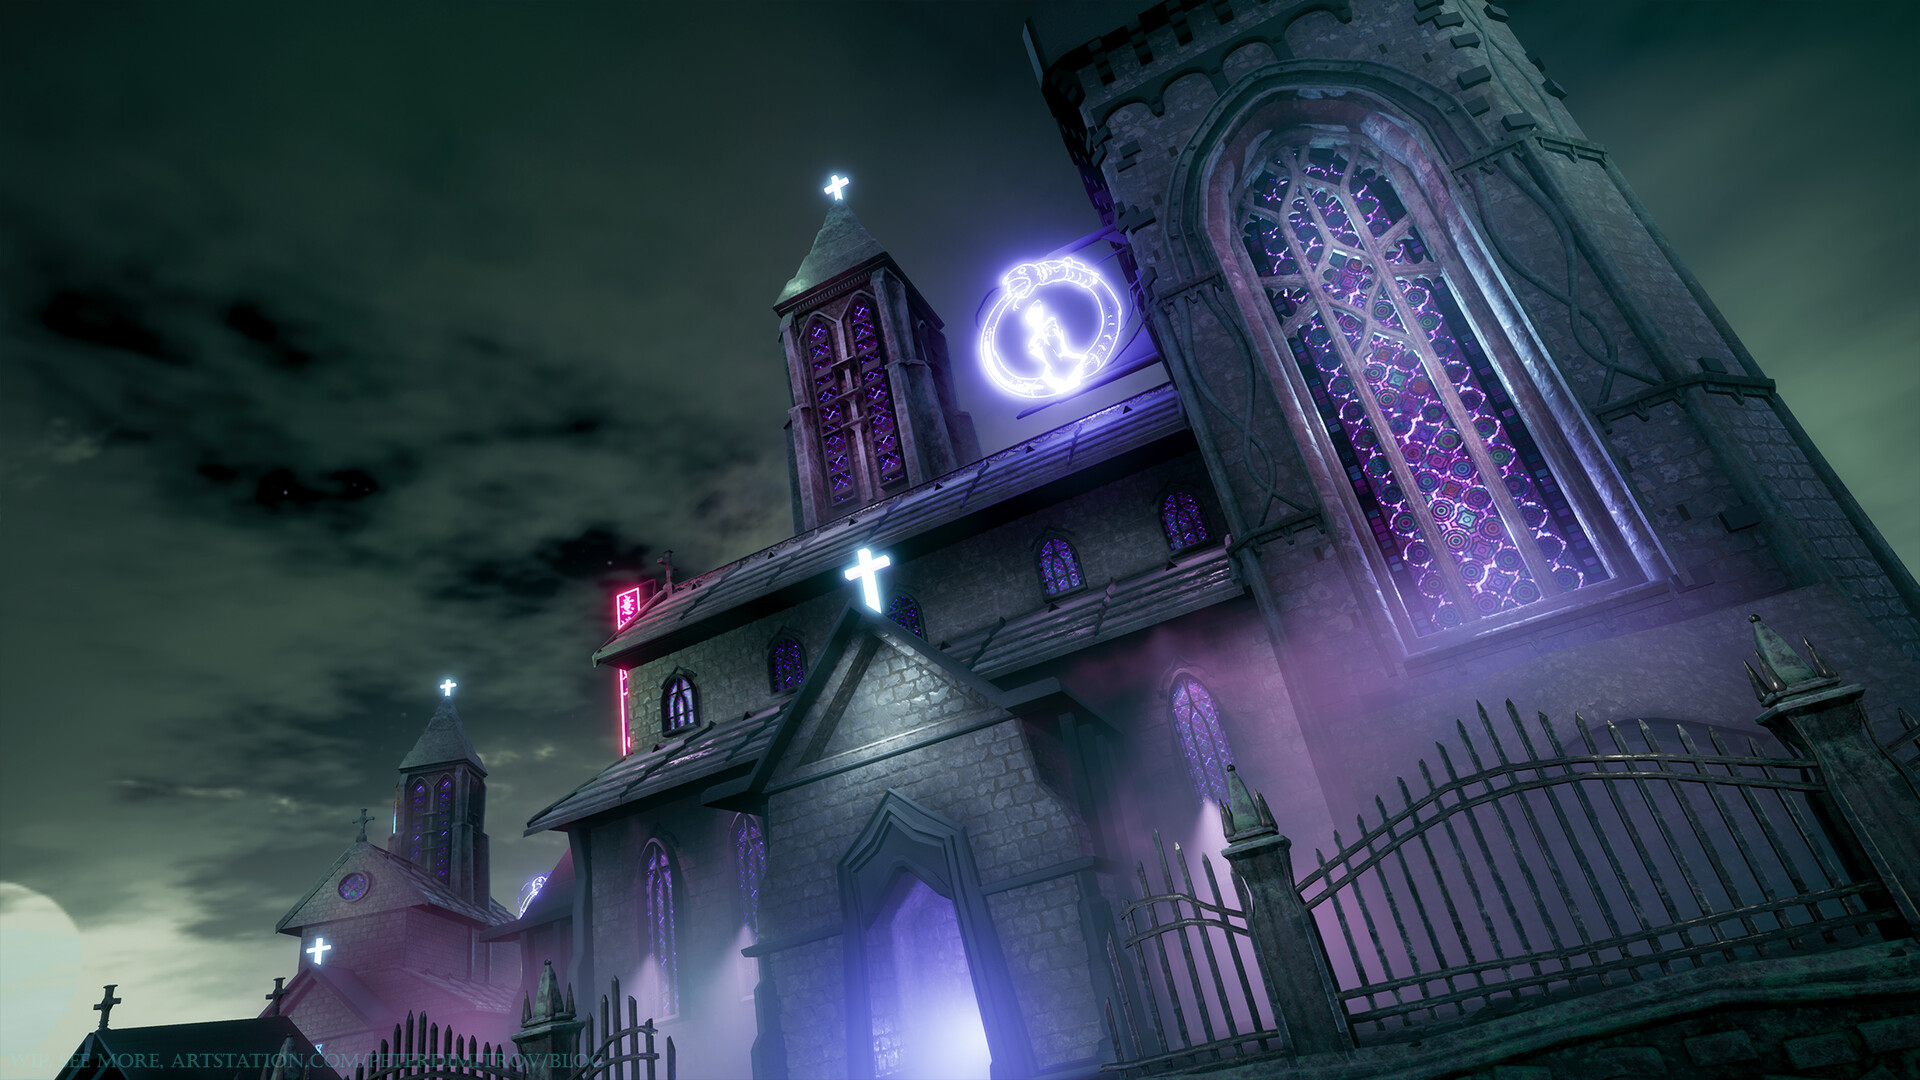
My main approach to it was creating a base pattern and then picking up different areas of it and applying a few individual Flood Fills. Each Flood Fill is turned to Color and then the hue, saturation and lightness of each shape that the Fill has picked up is randomised. The tricky part was giving it a shining look afterwards, in the Engine. If you look at just the material “ball” in Substance, it doesn’t look like much on its own. To give it that emissive look, I masked just a small portion of the whole patter. I applied another Flood Fill (by now third) and gave it sharp, stained masked noise with a Slope Blur.
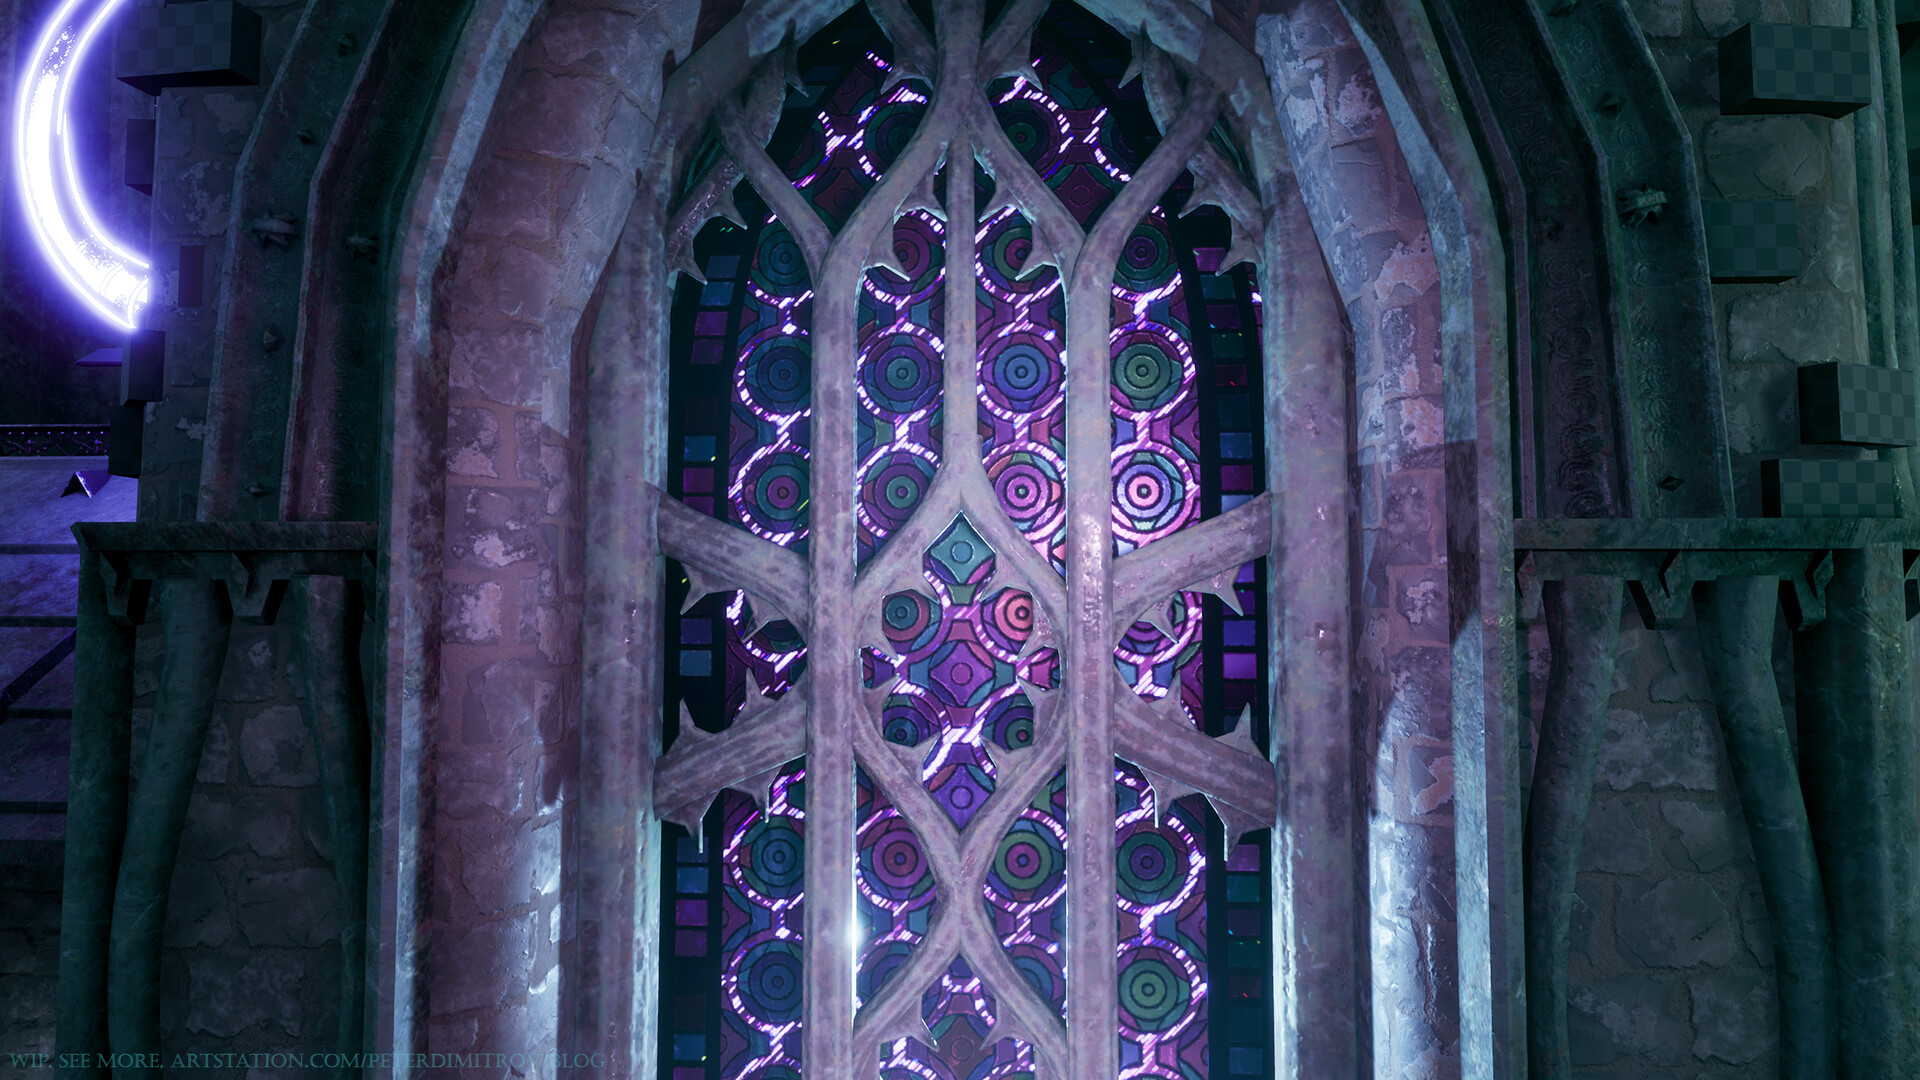
I’m particularly happy with this approach, and it gave me one thing I didn’t anticipate and wasn’t aiming to achieve. If you look at the texture up close in Unreal (the screenshot above), the emission mask is distinct and clear (white magenta bits). As you start going further away from it, though, the Engine shrinks the texture quality a bit, which blurs the emissive pixels. Those pixels then, start to work together with the Bloom settings of the scene, and fill the whole glass surface with a dark, electric, blue color.
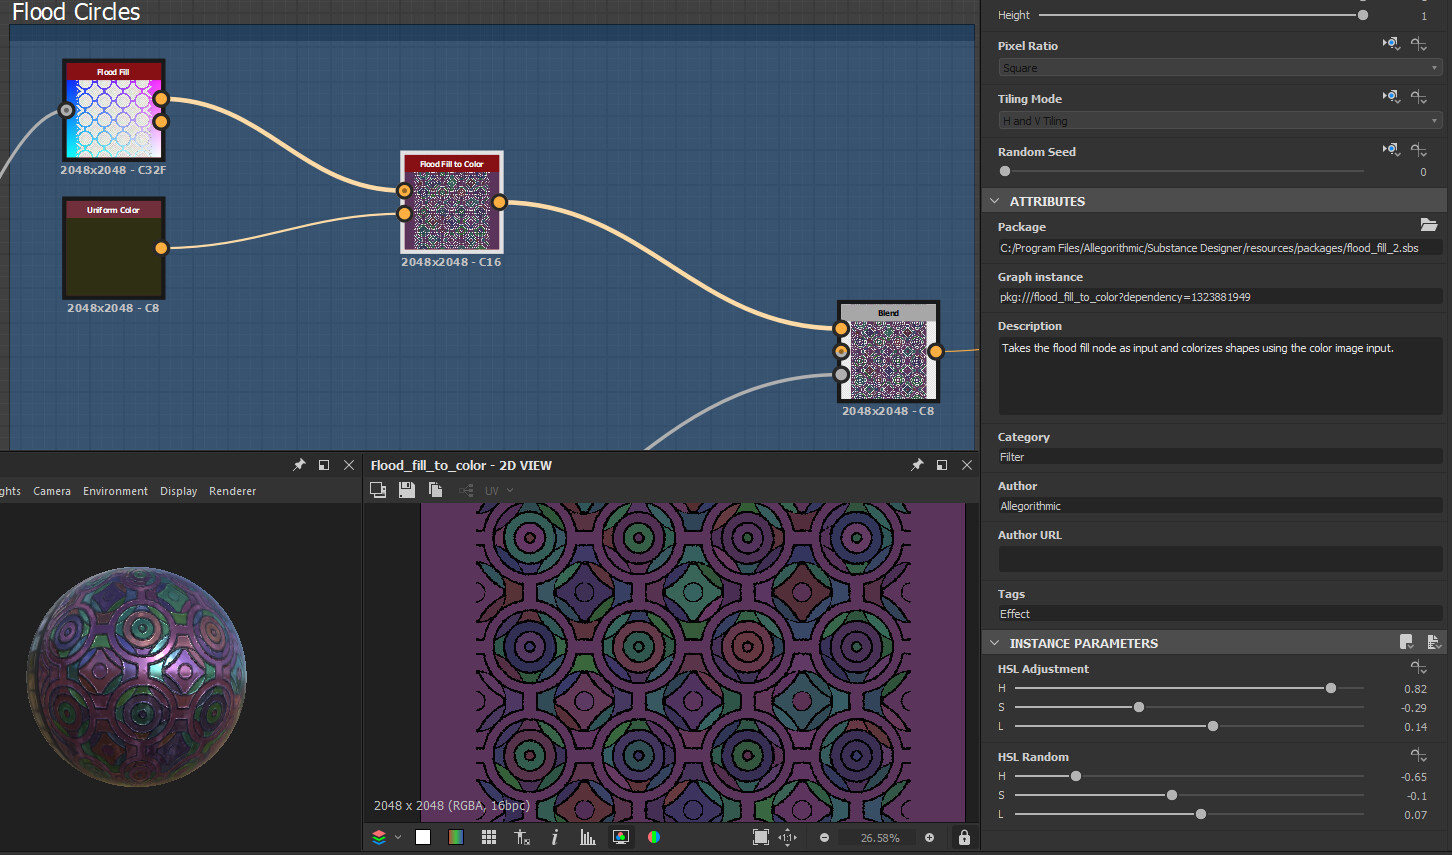
(As I described, you can feed an outline of your pattern towards a Flood Fill. You can then use a Flood Fill To Color to randomise the HSL of each generated shape. You can see all of that in the screenshot above.)
If you are making a strained texture of your own, I would suggest experimenting with emissive mask, but also pay attention to your Bloom settings in the Post Processing Volume. A good combination of both, always makes for exciting results.
For the pattern of the texture, I was in parts inspired by Matthias Schmidt’s techniques, which he shares over in his blog. Check that out too.
Other Things
Most things are ready by now. I still have a few objects to put textures to. The boxes that you can still see are placeholder for hopefully some statues of something looking like a weeping angel. I want one or two of those, to contrast the very straight shapes of the rest of the headstones.
I’m also still working on the details of the main gate that you can see in the very first shot in this post. Facade details around the big window too.
Making this project has been quite a fun journey. I think this will be my last post about it though. As long as it goes about approach explanation at least. My next one ‘hopefully’ will be a gallery to showcase the final result. I’ll be working on the video, to showcase the casket as well.
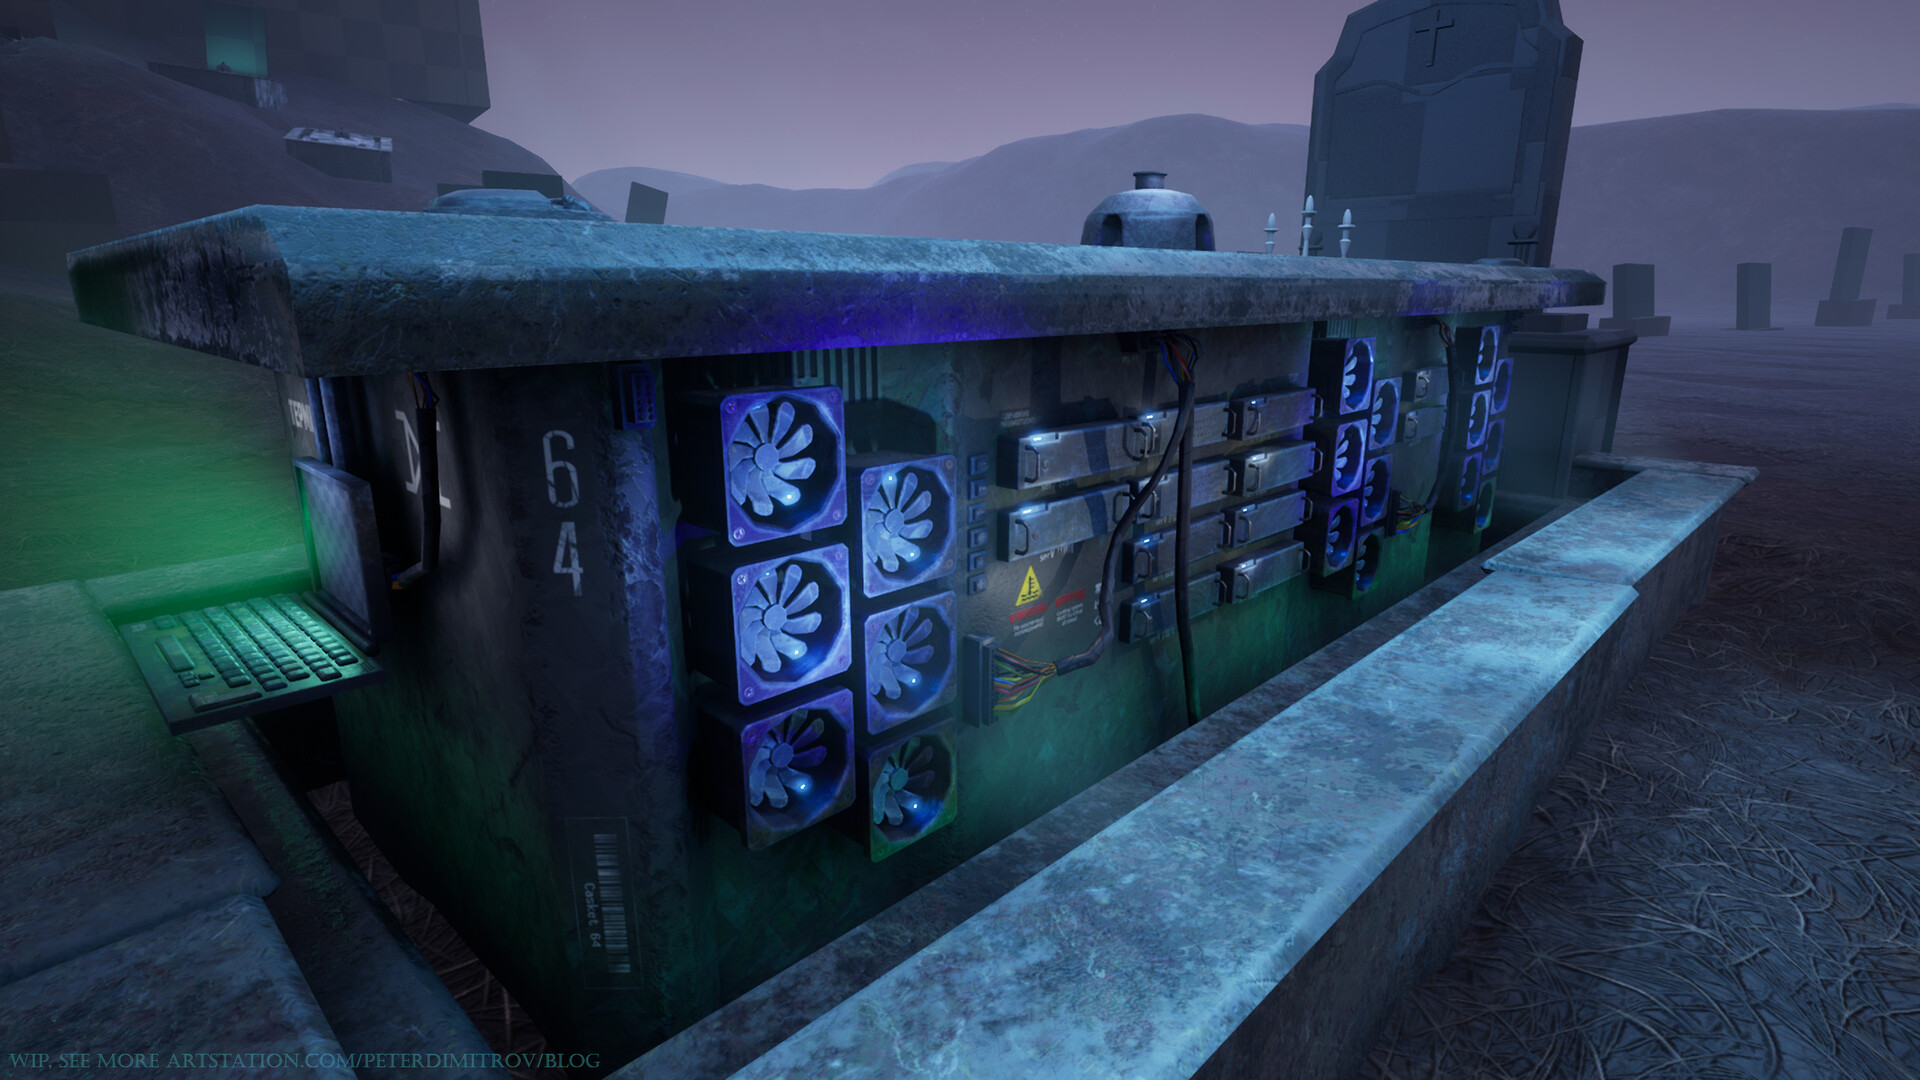
(Casket as seen from a few posts ago, as I have a feeling some of you probably don’t even remember it. It’s still here! Going to animate it for a final video.)
One of the reasons I started this project a few months ago, is my university. As such I’ll be submitting it as a thesis in about a week now. So that’s the deadline by which you will hopefully see the final result as well.
Progress GIF
(Some of you know I’m a fan of progress GIFs, so here is a very compressed final one.)
Thanks.
To those of you who you stuck with me through the whole journey, and read all of the previous entries (about eight), I want to say thanks. I hope you found them useful and intriguing.
Pete.