Intro
In this devlog, we explore the progress on a 3D diorama created in Unreal Engine 5. The tools we use are UE5, Blender, Substance Painter 3D, Substance Designer and Photoshop.
Last time, we went over the creation of the landscape, its materials on top and the blockout of the bushes, crystals and different parts in the level.
In this new update, we will look at the creation of foliage atlases for bushes, grass and other stylized art.
Video
Watch the full video below and find out timelapses, insights and behind-the-scene views of painting textures and making stylized art foliage.
Gallery
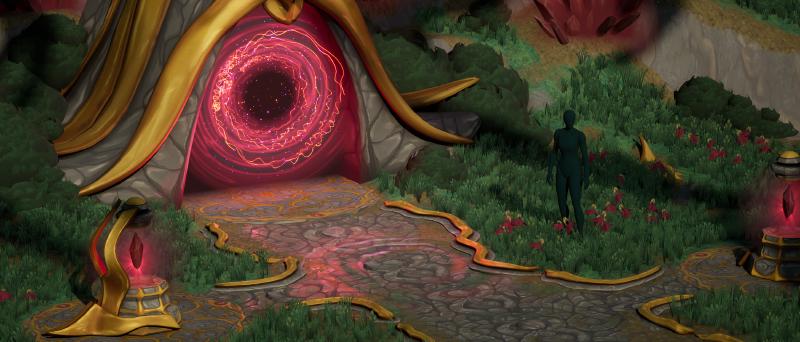
Here are before-and-after images, as seen in the video. Watch it to gain the full insight of the creative decisions I took whilst making this artwork.
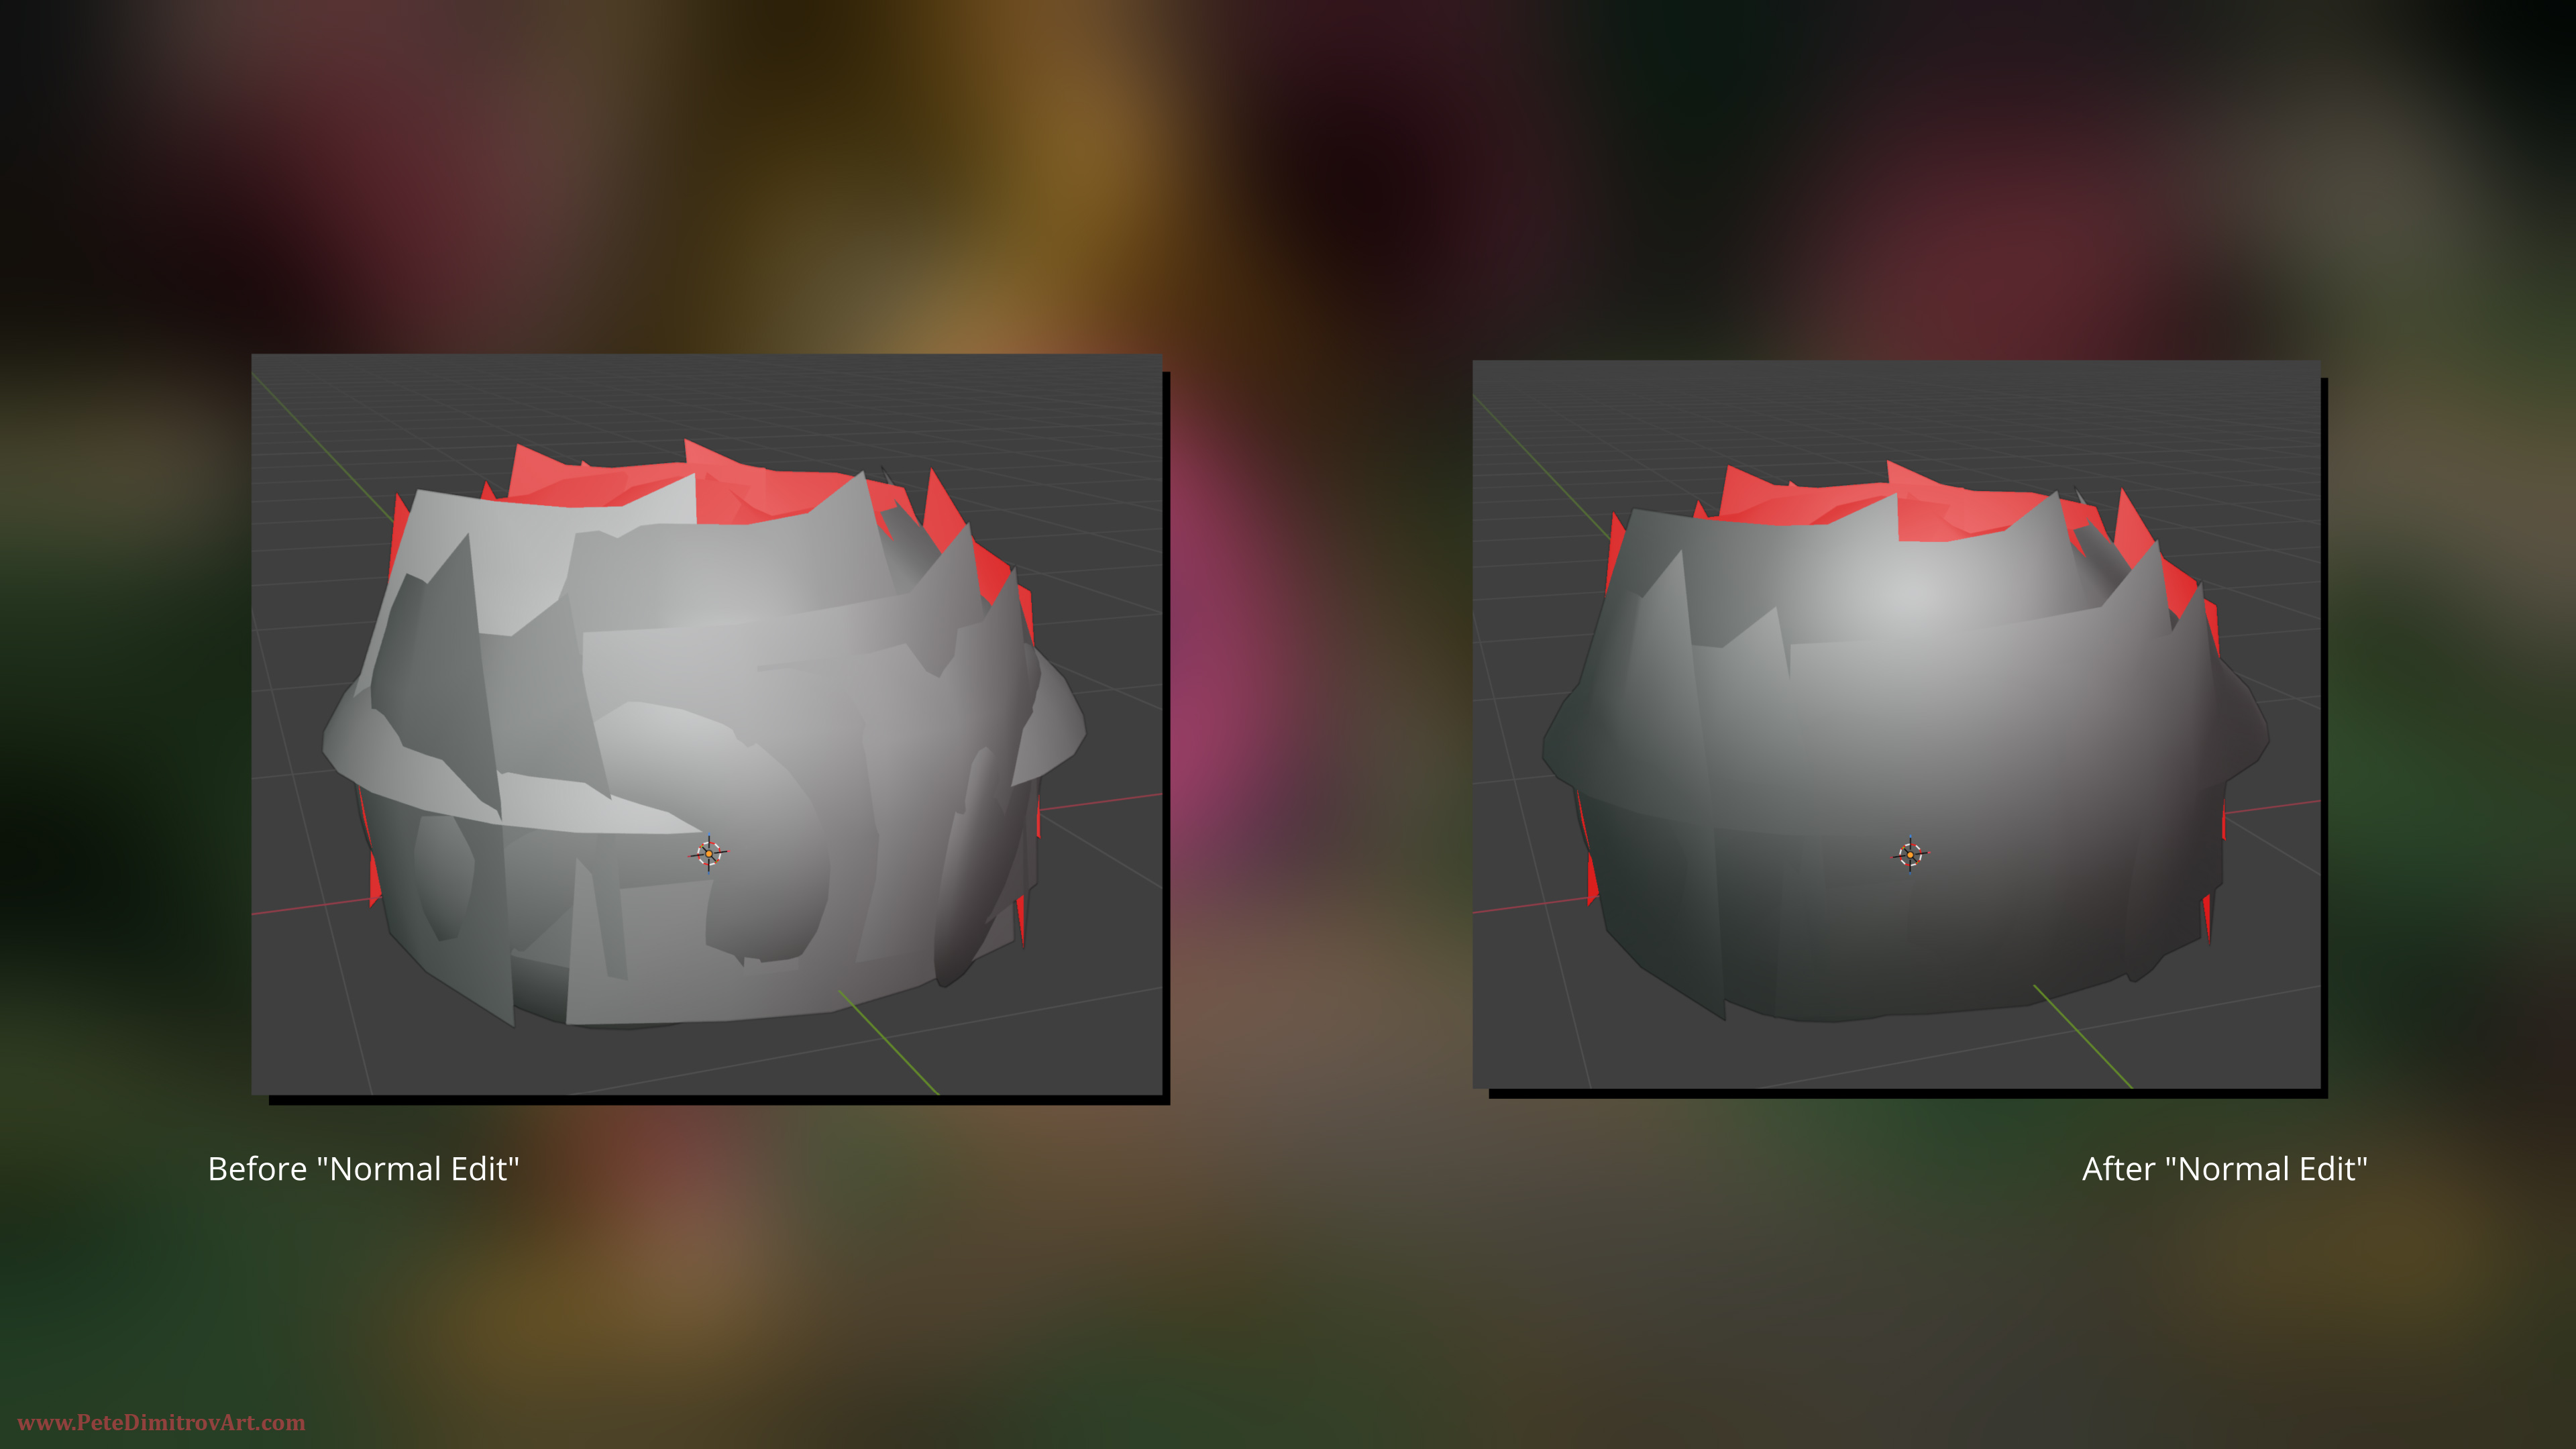
In the frame above, we look at using Normal Edit inside of Blender in order to improve the smoothing groups and normals of our foliage mesh.
This mesh is a bush and when it has 3D cards with normals facing in different directions, we get lots of seams. Through the use of “Normal Edit” in Blender, we give a more unified normal direction to all faces. The result is a prop that looks much better when used as foliage. Watch the video to hear further explanation of this approach.
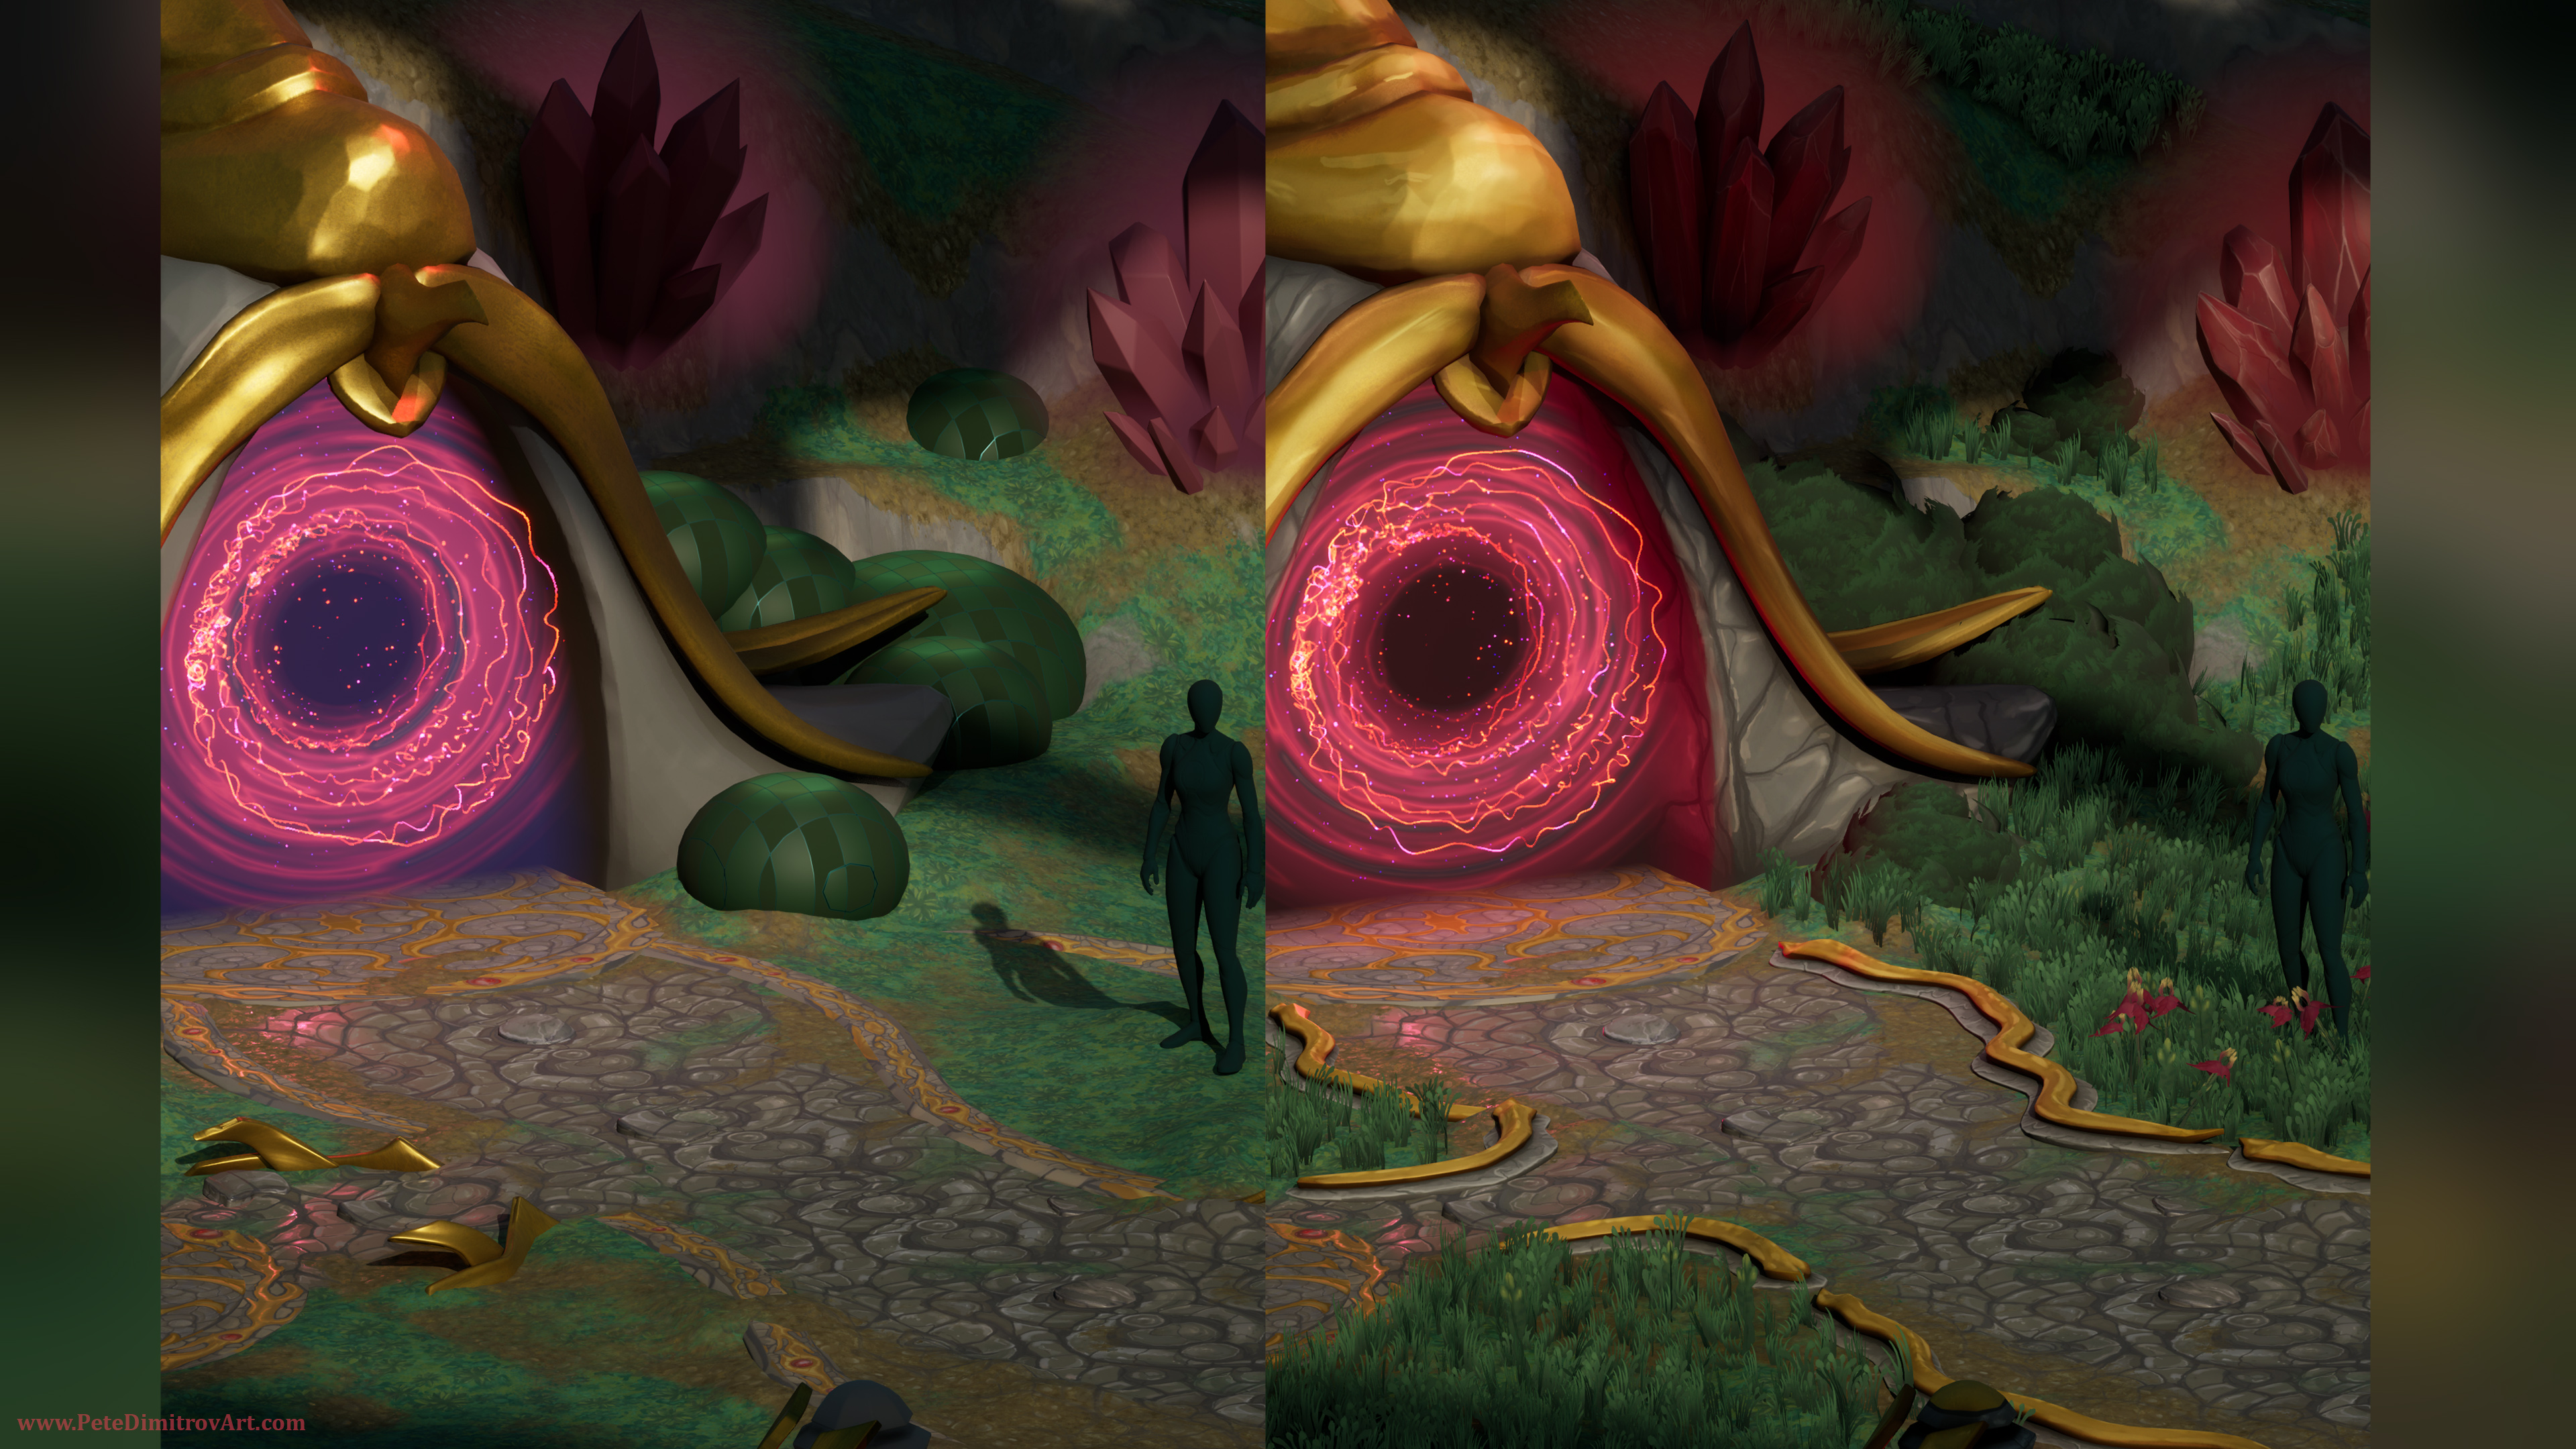
Next we look at the portal cobble and the side golden trims that decorate it. In the initial version, we have flat textures painted in Photoshop. In the improved version, there are more dimensional “snake-like” trims that have gold painted on them.
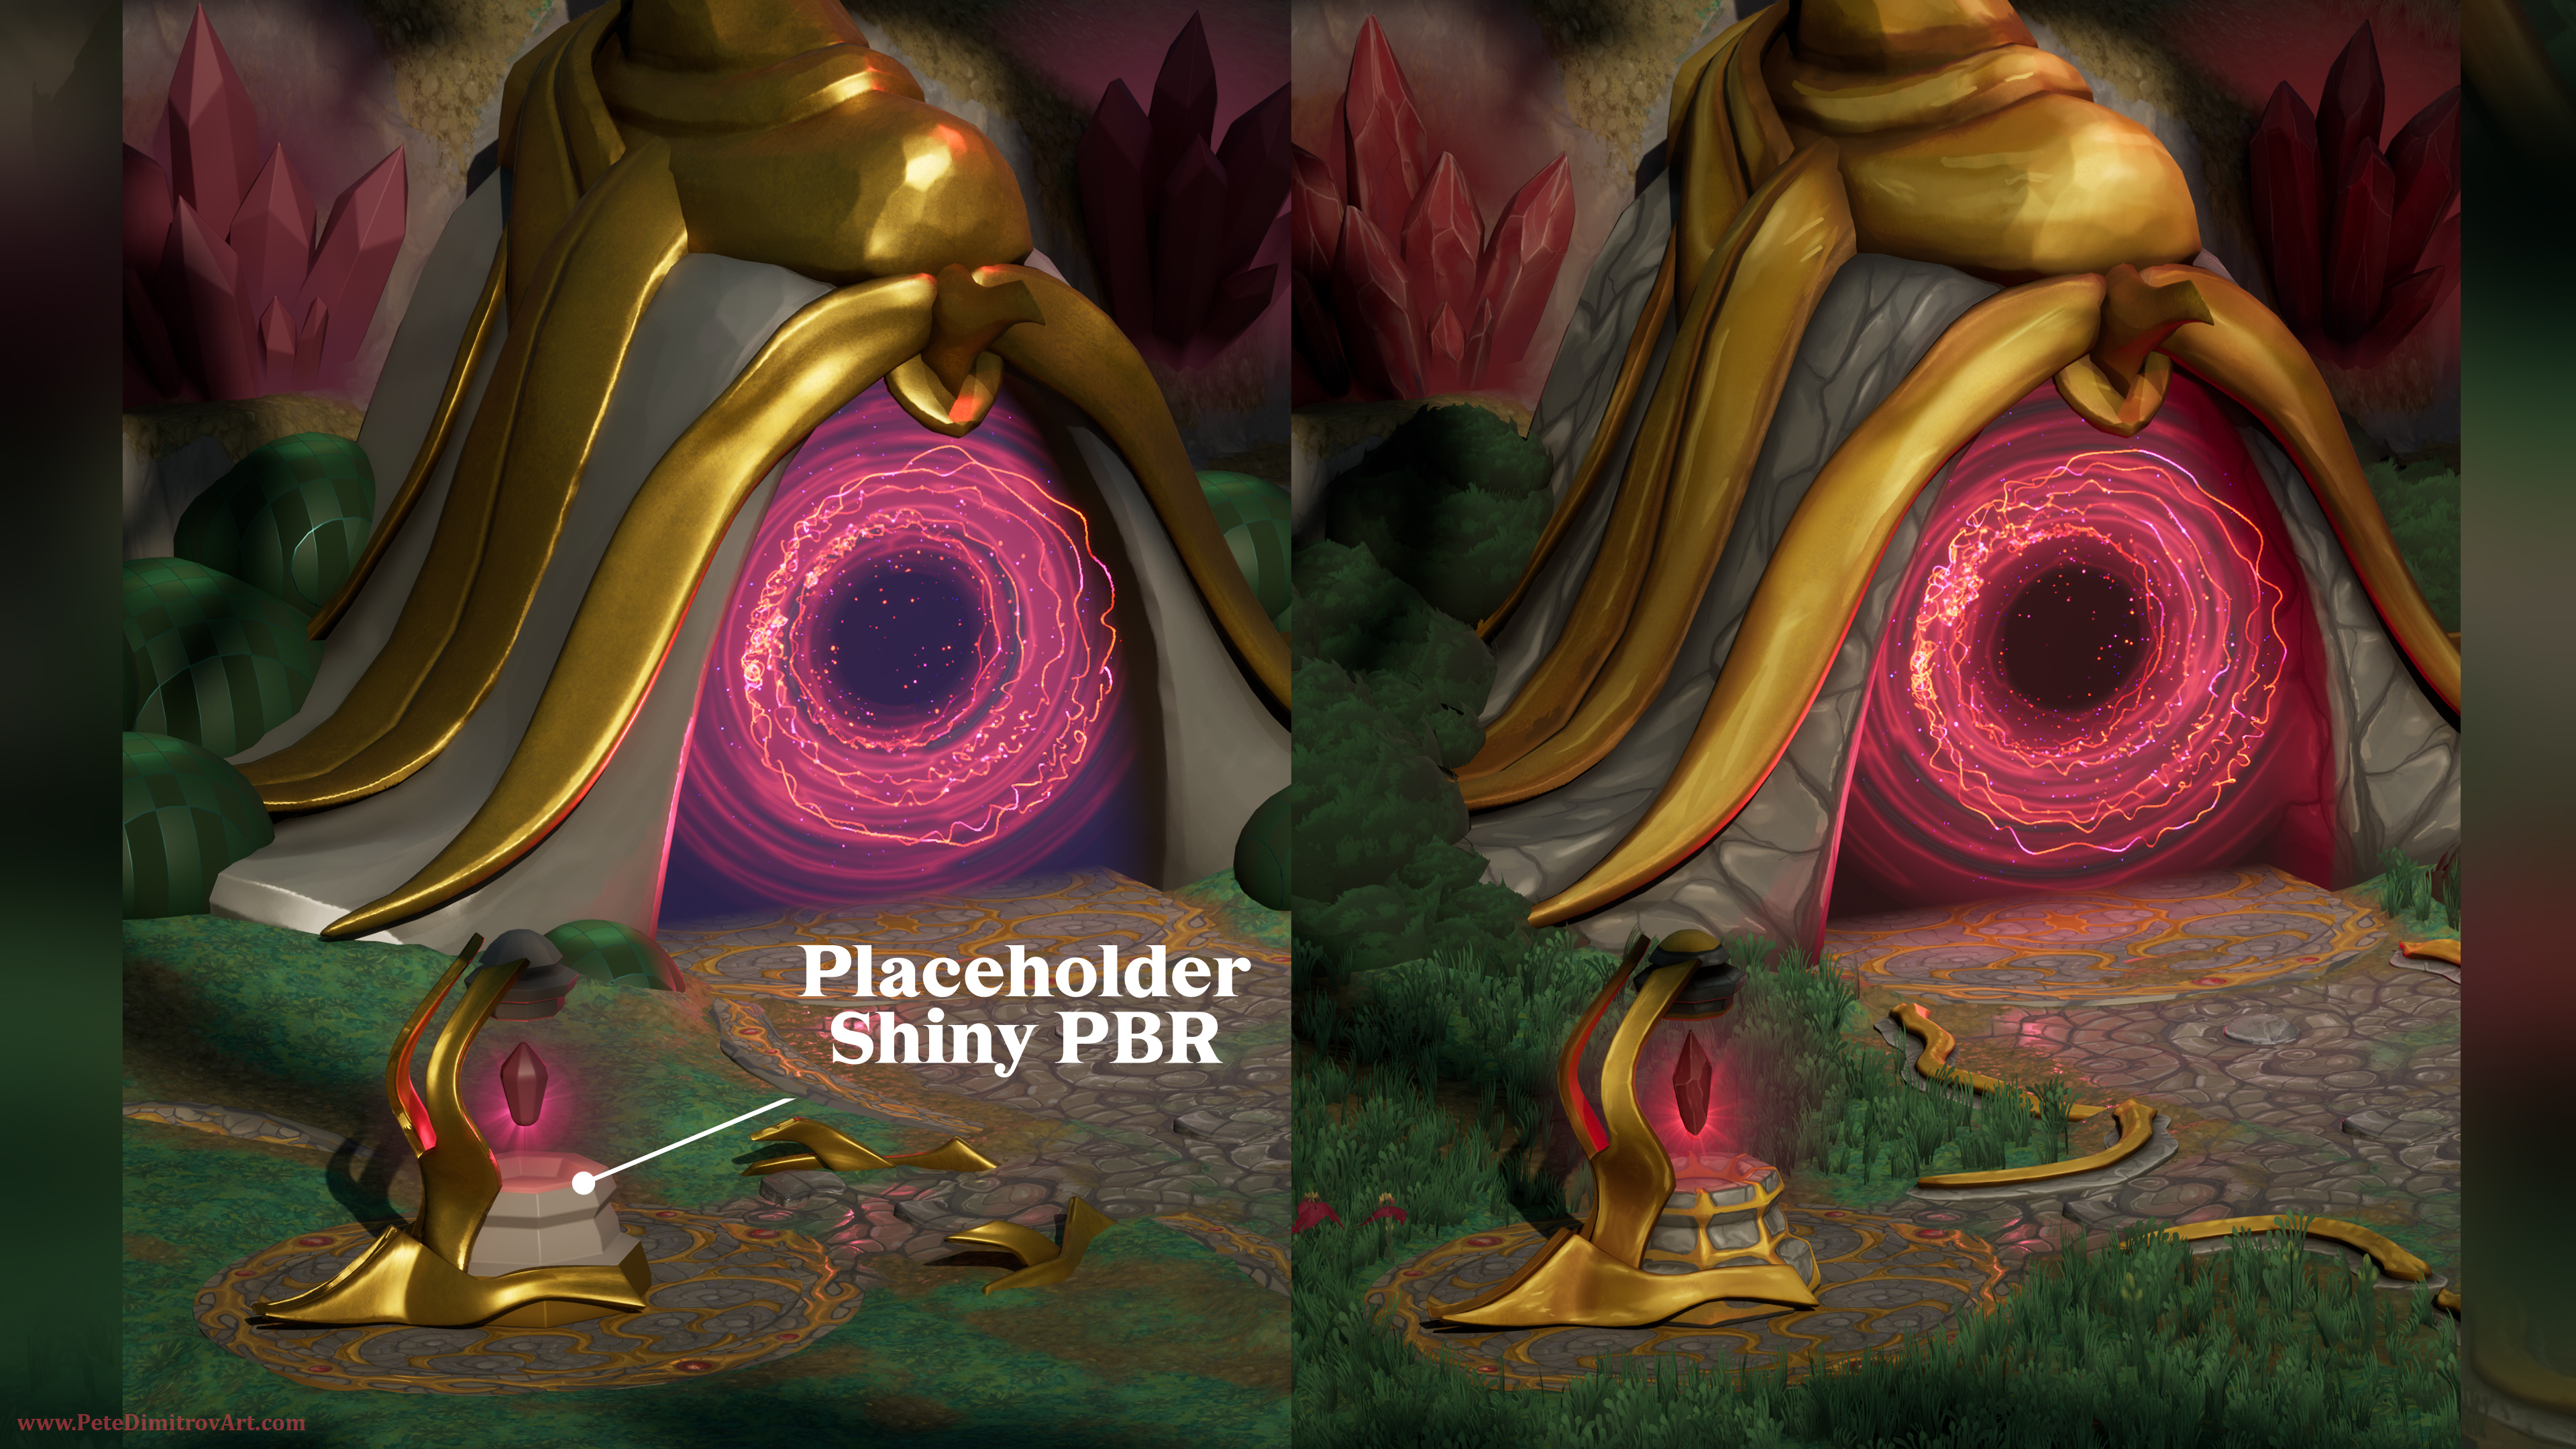
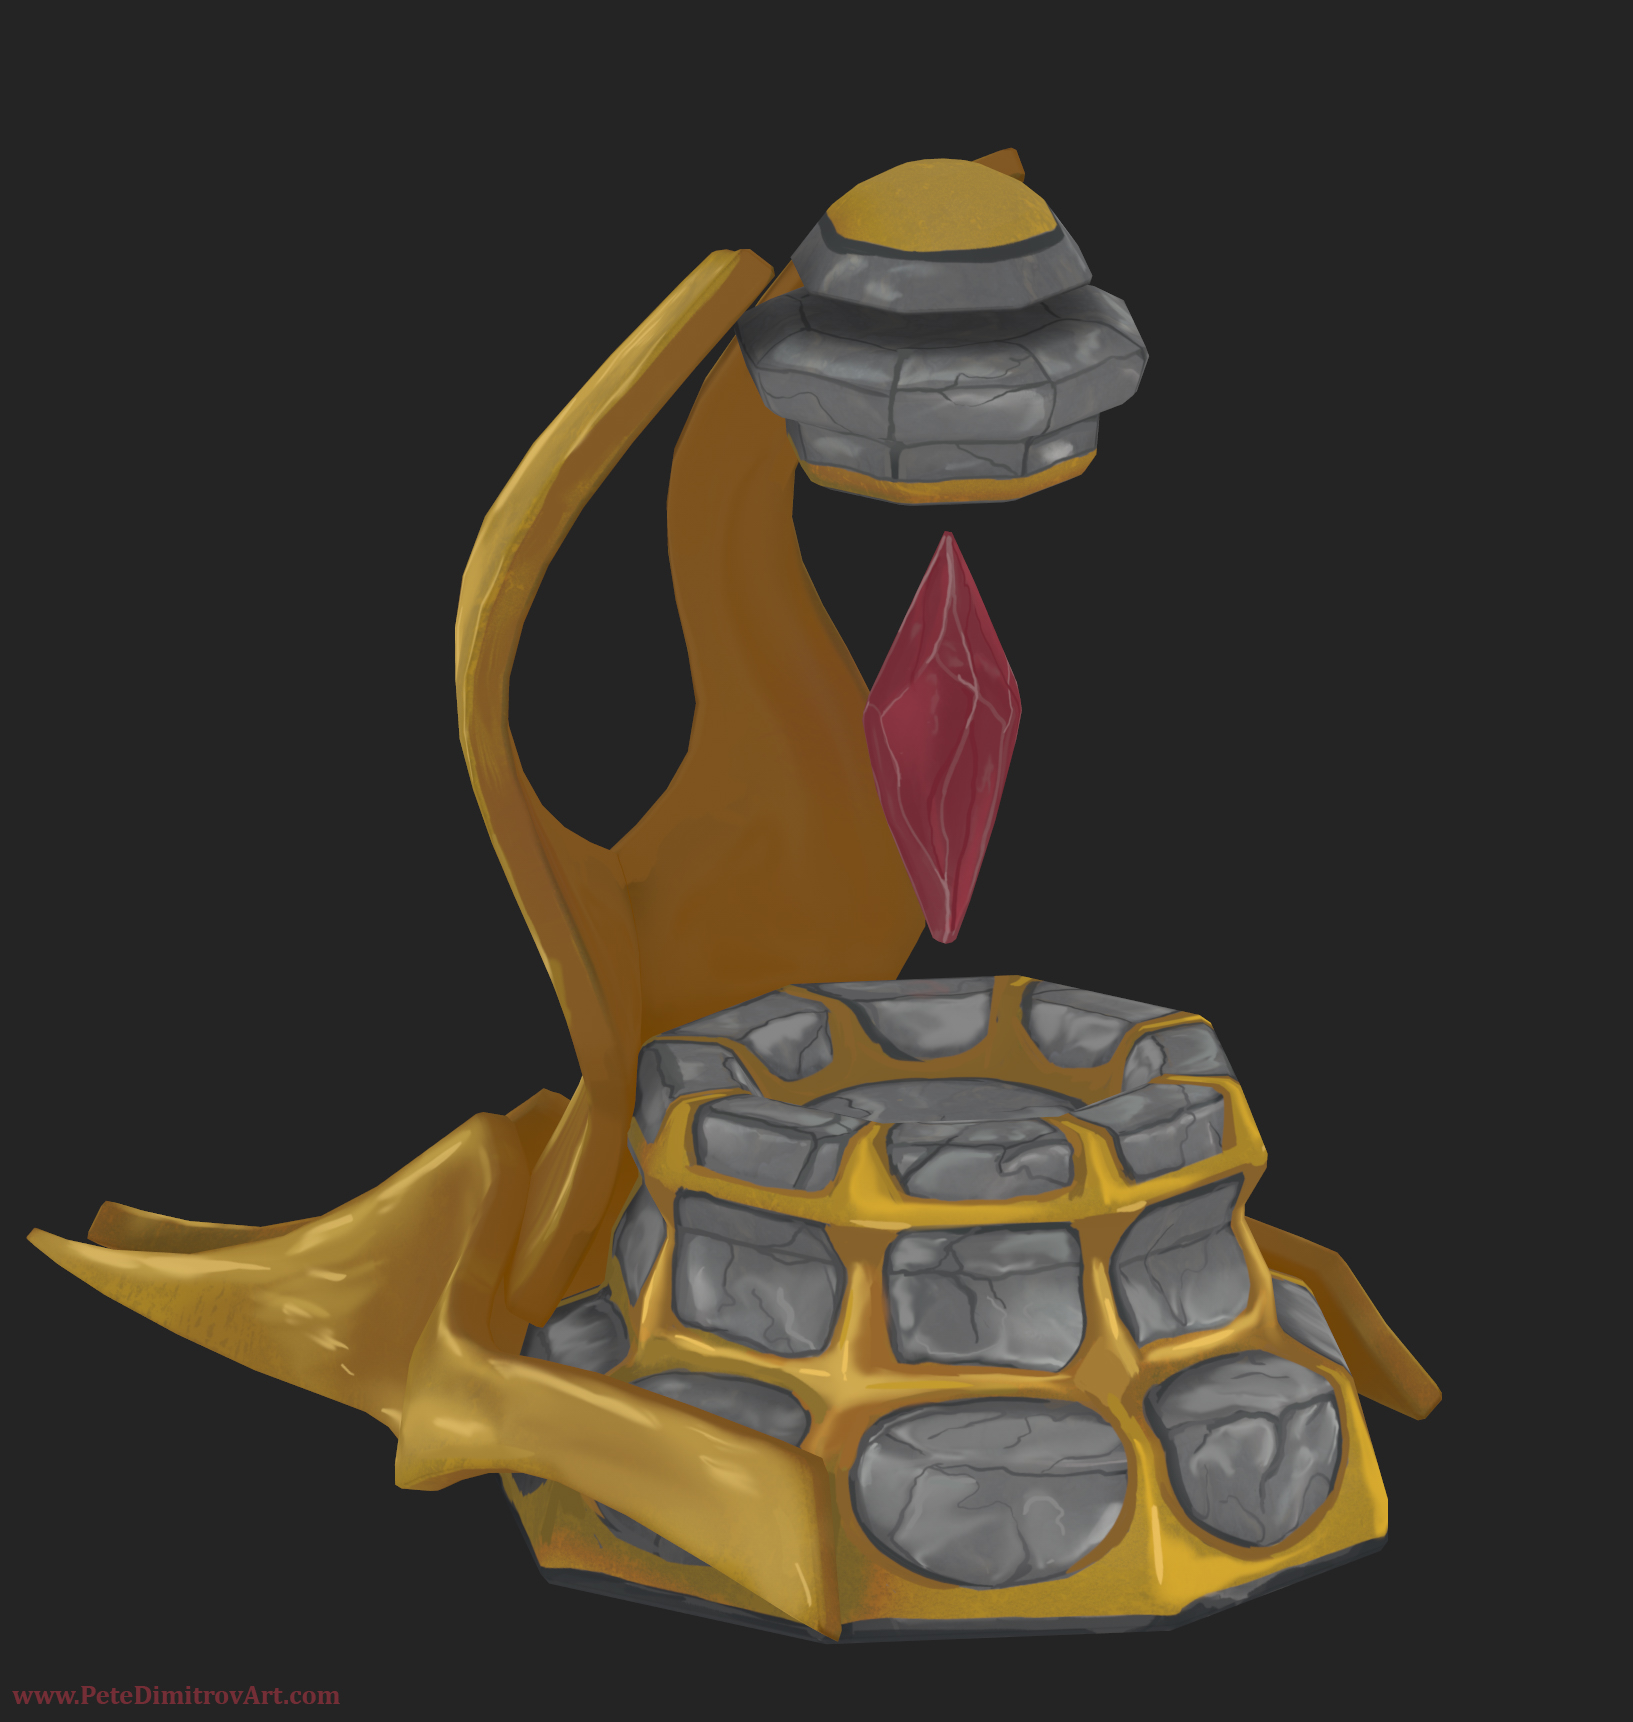
At first, we have a sketched out lamp with a floating red crystal. The materials are gray plus an overly shiny gold. In the second version, we can see the progress of hand painting all of the lamp. I also changed the shape of the crystal a bit.
I like showcasing progress screenshots like these because I hope they give you information on how I approach the making of the art and the different decisions.
Prop Images
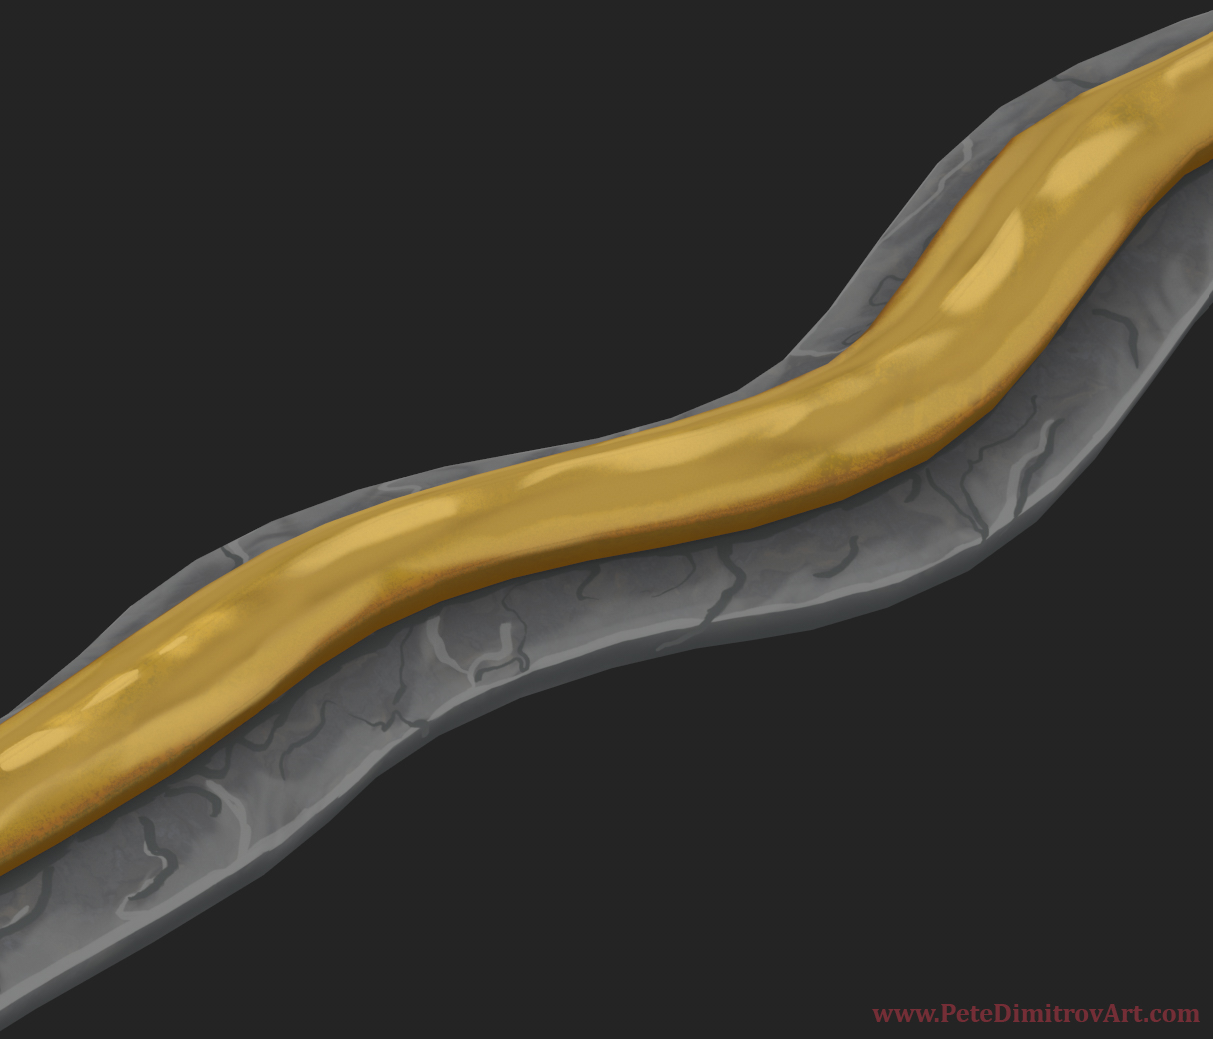
Here are Substance Painter 3D close ups of some of the props:
Close-up cut of the trim I used on the sides. I made two or three of those with slightly different length and features and then I scattered them around the cobble stone as a framing device.
Conclusion
In this blog post, and in the video above, we explored the progress on props and foliage created for a stylized art diorama. We discussed the decision making behind turning flat side stones into a more dimensional golden trims. In the video, we also extensively talked about what foliage atlases are and how they are made.
Next Time
In the next video part, I’m thinking of explaining into further detail my hand painting approach when it comes to the crystals above and the crystal lantern itself too. Stay tuned to learn more about all of that!
Happy art creation!
All the best,
Pete.
If you enjoyed this blog post, consider subscribing in the form below. That way you will get a notification the next time I publish a new blog.