Featured image of post Make a UE5 Gateway - Chapter 3, 4 and 5

Make a UE5 Gateway - Chapter 3, 4 and 5

Create a portal. Preparing textures, working in Niagara and in Blueprints

Intro

Last time we spend a blog post, and a few videos, going over Material Graph in Unreal Engine 5.

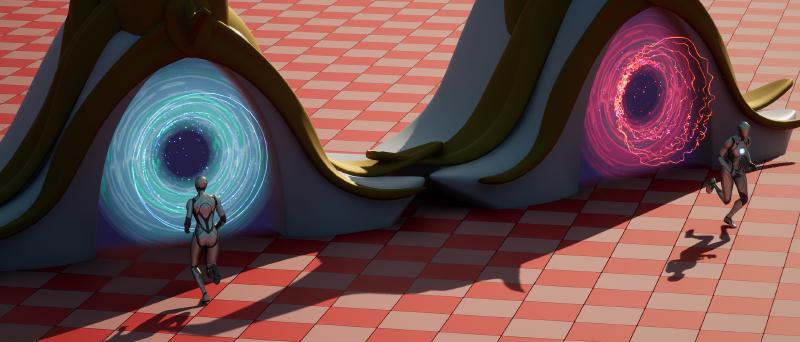
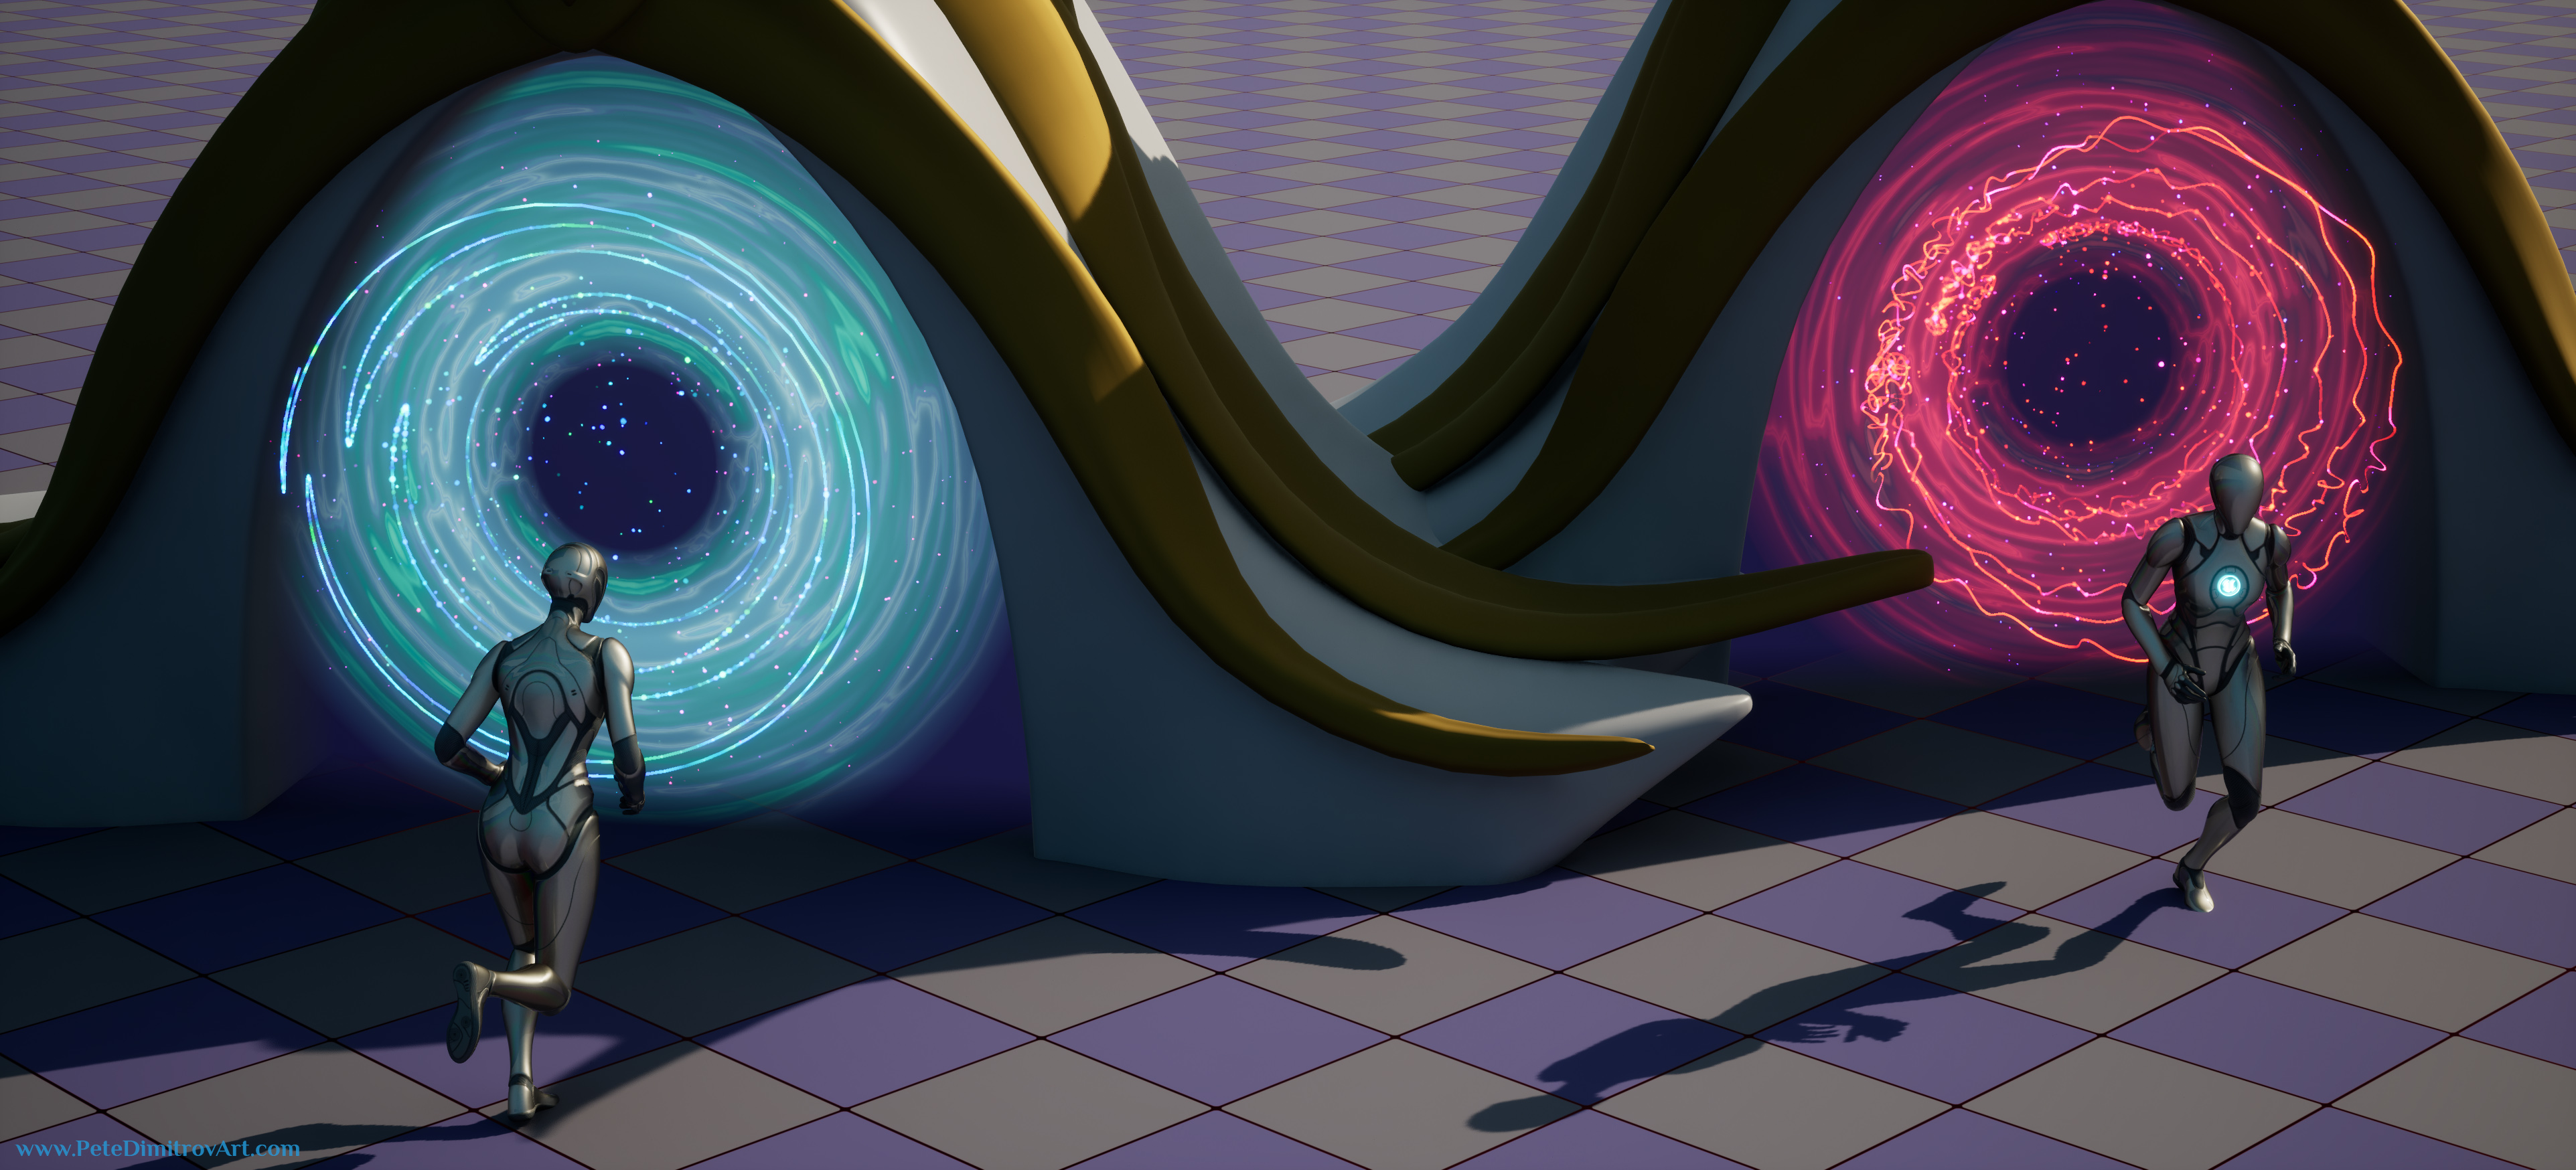
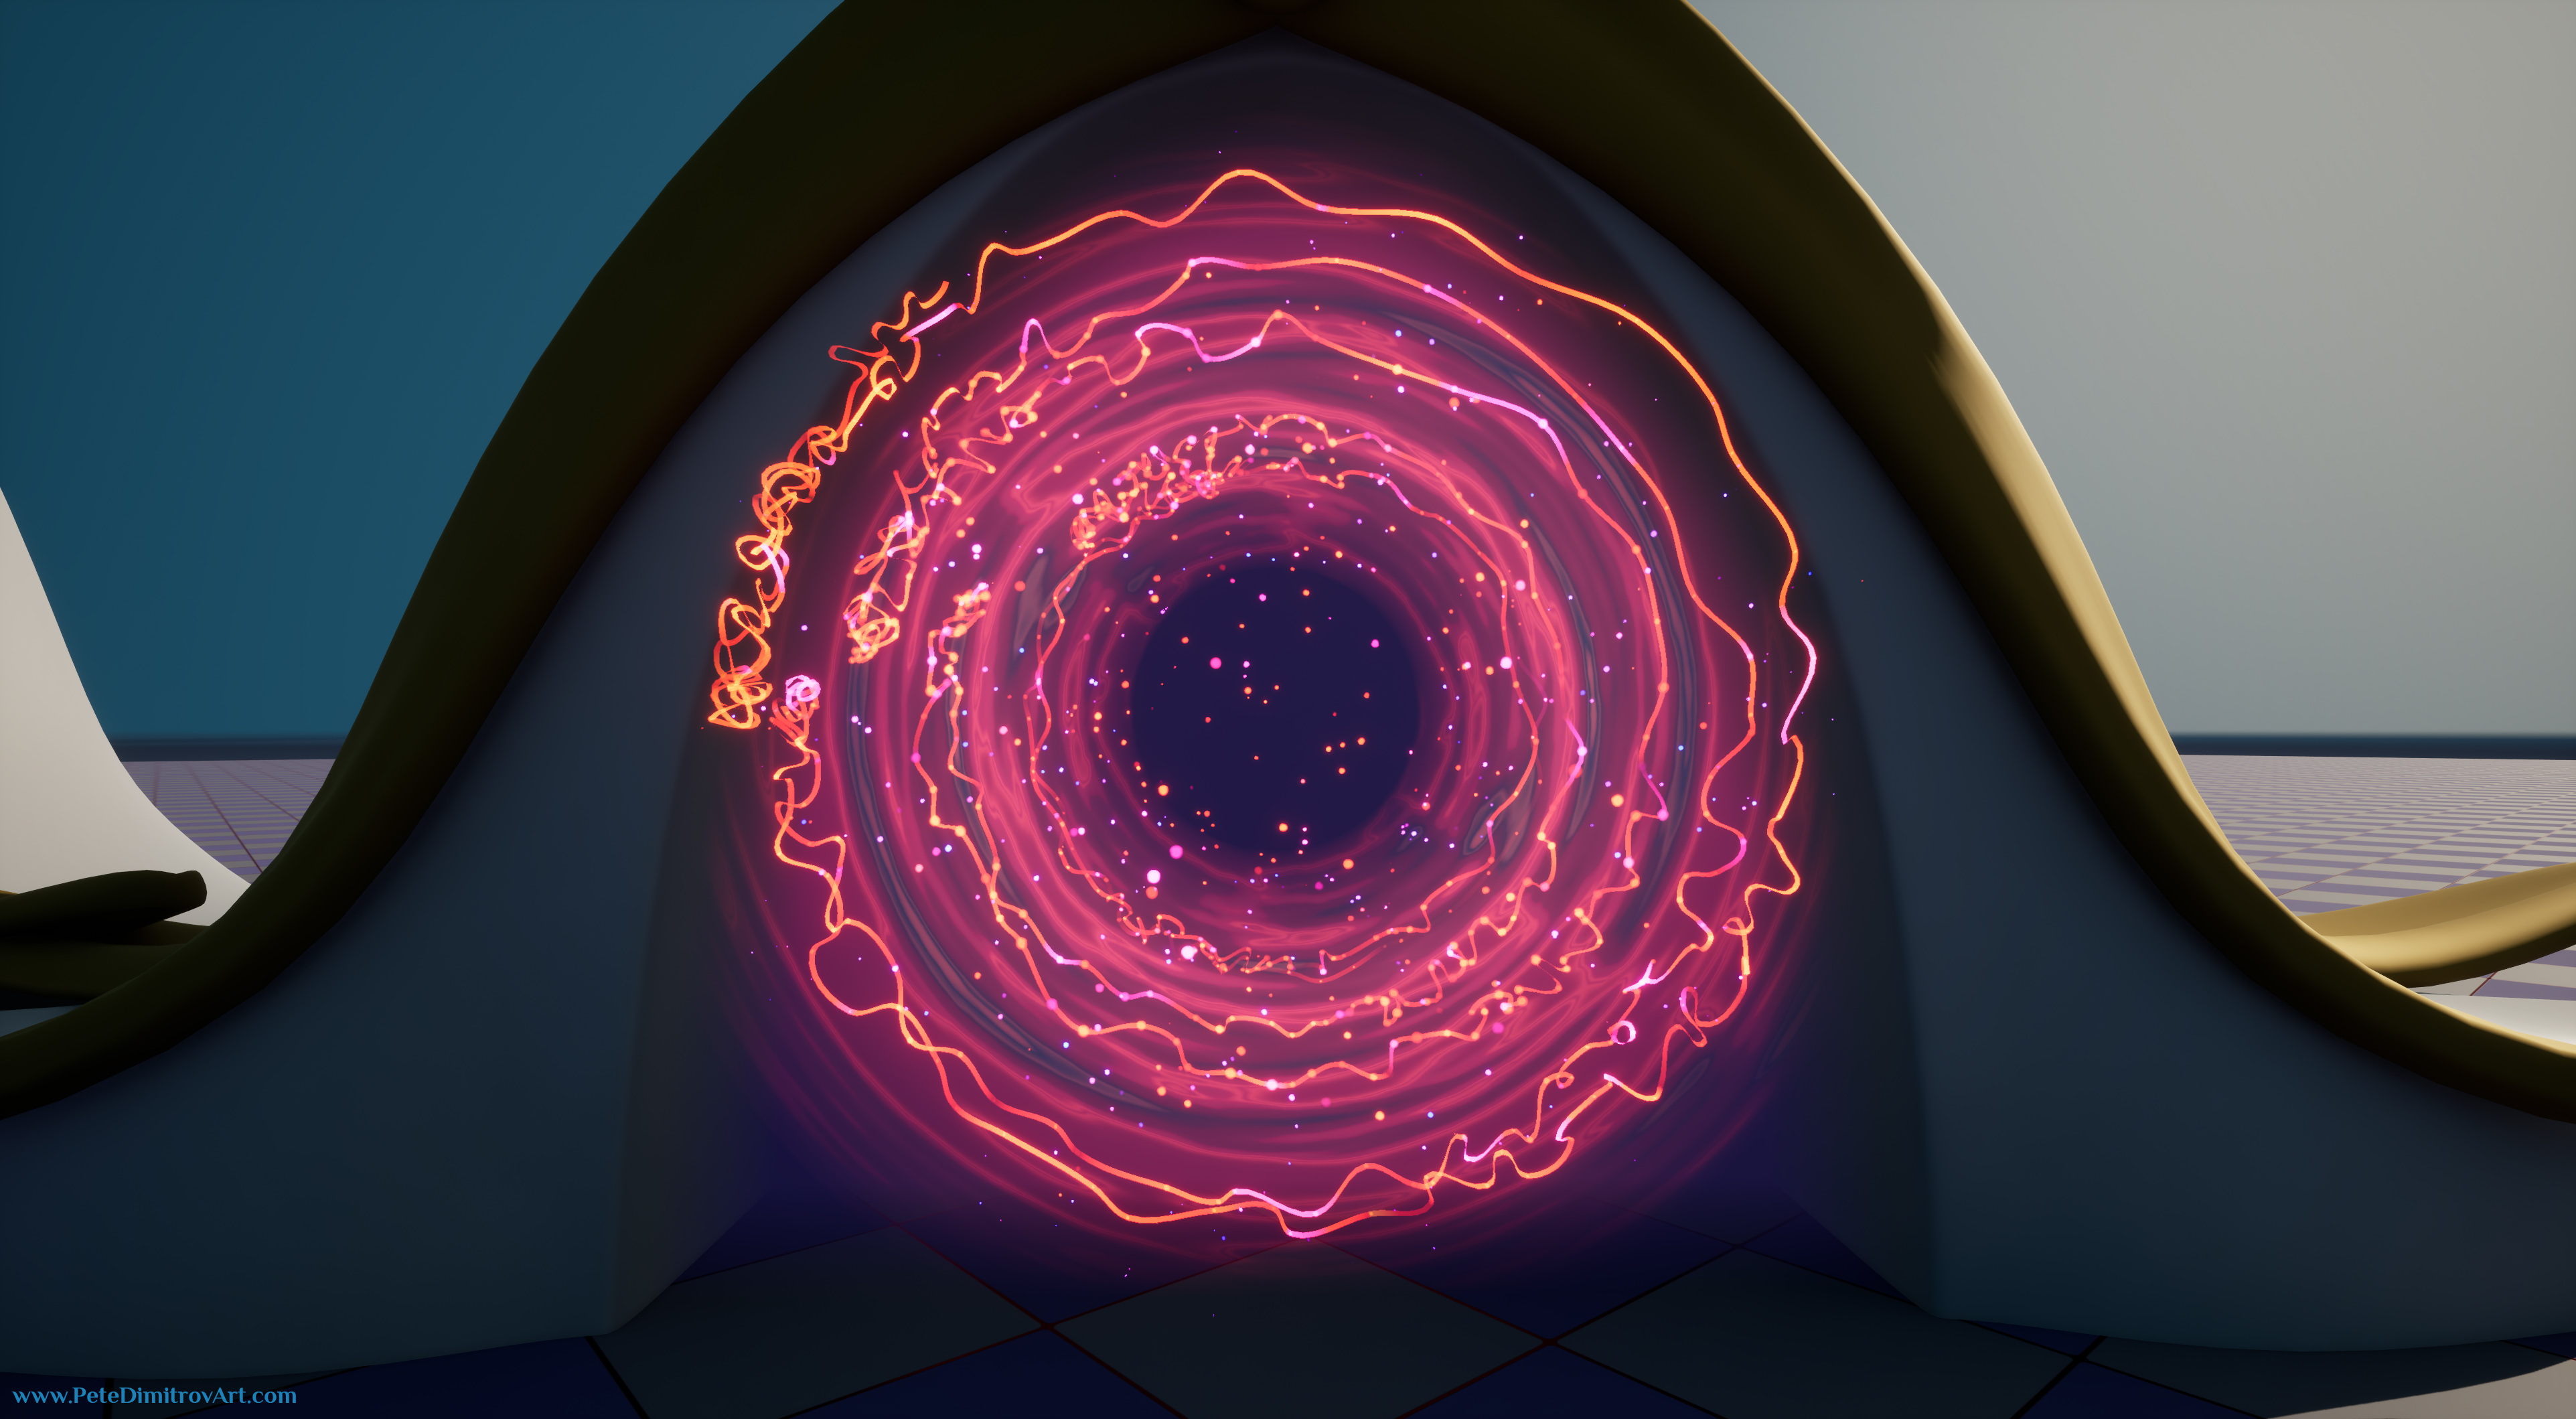
We are making a portal inside of UE5. It’s in the shape of a player sized gate threshold with a magical vortex in front of it. As the player walks through, they find themselves into a new location.

Previously we tackled shaders. We created the vortex and we exposed its parameters. Through that, we made a few different colored versions, with as little effort as possible. That was a big win for reusability and for smart 3D asset creation!

This time around, in this post numbered as Chapter 3, Chapter 4 and Chapter 5, we will go over a few things (I’ve decided to list them all in one page, instead of making multiples and having you get lost in them).

To be frank, if I don’t want you getting lost, I shall just send you straight to the playlist of the videos for this tutorial series. Over there, you will find your bearings and know exactly what you want to start. To do so, visit this YouTube Educational Series link.

This Chapter:

Watch the tutorial chapters here and learn how to create tiling textures in Substance Designer, work with Niagara in UE5 and create your own Blueprints inside of UE5 as well..

Preview of End Result

Here is an image that showcase what we will have by the end of this tutorial series:

Unreal Engine 5 screenshot. It depicts a floor with a checkerboard material in purple hues. On top, two portals are placed. One is red and the other is blue. A player character is seen entering one of them and exiting the other one. The player is in the shape of the default UE5 third person mannequin. The portal vortex has art while the gateway around it has placeholder materials. The scene is lit in daylight scenario.

Chapter Three:

Creating Textures in Substance Designer

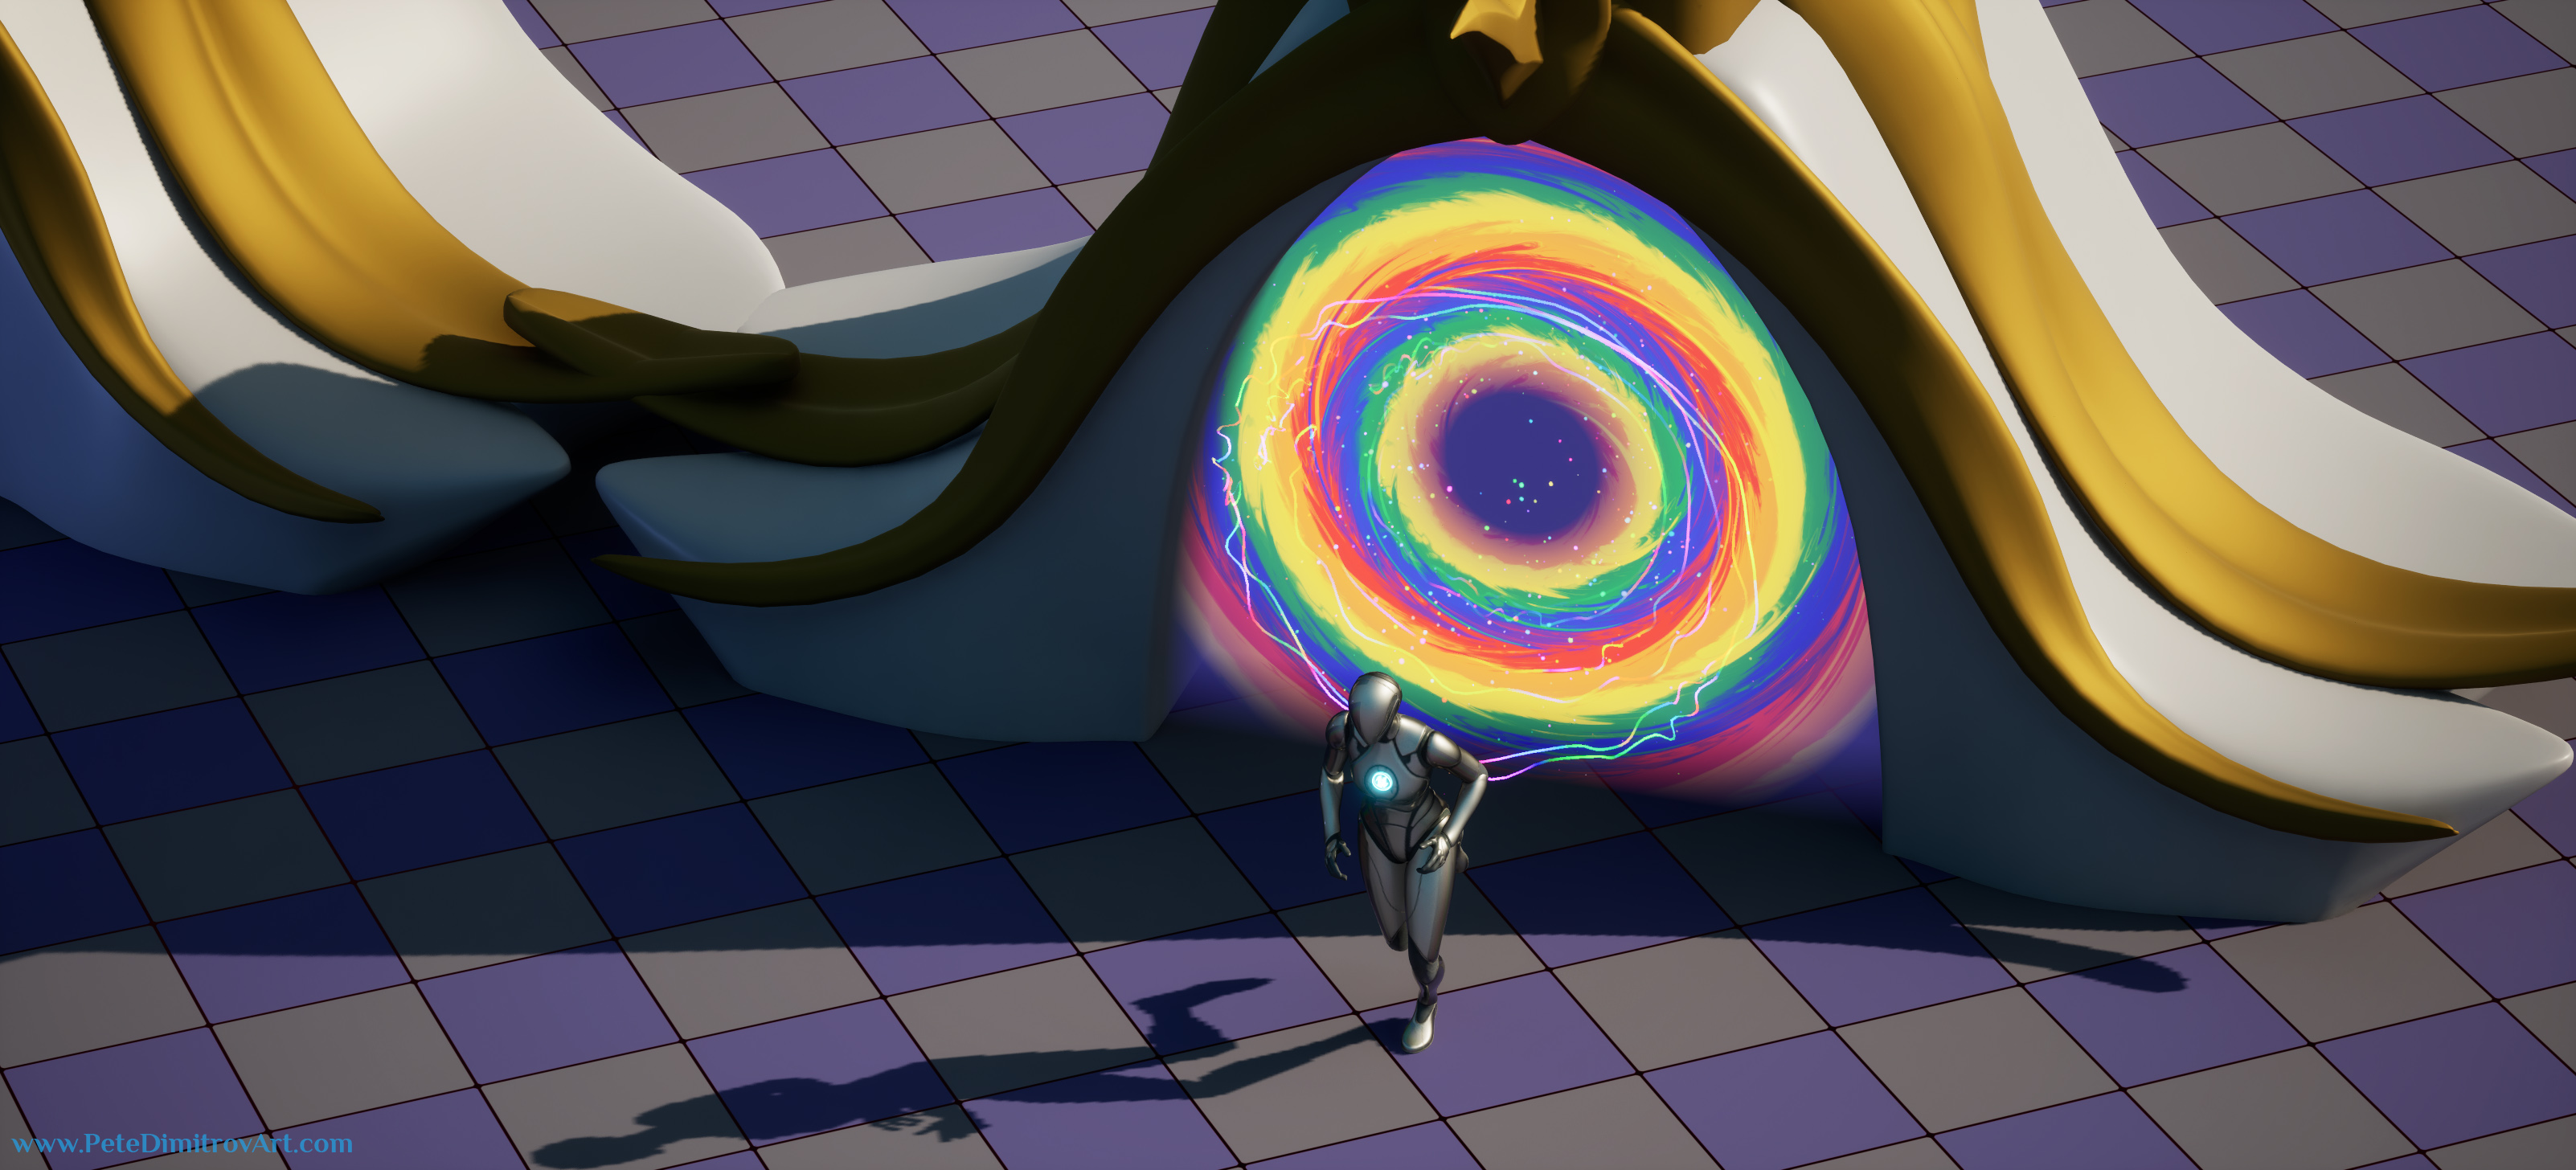
Here we will create two textures together. One will a clouds that has lots of purples and oranges. The second one will be a large splatter of rainbow. Right after we make the bitmaps, we will head back inside of UE5 and put them to use, polishing the end result of our vortexes.

Part 3 - Textures in Substance Designer

Video embedded above. Title is "Create a Portal in UE5 | Textures in Substance Designer | Unreal VFX Tutorial Series Part 3". The video thumbnail shows a blue portal. A character player walks into it. There is a green arrow that points to the portal and shows a preview of the 2D textures used on it.

Part 3.2 - Using Our Substance Designer Textures

Video embedded above. Title is "Part 3.2 - Create a Portal in UE5 | Using Our Substance Designer Textures | Unreal VFX Tutorial Series Part 3.2". The video thumbnail shows a yellow version of the same portal. This time around the player is walking out of it, facing the camera. A green arrow shows a rainbow version of it, circled in green.

Chapter Four

Niagara Particle Systems

In this chapter, we start our Niagara particles. We create the ribbon that flows inwards, like a spiral. On top, we add blue particulates that have a specific speed and motion. Then, as another layer, we add more particles in different color and slightly different motion.

Part 4 - Starting Niagara Particles

Another video embedded above. Title is "Create a Portal in UE5 | Starting Niagara Particles | Vortex | Unreal VFX Tutorial Series Part 4". The video thumbnail shows the player walking out of a red version of the portal. A 45 degree line splits the screen and then there is a picture of me, looking towards the red portal.

Part 4.2 - Recolor Niagara Particles

Video embedded above. Title is "Create a Portal in UE5 | Recolor Niagara Particles | Vortex | Unreal VFX Tutorial Series Part 4.2". The video thumbnail shows a gray, placeholder, grid. On top of it there are versions of the portal gateway, seen from an isometric angle. One is colored, red, the other blue and the final one is yellow.

Chapter Five

Blueprints and Construction Scripts

In this four parts video chapter, we will create all of our Blueprints in UE5. That will allow us to teleport the player from location A to location B. It will also bundle all of our art assets into a finalized actor.

Part 5 - Blueprints and Construction Scripts

Another video embedded above. Title is "Create a Portal in UE5 | Blueprints and Construction Script | Unreal VFX Tutorial Series Part 5". The video thumbnail shows the player walking out of a red version of the portal. That takes the entire thumbnail.

Part 5.2 - Blueprints and Scripts

Another video embedded above. Title is "Create a Portal in UE5 | Blueprints and Scripts | Unreal VFX Tutorial Series Part 5.2". The video thumbnail shows the player walking into a red version of the portal. Next to that is a portrait photo of me, preview from the video camera.

Part 5.3 - Teleport Blueprint

Another video embedded above. Title is "Create a Portal in UE5 | Teleport Blueprint | Unreal VFX Tutorial Series Part 5.3". The thumbnail shows a red and pink grid floor. On top of it is the player walking into a blue version of the portal. To the side is a photo of me.

Part 5.4 - Finishing Teleport Blueprints

Another video embedded above. Title is "Create a Portal in UE5 | Finishing Teleport Blueprints | Unreal and Blender Tutorial Series Part 5.4". The thumbnail shows yellow and lemon colored checkered floor. On top the player is walking into a portal. To the side is another photo of me.

Next Time

Stay tuned for Chapter Six and Chapter Seven (final ones).

What to expect in the next tutorials:

  • Creating a UI and UX assets for our portal.
  • Working with Widget assets and blueprints.
  • Adding sound SFX to our portal.

The end result will be:

  • A darkening screen effect that happens when the player teleports.
  • A magical swirl plays next to the portal, as the player gets closer.
  • A mystical swooshing sound plays as the player is being teleported.

YouTube Playlist

You might remember this screenshot of the course from the previous posts, but here it is again, just as a reminder:

A YouTube screenshots. It showcases a course playlist. Inside of it there are eleven videos. It reads “Creating a Functional Gateway Portal in UE5”. Each video thumbnail has a different colored portal and one can see a player either running into the portal, or running out of it. Link to this playlist is provided below this image.

Find the entire playlist for this tutorial series over here.

A quick gallery with more previews from the project and what you will have made for yourself at the end:

A frontal angle screenshot of the portal and the gateway, seen in UE5. It has a vortex that in the middle of it has a dark spot. Around it, there are circles like water splash, all colored in red and orange hues. On top of that, there is a Niagara particles that create lines with turbulence in them.

A screenshot that shows the portal gateway from a isometric, almost orthographic camera view. This time around, its even horizon is colored in a rainbow texture, instead the other red or blue options seen before. A player is walking out of the rainbow. The floor around is a gray checkerboard texture.

Conclusion

In this blog post we showcased Chapter 3, 4 and 5 of our tutorial series focused on Unreal Engine 5. We looked at what we created inside of Substance Designer and the tiling textures we needed for our portal. From there, we moved onto working inside of Niagara in UE5 and creating our support VFX.

Finally, we started the blueprints work and made the player character teleport from one portal to another, after they triggered an invisible collision sphere attached to the blueprint of the portal.


All the best,

Pete.


If you enjoyed this blog post, consider subscribing in the form below. That way you will get a notification the next time I publish a new blog.

Writing and art by Peter Dimitrov. Website theme by Jimmy, modified heavily and customized by Miroslav Dimitrov.
Built with Hugo
Theme Stack designed by Jimmy