Intro
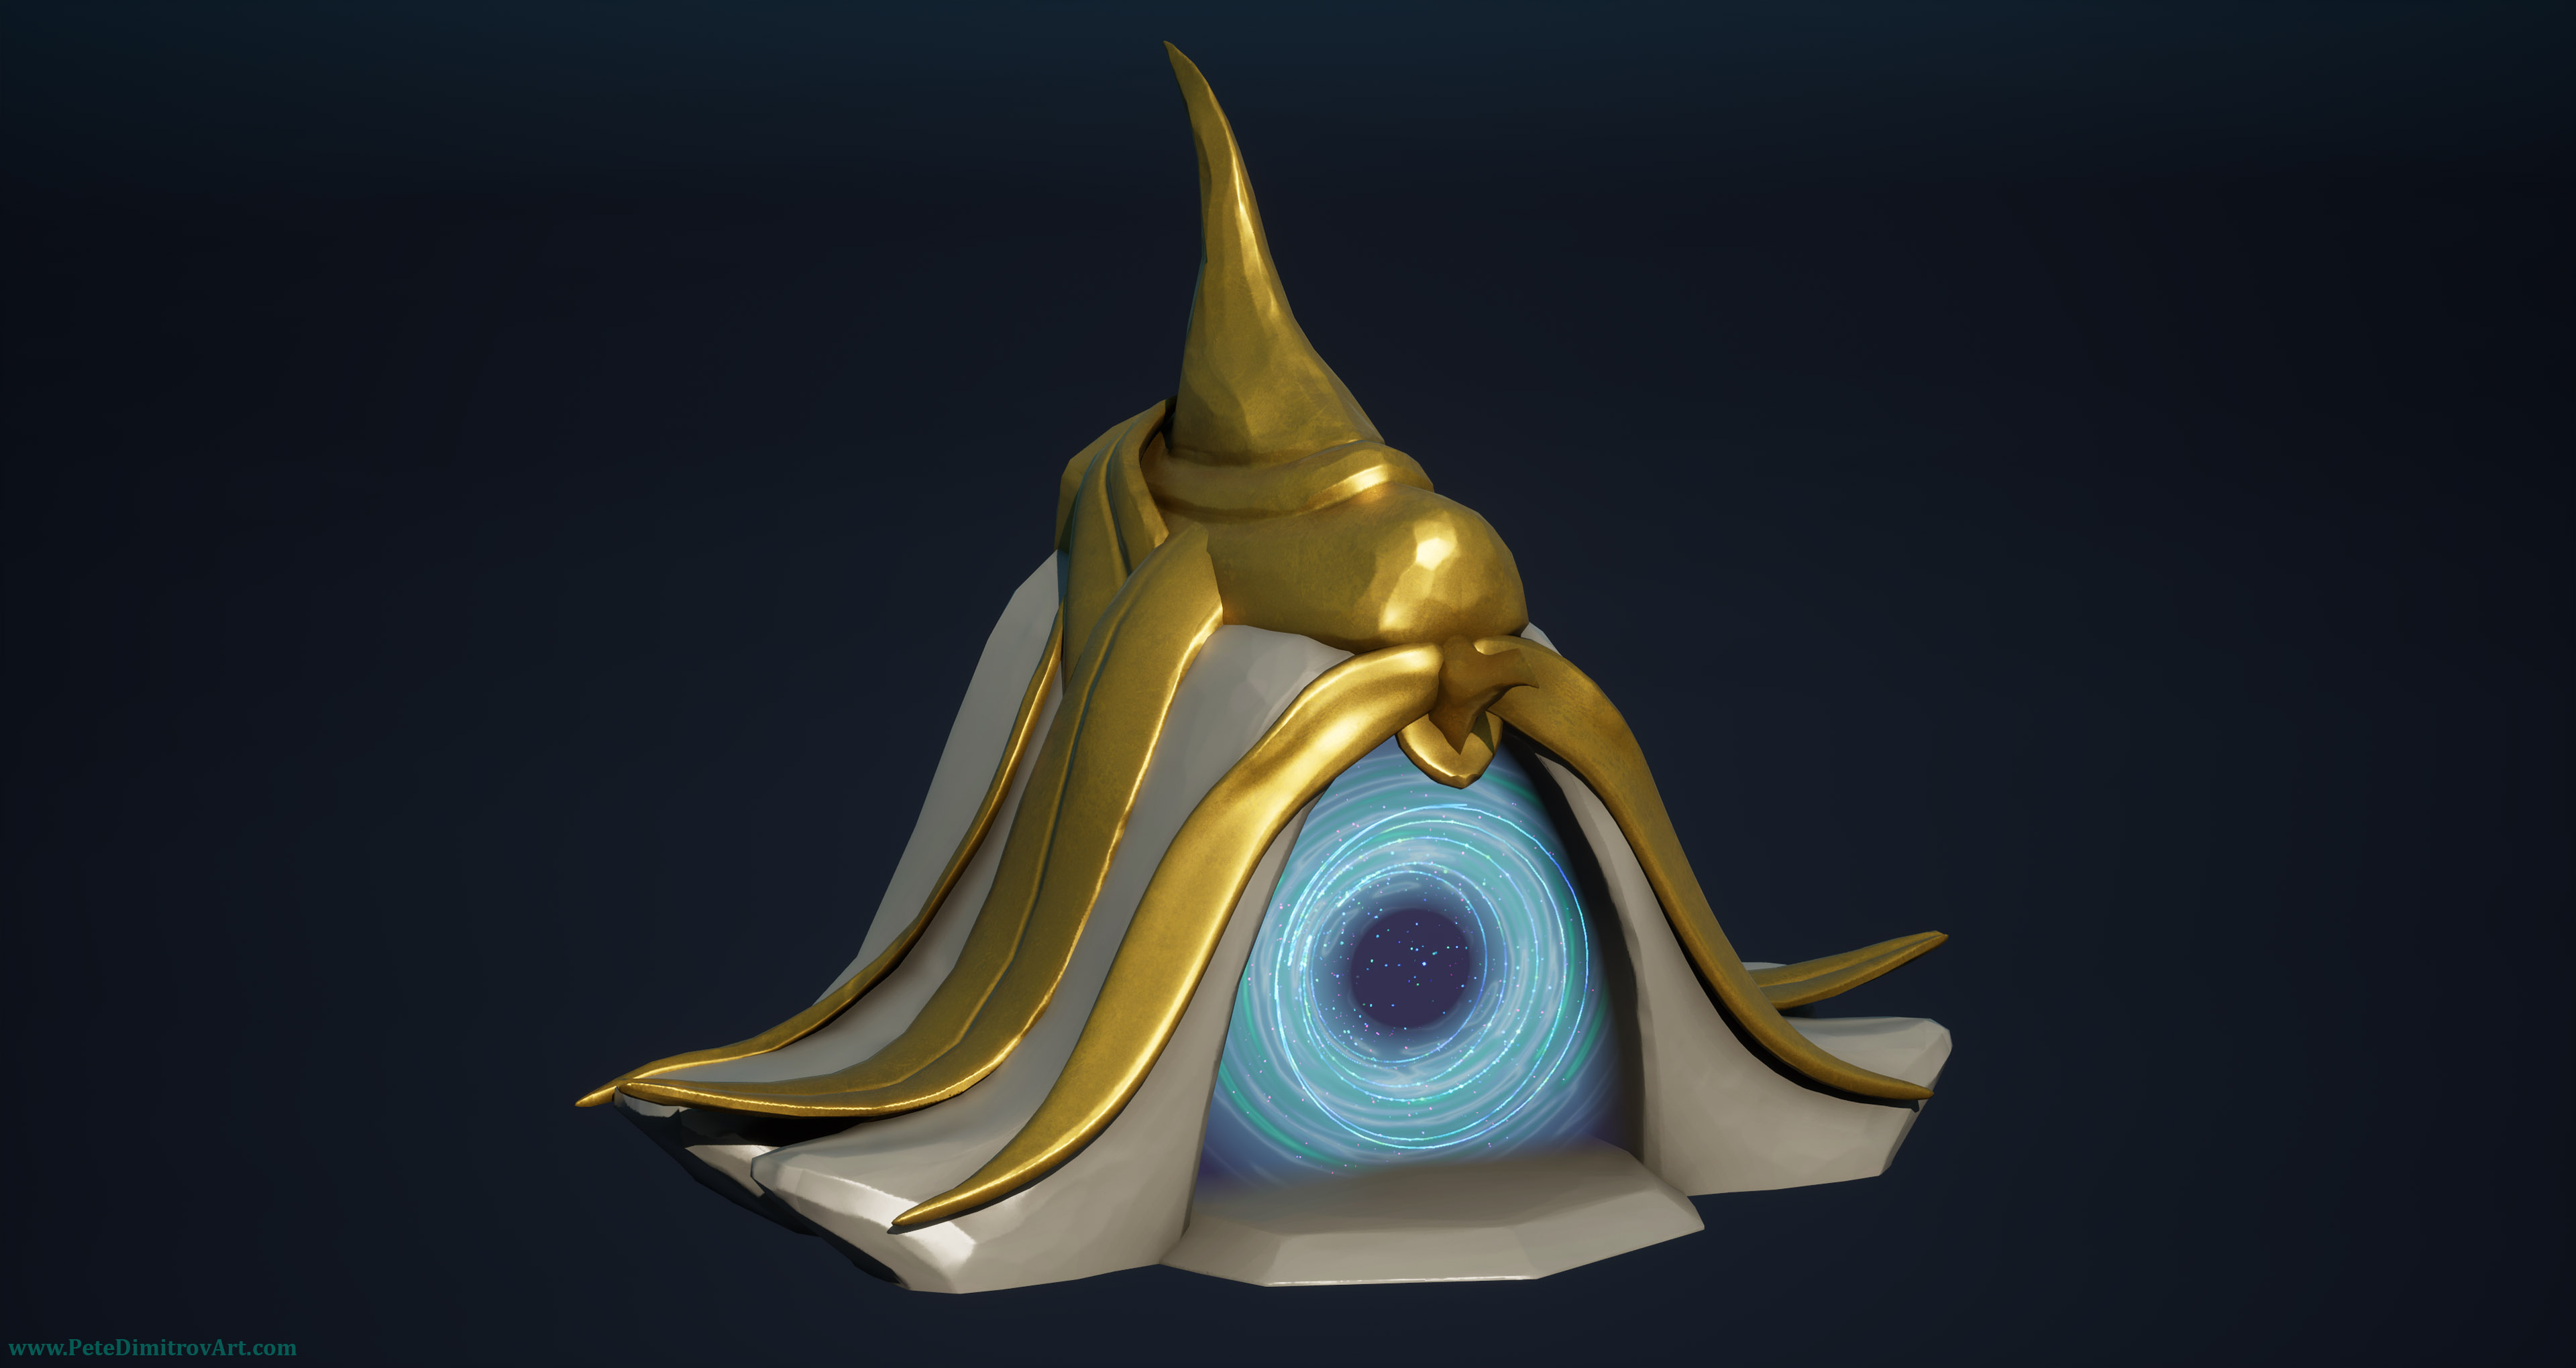
Last time I worked on my 3D diorama project, I had a tower and twisting, green lands all around it. Right in the middle of it, I briefly stopped in order to create a portal VFX and a blueprint that teleports the player from one location to another.
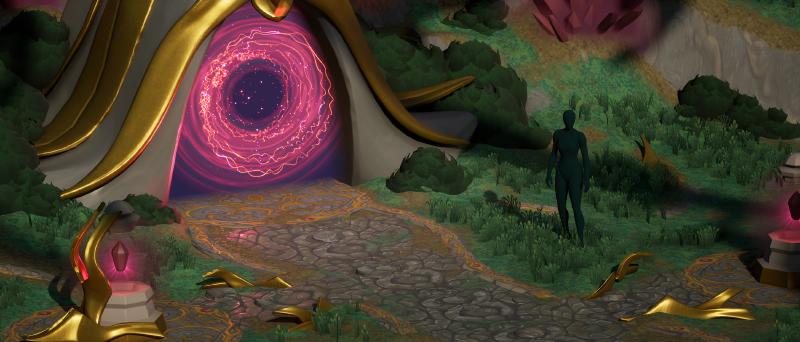
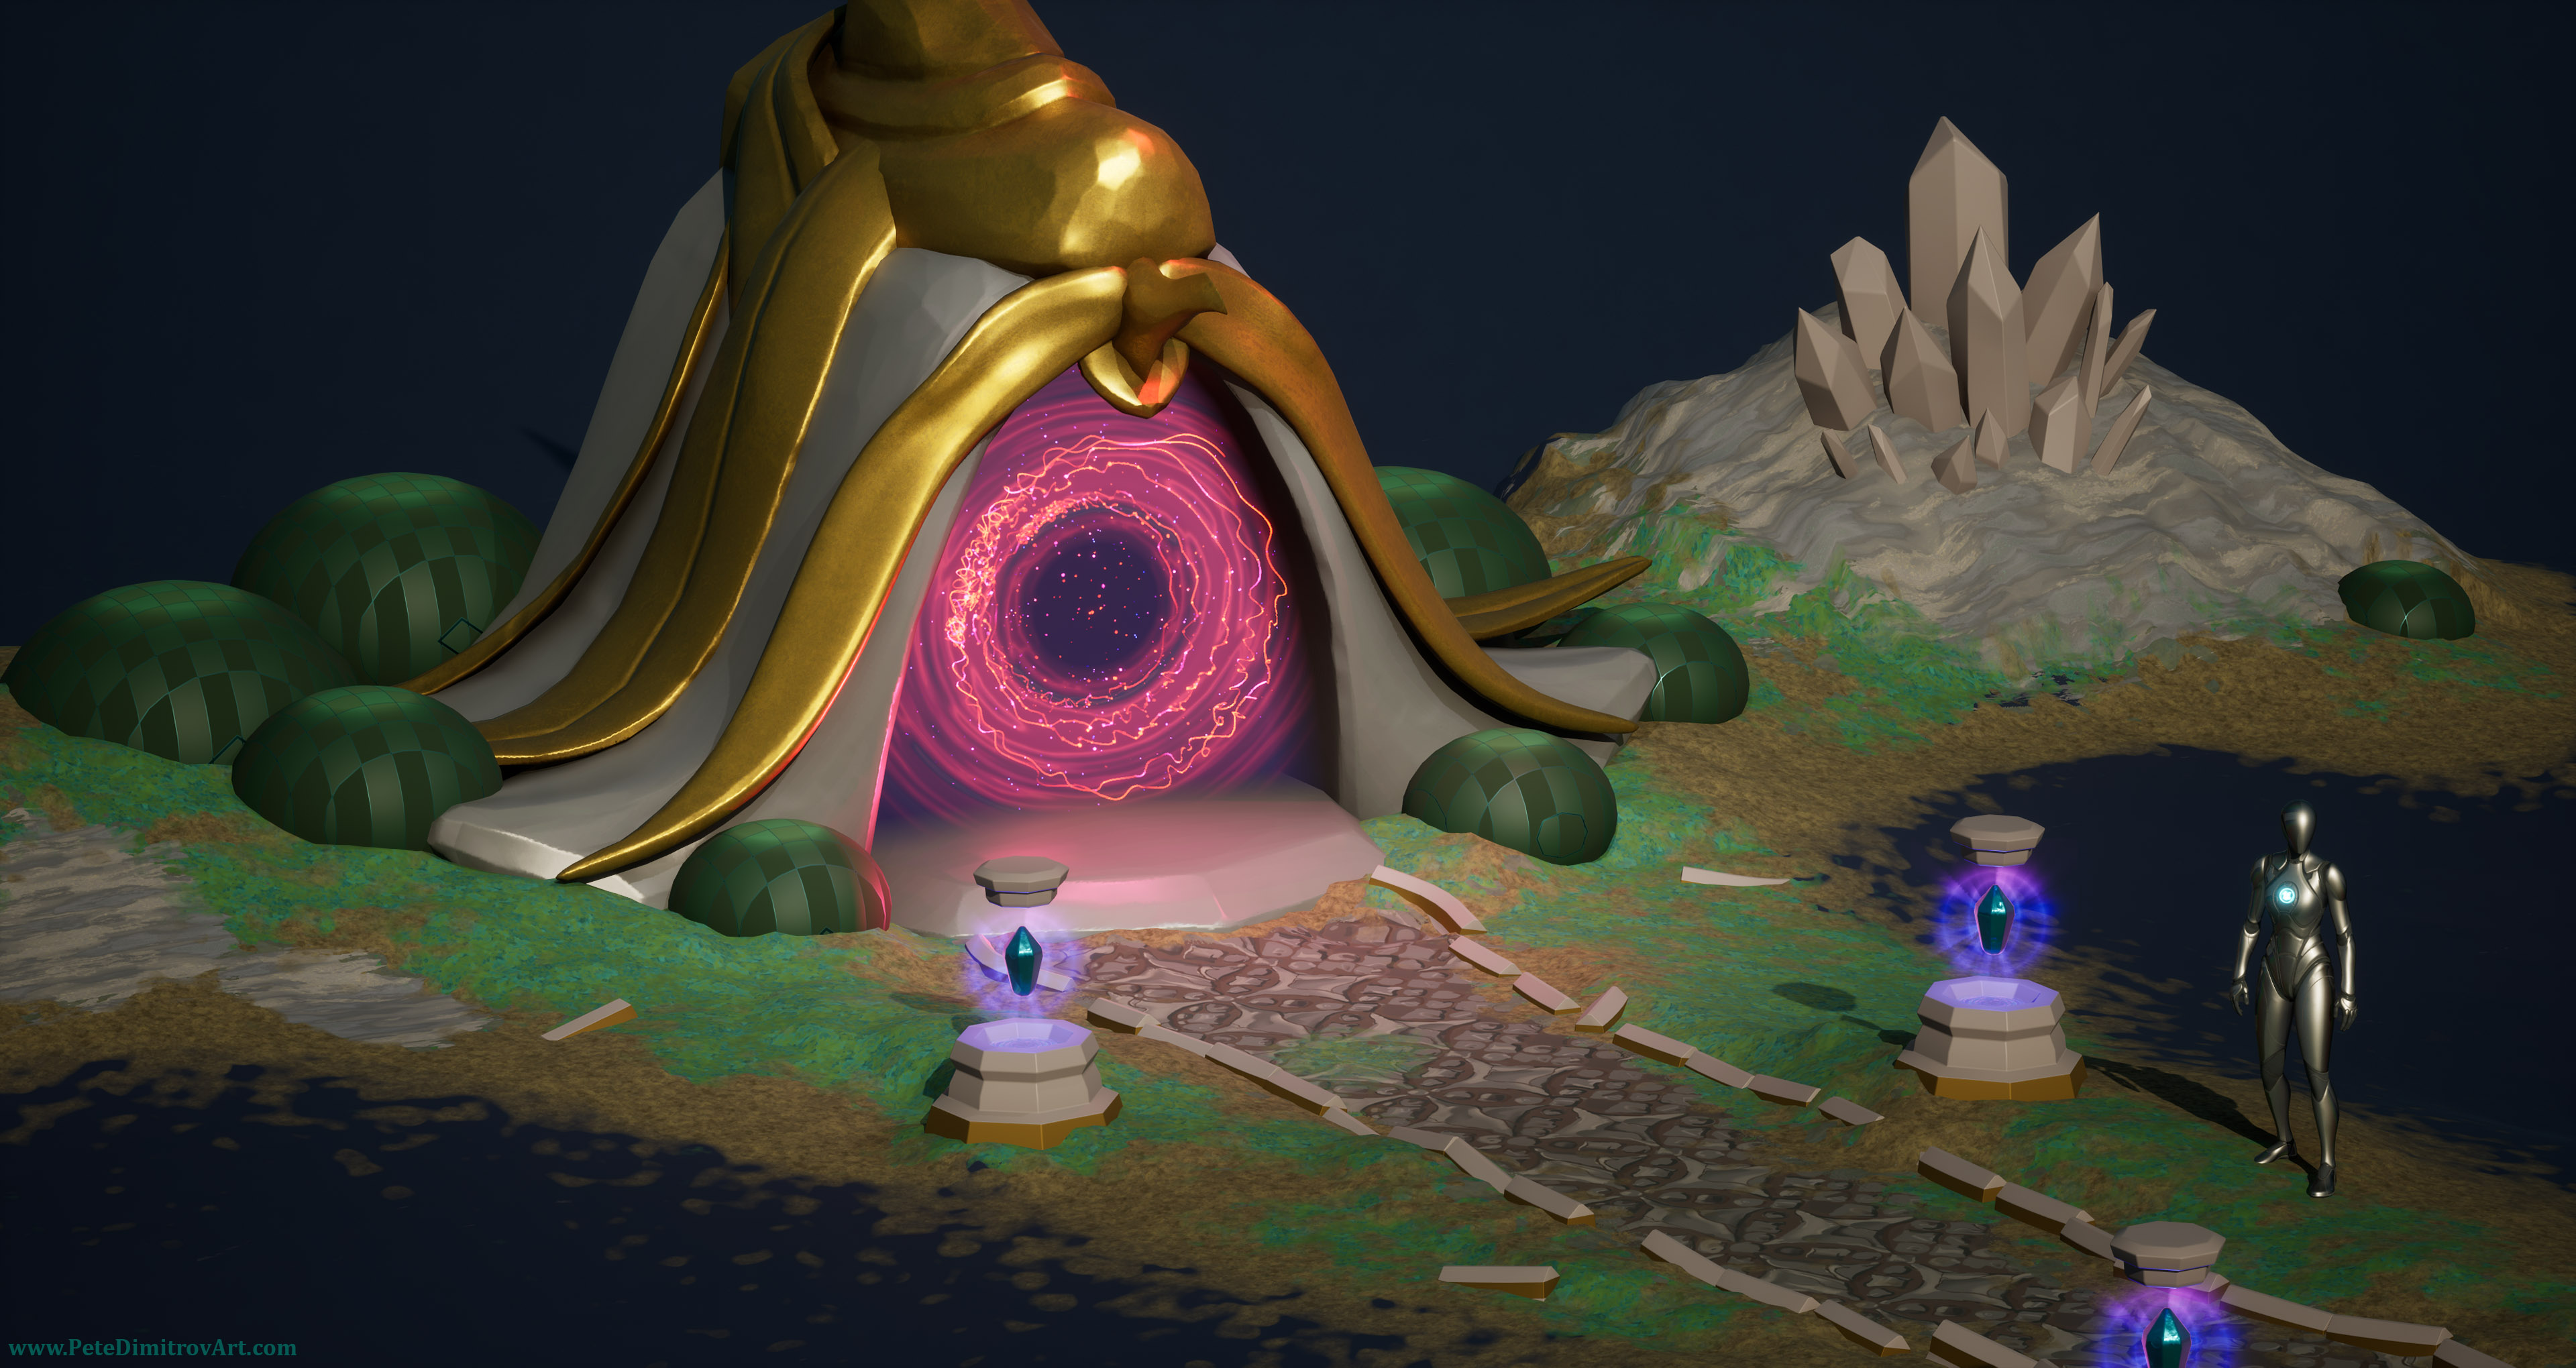
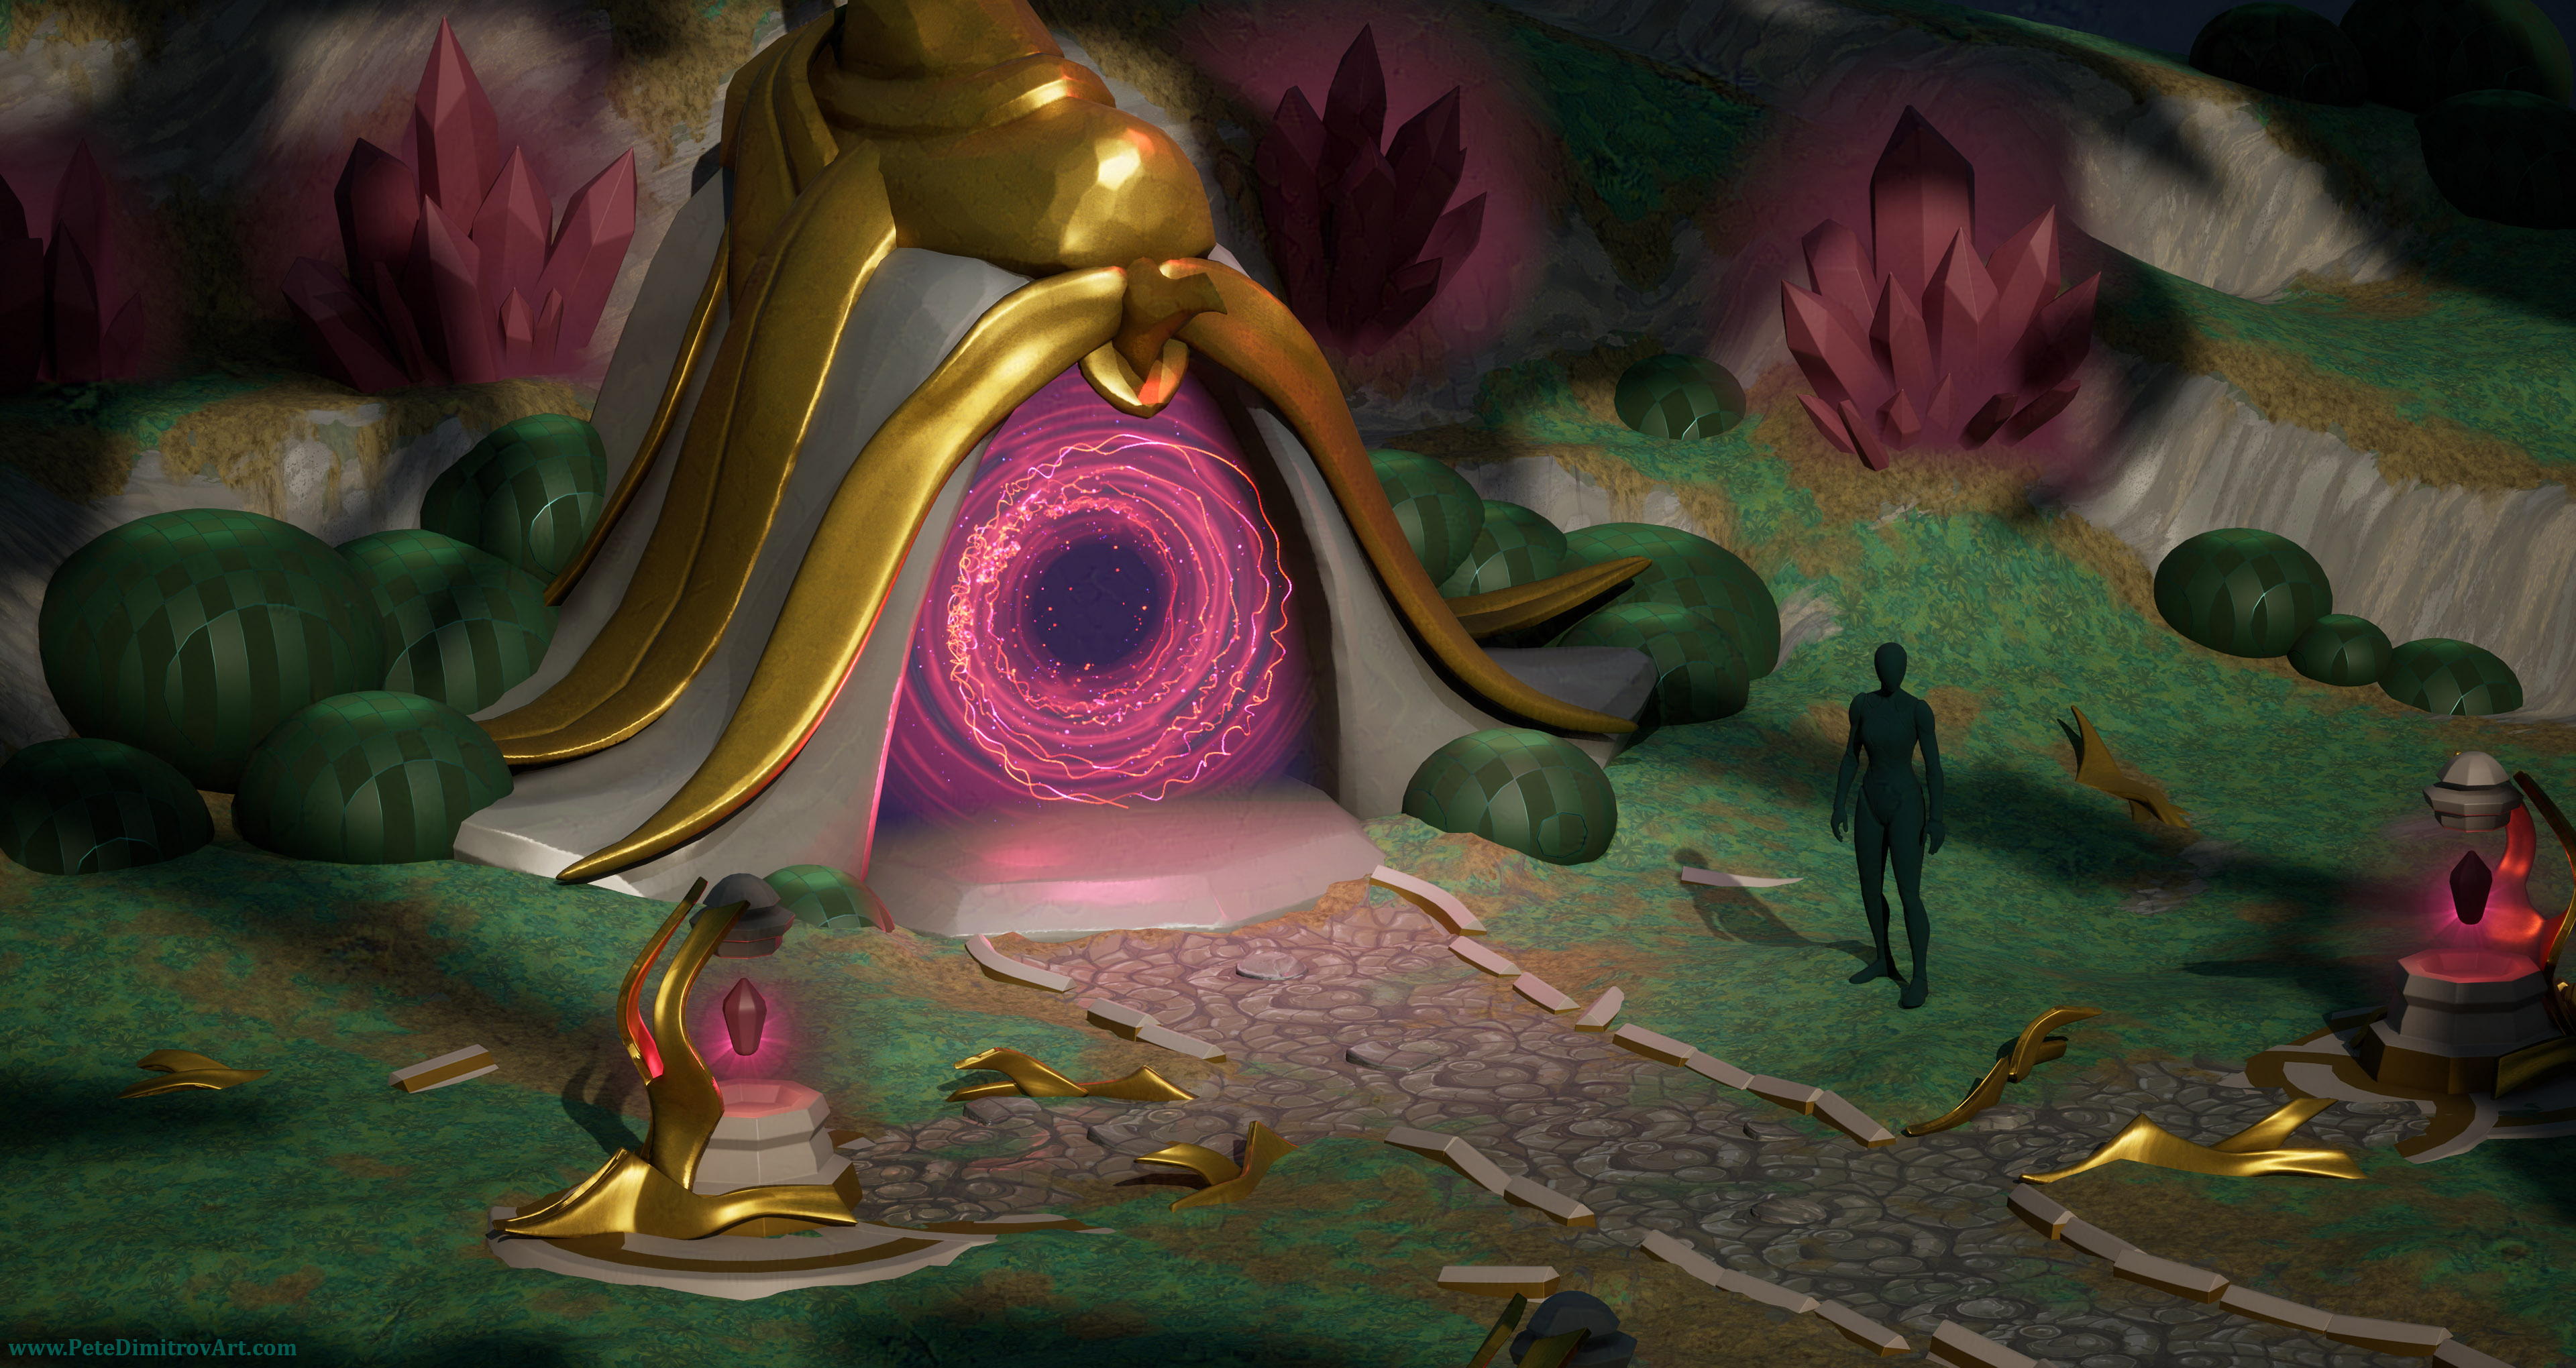
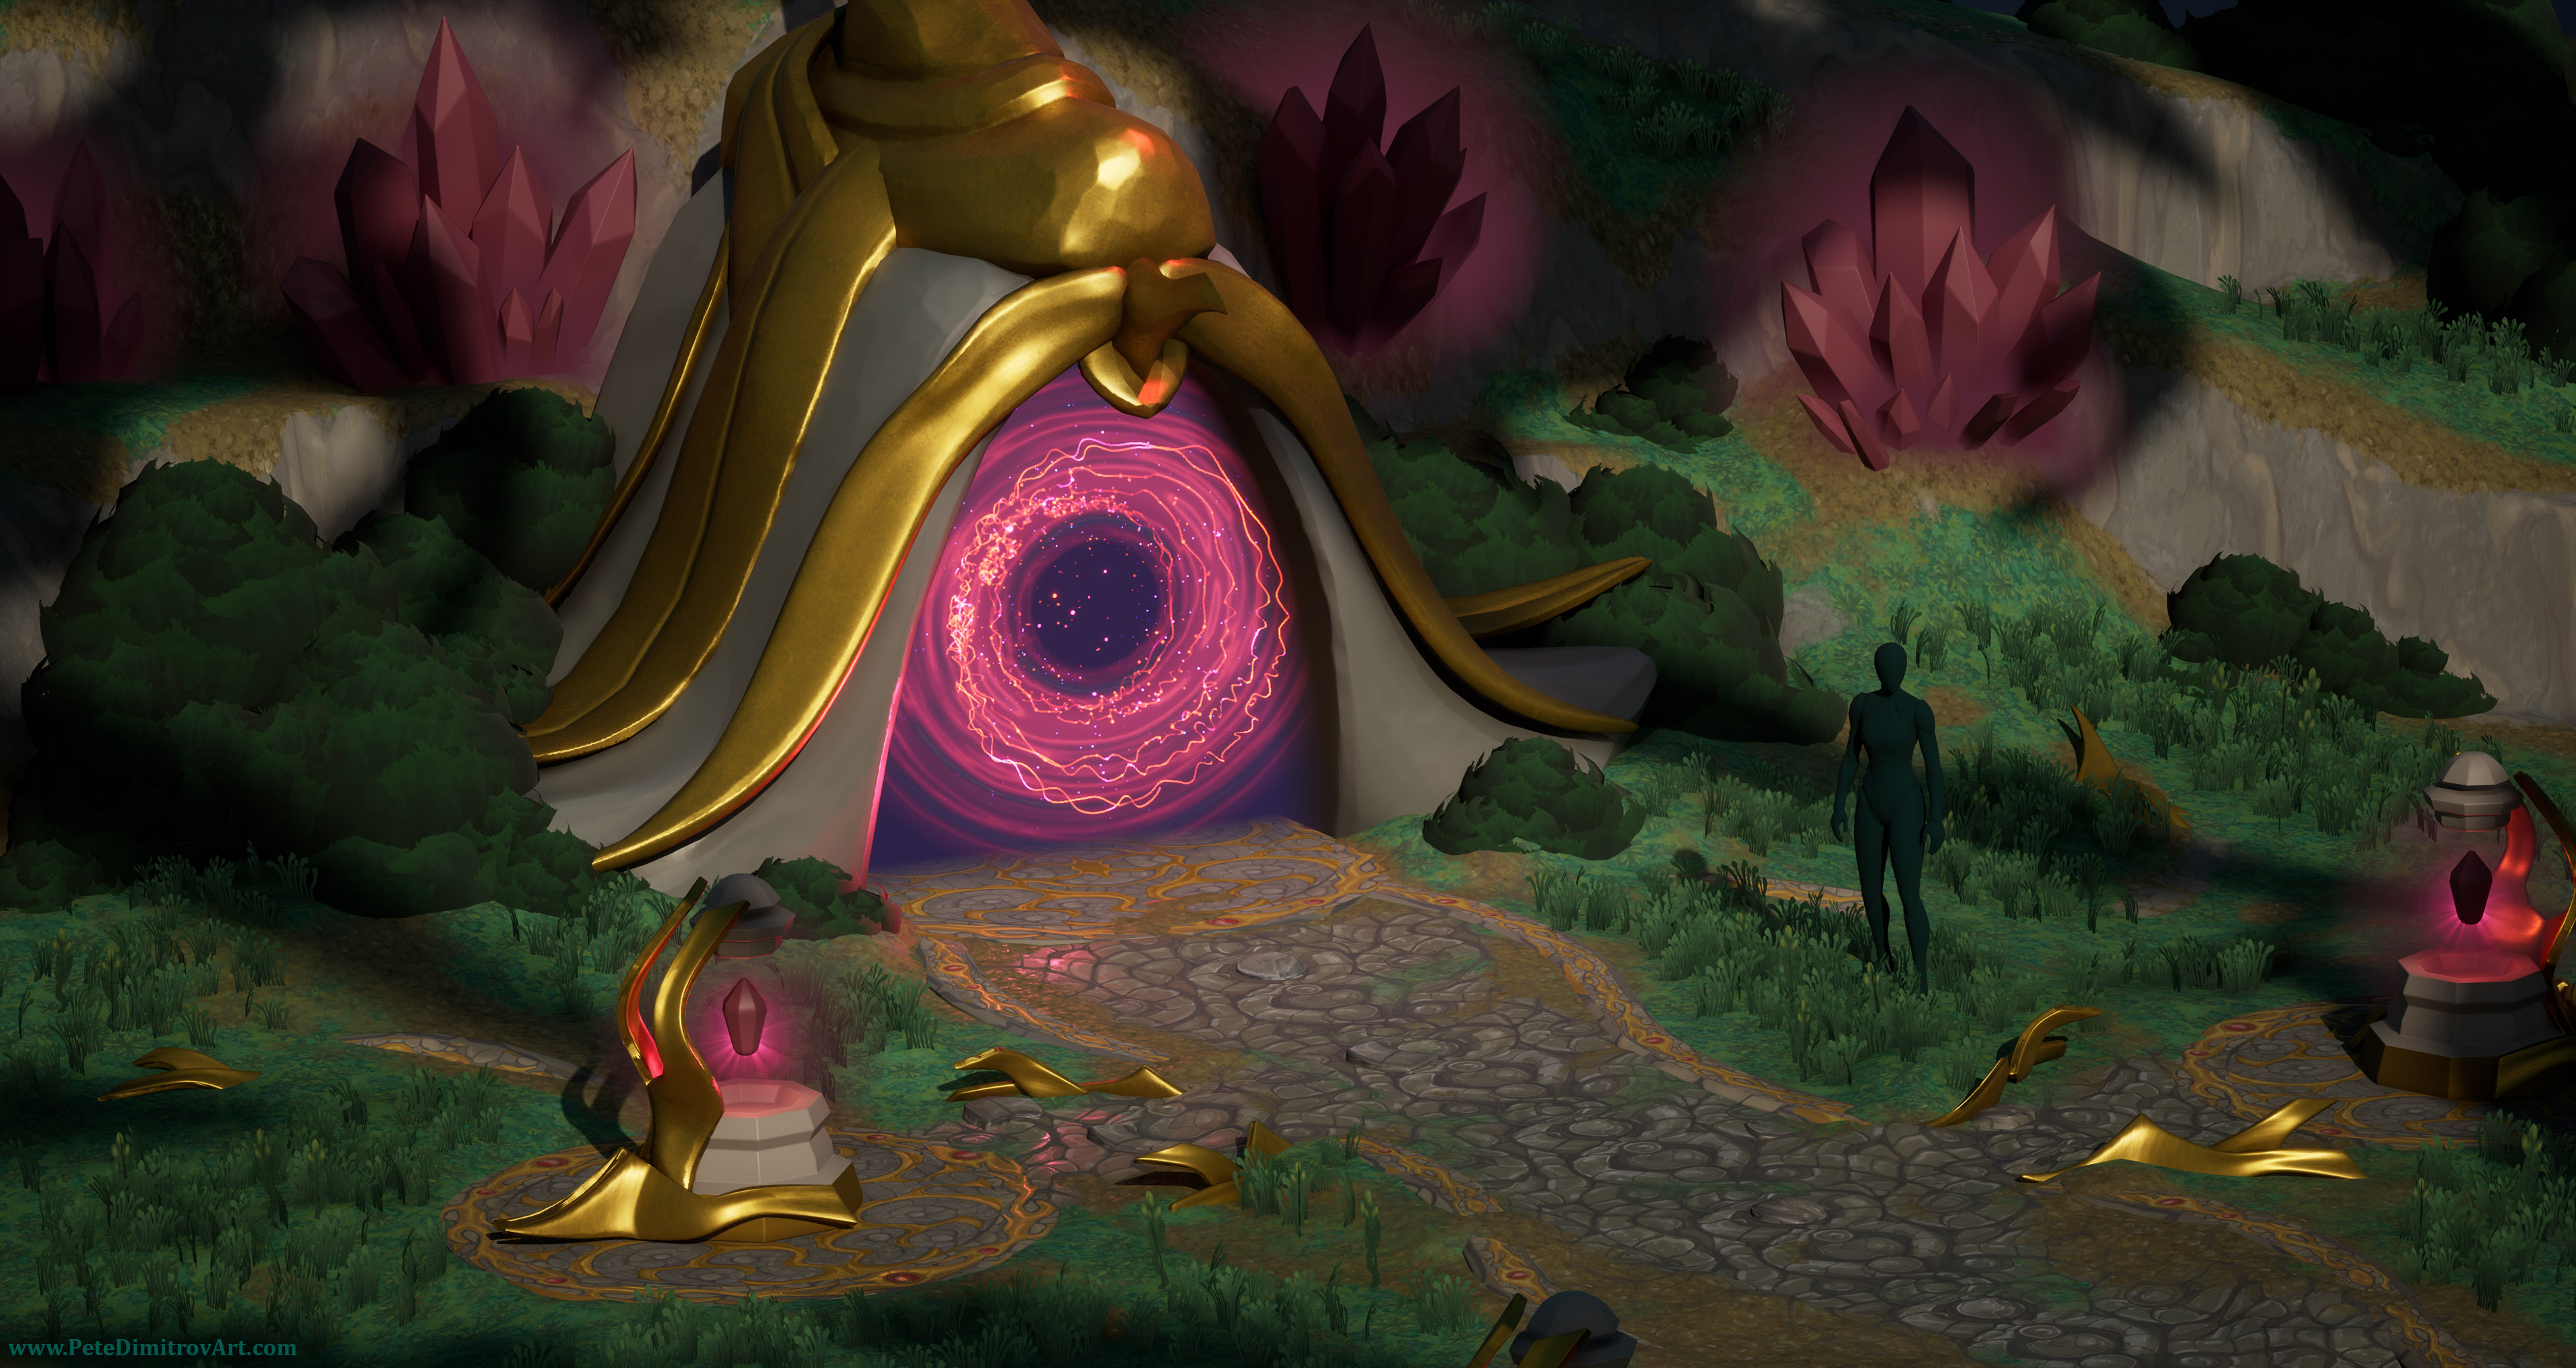
In this video, we will explore how I moved from the tower, and how I created this smaller cut of diorama. It is in the shape of a gateway used as a centerpiece. A curvy pathway leads to it. There are red crystals scattered on grassy hilltops. Golden trim ornament lamps with levitating red crystals decorate the sides of the elegant path.
Creating that portal was relatively quick, but I also made tutorials on the topic, and that took months to edit and publish. I used those months as a break from the tower diorama. I knew that when I were to return to it, I would perceive it all with a set of fresh eyes. That would be beneficial and would make my art only better.
Video
The writing above is from the start of my new video that documents and shows the creation of my new mini diorama. Watch it to see tons of behind the scenes screenshots, progress images, explanations and useful tips.
Gallery
Here is a small gallery with screenshots from the diorama. These are images that you can see in the video above. Over here, though, you can explore and observe them at your own speed.
Conclusion
In this blog post, and in the video above, we explored how I took a portal prop and put it into a blue cut of ground. I did that in order to scale down the 3D work, away from the much bigger tower scene and onto a smaller piece of ground. By focusing on a compact version of the diorama, I managed to handle the creation of my texturing, props and overall artistic progress better.
Next Time
I’ve started creating foliage in the shape of grass and bushes. I’ve added those to my scene and currently I am also refining the golden trim textures that go on the ground. I will also work on the gateway prop texturing. It has flat stone color and flat gold stylized texturing (in a PBR stylization). Those textures are not yet finished. I’ll paint on them and all of the hand-painted details will be rather fun to shape.
Tune in next time to see all of the above: texturing, stylized foliage, lighting and more. If you enjoyed the current video, there should be interesting gems of information in the next one as well.
All the best,
Pete.
If you enjoyed this blog post, consider subscribing in the form below. That way you will get a notification the next time I publish a new blog.